Decoupage Art Project for Kids
Decoupage Art Project for Kids
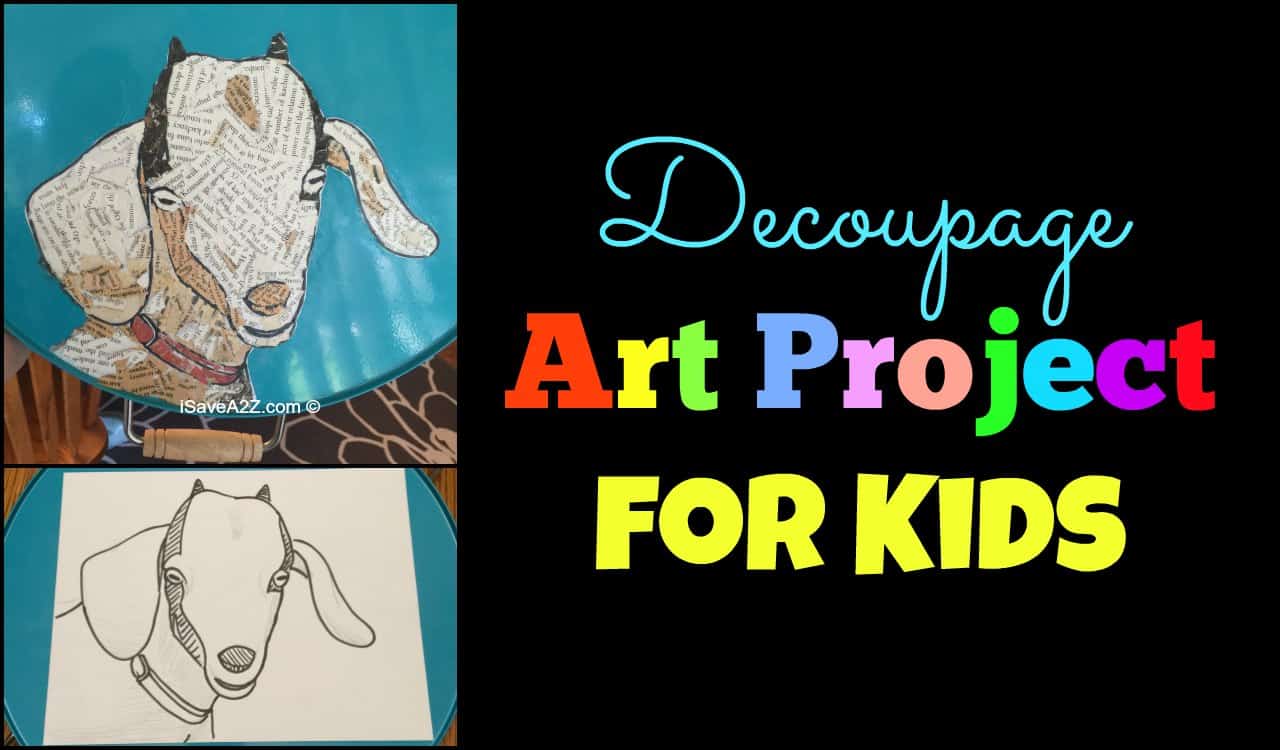
I just have to share this decoupage art project that is perfect for kids! We used a goat drawing in the project but your child can use their favorite animal or character to make their own art. It’s pretty easy and it will keep them entertained for a few hours. I don’t know about you but I am always trying to find ways to get my kids away from the computer. I would much rather have them playing outside or doing some artwork to help keep the creative juices flowing. Whenever I tell them to get off the computer and go play outside or do a project like this, it always seems as though it’s a form of discipline. They drag their feet to do something different but once they get going they have loads of fun. Just a few hours they seem to forget about the computer and I love it!
I just have to give you a bit of background on this art project. It wasn’t but four months ago that I offered to help raise six orphaned baby goats. SIX of them! In the beginning I had to bottle feed them all four times a day. You know how hard it is for one or even two people to feed six hungry baby goats? It’s a lot of fun though. I never thought I would be writing about an art project that was inspired by these beautiful animals. I am in love with goats! If you follow my Instagram page you will see all the animals that we care for on a daily basis. I can’t help but to post lots of goats and chicken videos. You can follow our iSaveA2Z Instagram page here.
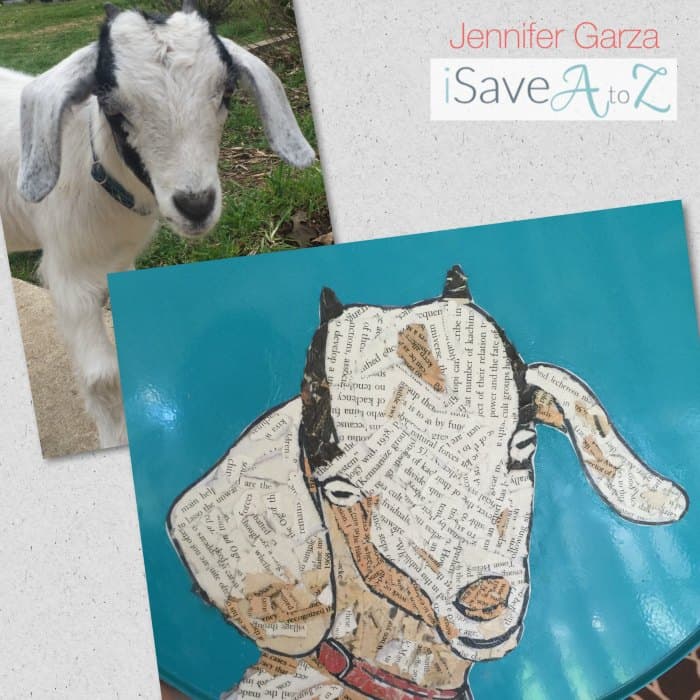
This art project can be made with a black and white coloring page that you find online by using google to search or you can draw your own as we have done from a favorite photo. Basically, you are going to fill in the coloring page with tiny bits of newspaper to create a beautiful piece of art.
Decoupage Art Project Items Needed:
- Mod Podge for Outdoor use like this one seen here.
- Small paint brush
- Newspaper, magazines, tissue or old books
- Black and White Coloring page or a hand drawn picture
- Tray or something fun to display your image on.
- Optional: Watercolors and a paint brush
Decoupage Art Project Instructions:
Start by getting the coloring page or drawing you want to decoupage first. You need to have a good idea of the colors you want in your artwork. If it’s an image that only requires black and white, you can get away with using a newspaper for different shades. If it’s something that requires color you may need to use a magazine to get the color you need or you can paint the newspaper by using watercolors and a paint brush. We used a photo of a black and white goat. Her name is Snowflake so we only needed different shades of newspaper for this project.
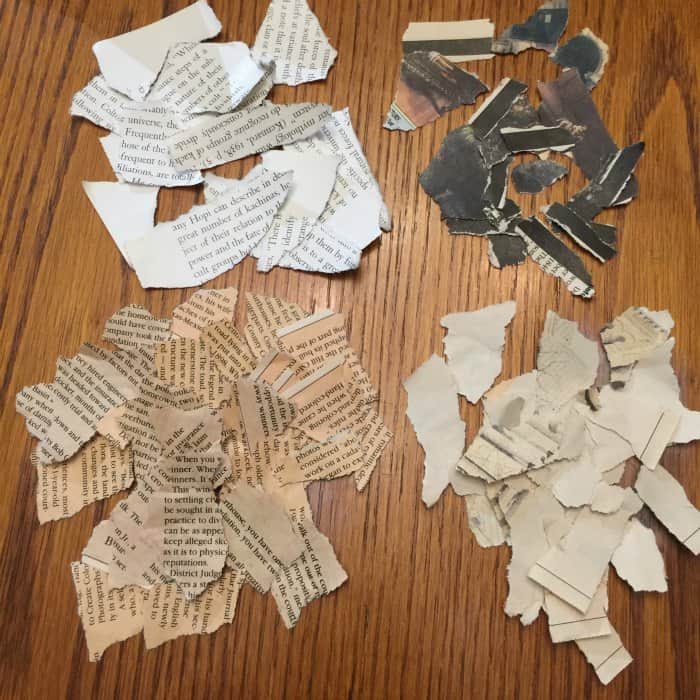
Once you determine the colors needed you want to tear small amounts of the paper you are using. The thinner the paper, the easier it is to work. The thicker the paper the harder it is to glue it down. We tore out about 4 different shades of black and white newspaper and put them into sections.
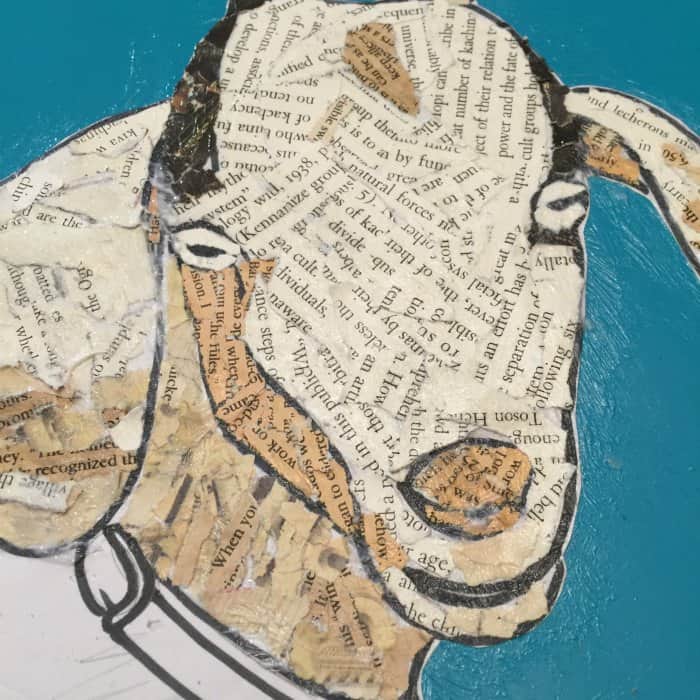
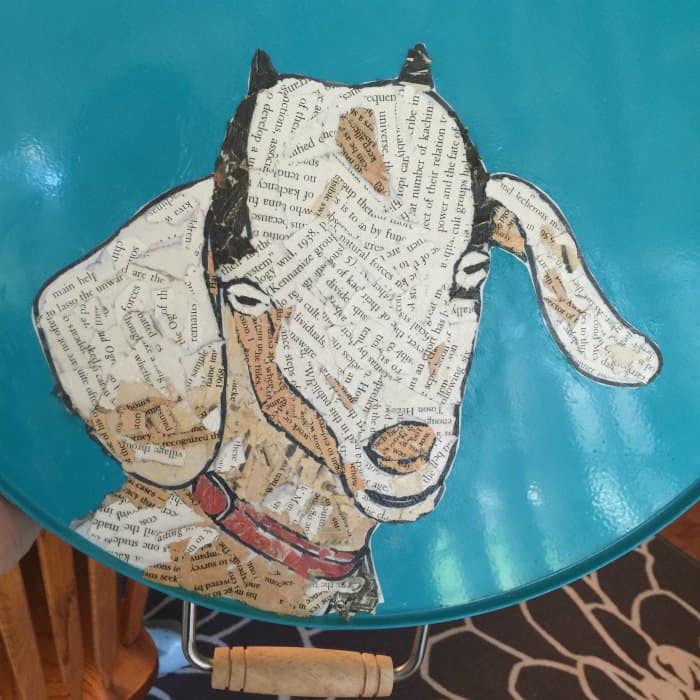
Here’s where you can decoupage a plain piece of paper or you can cut your animal out and place it on an item. We decided to put a decoupage face of the goat on a serving tray that hangs for decoration.
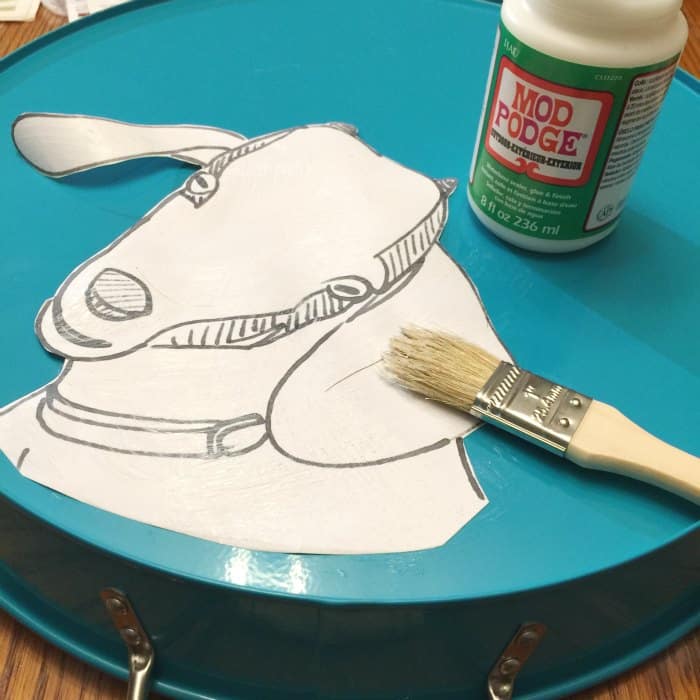
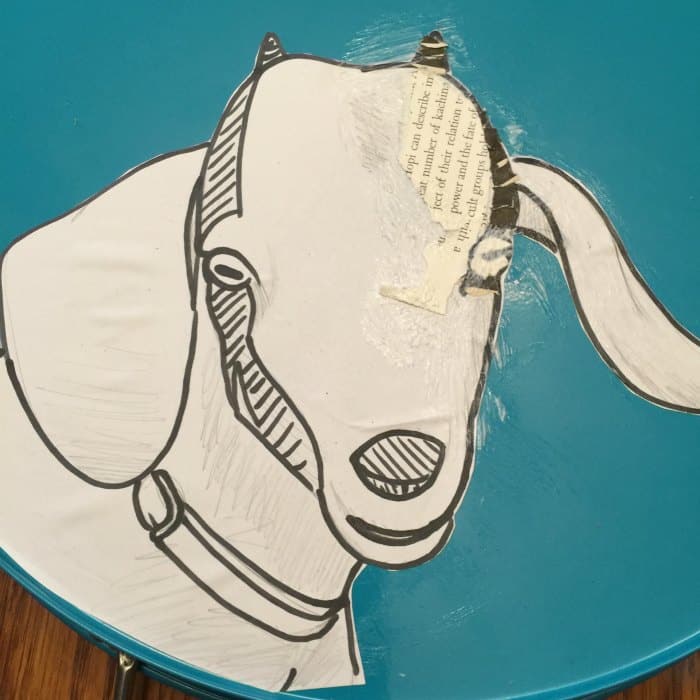
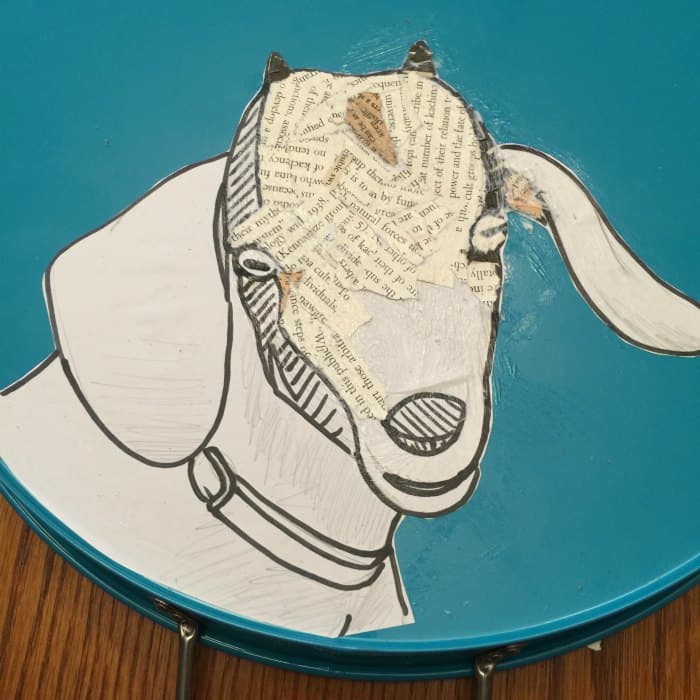
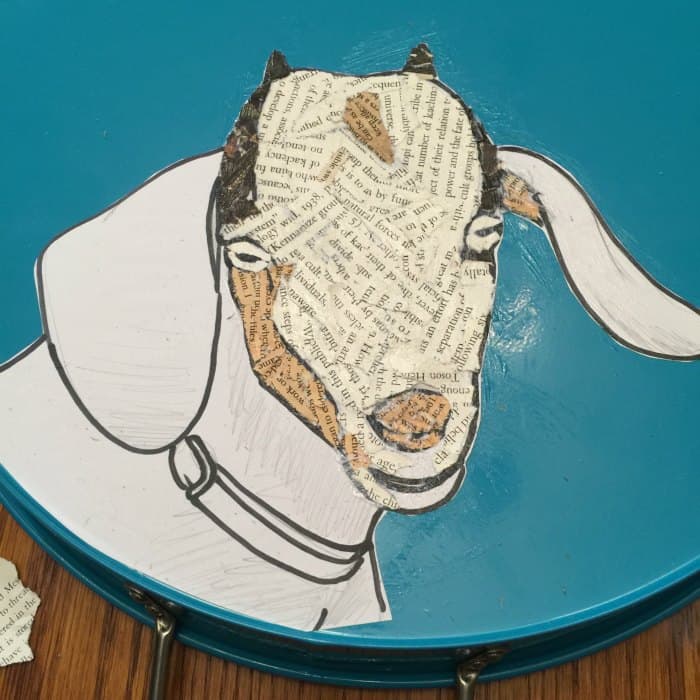
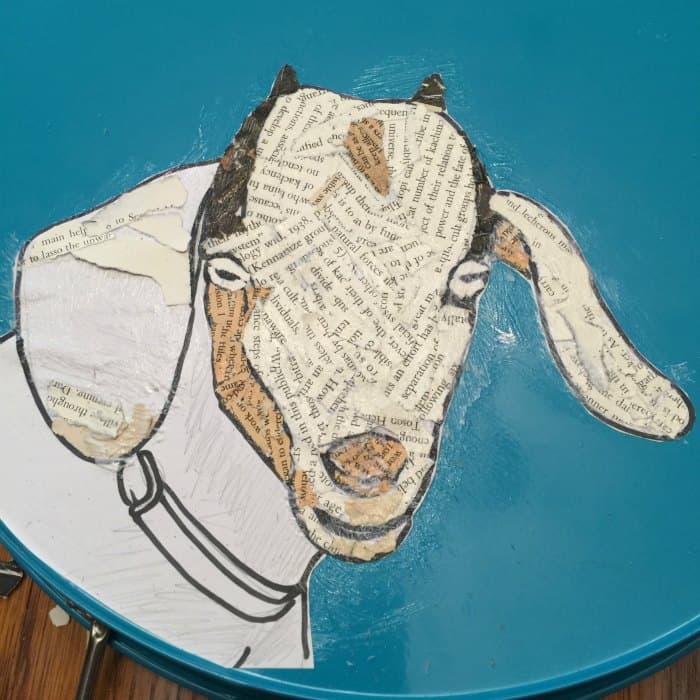
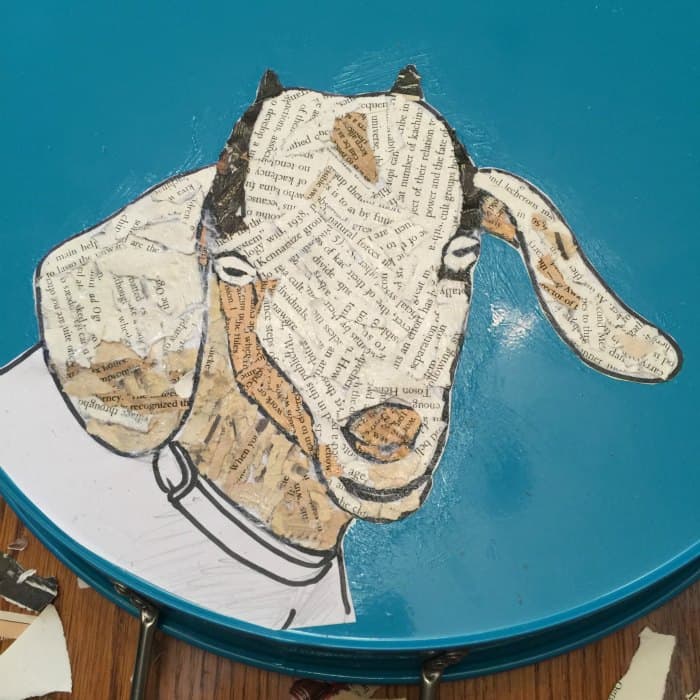
We cut out the goat from the full sheet of paper and used Mod Podge to stick it to our serving tray. Next, we started working a small area of the face of the goat at a time. We brushed a very thin layer Mod Podge on the goats ear. Then we placed light colored newspaper on the inside of the ear. When you brush on the Mod Podge you want to make sure you brush outside the paper and onto the serving tray. This will make sure the it sticks completely to the tray itself. Continue this step working small areas at a time until you have covered the whole project. Working small areas allows you to think about how your design will looks with different colors you are using without the Mod Podge drying too fast.
Tip: If you decide you want a different color than what was already applied with Mod Podge, you can easily brush some more Mod Podge on top of the paper you already applied and put new paper. You can layer as much as you need to get the look you want. I actually did this when I wanted some more shading on the top of the face.
Once you have completely added the layers of paper you need to cover your image you will do one final coat of Mod Podge to seal it. If you want to add a bit of color to your image, you can watercolor over the newspaper that you just placed down. The Mod Podge is on the bottom of the paper and the top is still dry so it will soak in the watercolor you apply nicely. Once it’s done, apply a final coat to seal it completely.
Here are a few process photos:
You can search for a blank coloring page or search for your favorite animal or character on google for a printable to use.
Use old newspaper, tissue paper or old books you don’t mind tearing up.
I found it easier to sort them by color.
Turn the image over on the backside to apply a thin layer of glue so it will stick to the tray.
Work your art piece a little bit at a time so the glue doesn’t dry out.
We hope you enjoy this art project as much as we did! Here are a few more photos of Snow as she loves up on our dog, Jinxy. She just loves to snuggle and play. It’s really hard to capture her in action so I will apologize now for some of the blur in the photos.
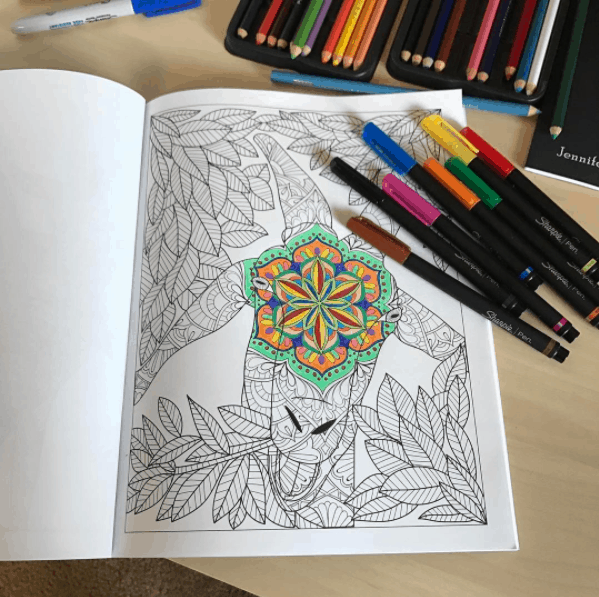
If you are a goat lover like me, you should check out this brand new Goat Adult Coloring Book found on Amazon! We love ours!
Last, but not least… Every time I sit outside she always jumps on my back behind me and puts her cheek to mine. What a sweetie pie.








This just warmed my heart! Thank you for sharing this idea. Enjoy those goats!