DIY Pallet Board Bed Swing
DIY Pallet Board Bed Swing
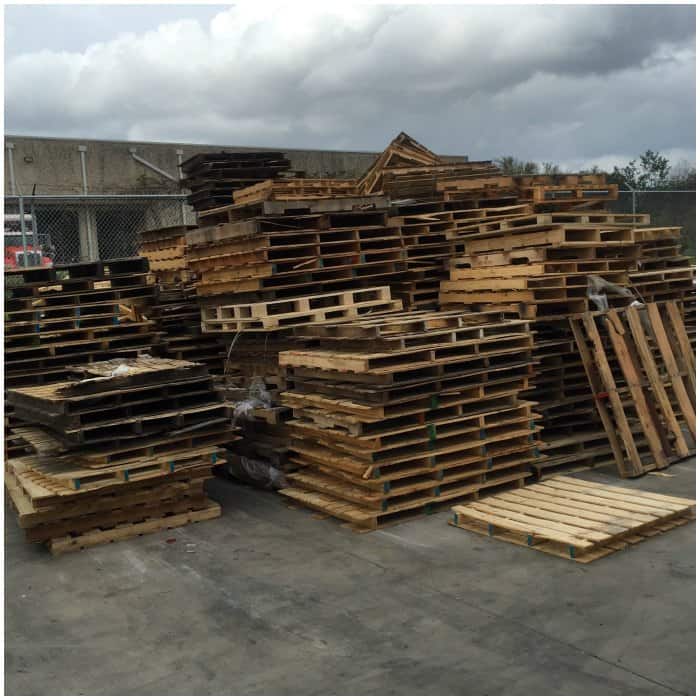
This whole idea for a DIY Pallet Board Bed Swing came about when a friend of mine told me about a place in Austin that allows us to grab some free pallets. Places who just give them away are becoming far and few between. You want to make sure you ask if you can have the pallets you see outside of a business because most people get money from companies that pick them up for recycling and I’m sure you wouldn’t want to be charged with theft. Not everyone knows this so I thought it was important enough to mention.
I headed off to find this place and sure enough, they had a mother-load! I’m pretty sure all my friends cleared them out already too. DIY Heaven right here! I had my trailer and I hauled enough to make about 4 or 5 different pallet projects.
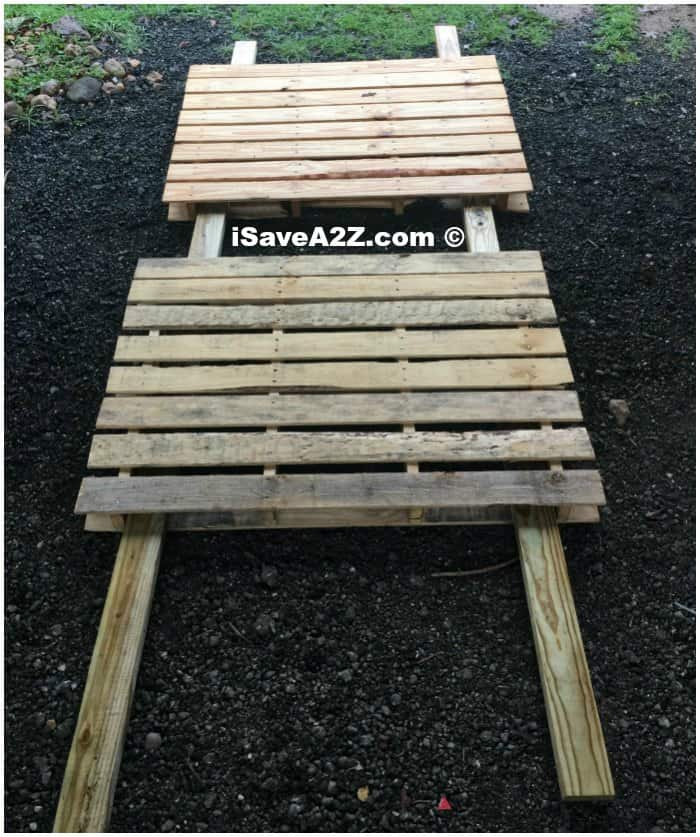
Now here’s something to think about when you are looking for these used pallets. You want to make sure you know if chemicals have been on them. You also want to make sure you get two identical ones for this project. There are many different sizes and styles of pallet boards as I quickly learned. I made sure to get two exact ones of the one laying by itself in the photo above. I wanted to make sure I could stick a pool noodle on the edge of my swing instead of having a flat edge. I didn’t want to have to worry about sanding down my swing so that we don’t get splinters and the pool noodle would protect us from getting off and on it.
Here are the two different pallets I’m talking about:
Once you have two identical pallets you want to measure them. When I put both my pallets together they measured out at 4 ft by 6 ft. I knew that I needed to head to the hardware store to make a frame for my swing.
DIY Pallet Board Bed Swing Supplies Needed:
- 2 pressure treated 2×4 boards that measure 10 feet long
- 1 pressure treated 2×4 that measures 6 1/2 feet long
- Wood decking screws (I got a small box of the 2 inch and 3 inch sizes)
- Krylon primer spray paint
- Krylon White Flat spray paint
- Spade bit that is about the size of your rope. I used a 5/8’s inch spade bit just like this one here on Amazon.
- Fishing line
- 4 pool noodles
- 4 Outdoor Patio chair cushions
- 3 Outdoor Patio pillows
- 2 step stones
- 5/8 inch thick Rope
- Impact Drill
- Circular saw, Jig saw or hand saw to cut the 2×4’s
DIY Pallet Board Bed Swing Instructions:
First, I set both pallets down on a flat surface and put the two 10 ft long 2×4’s inside the pallets. I screwed them in using the decking screws. I used a decking screw about every foot or so.
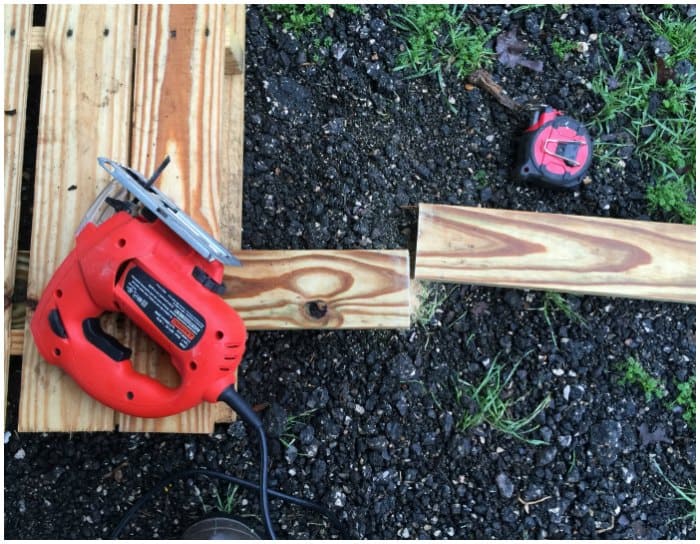
I use 10 foot long 2×4’s because I wanted to use the extra amount I cut off on the ends to complete a frame to make this bed secure. I used a Jig saw to cut off the ends. I made sure to measure across from each board to that I could use the cut of pieces as a frame on the ends to secure this swing.
The end pieces I cut off I attached to the top of each pallet board and used the decking screws to attach them to the 2×4’s I just used on the side just like in this photo below. This helps to built a strong frame to hold the weight. I ended up using another 2×4 in the center of the boards too for extra strength. I didn’t realize I needed it until I got the swing up and noticed it needed more support in the center. I also used two scrap pieces of 2×4 that were about a foot long on the bottom where the two pallet boards come together in the center of this project. This gives the swing extra support in the center where you really need it.
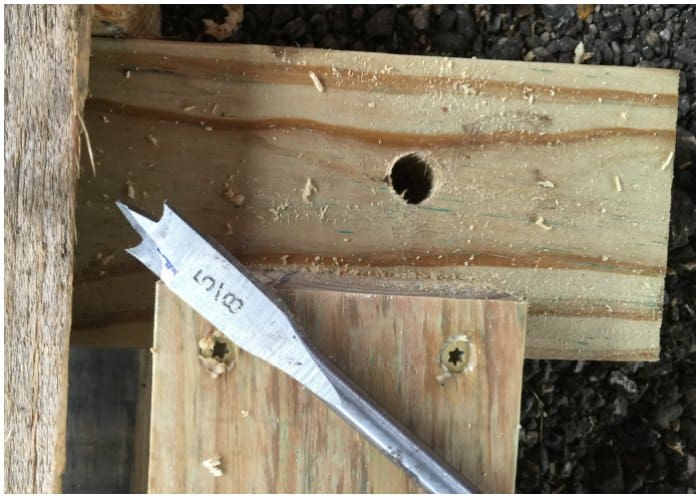
Next I drilled a hole using my 5/8’s spade bit exactly where I wanted my rope to be. My rope is exactly 5/8’s too so I had to wiggle (for lack of a better term) the blade as I used it to make the hole slightly bigger. The rope is not exactly round. I could have used a bit that was one size bigger but I didn’t have it and didn’t want to buy one.
I used 2 – 25ft pieces of rope that were 5/8’s inch thick. You will have to measure your tree area to determine what size ropes you will need. I measure the height of the area I was going to hang it from and doubled it on each side plus I added a few feet for extra just in case. I may have went a bit overboard on the rope strength because this rope will hold up to 700 lbs! I wanted it to be really sturdy because these pallets are kinda heavy.
I had this rope cut for me at my local hardware store. The rope I got had some sort of resin in it. They used a hot cutting blade to trim it and it looked like wax when it melted but it sealed up nice and hard when it was done. I really wanted a rope that could withstand the Texas heat. I didn’t want to have to replace this rope for a while. This is a photo of the rope I used. You can see how the ends sealed up nicely so it doesn’t fray.
Now you can paint the project before you add your rope or hand the swing. I wasn’t sure this was going to work so I wanted to hang the swing before I wasted time painted it just in case this didn’t work. If I were to do this over again, I would paint it first.
I carried the swing over to the area I wanted to hang it and placed it on two chairs. I was by myself and didn’t have any help to hold the swing up so this worked like a charm. This is about the height I wanted it to hang from anyway.
I tied a stopper knot in each end of the swing. If you don’t know what a stopper knot is you can see it here on Wikipedia. I chose the stopper knot because it’s the one that I know will hold the swing but it was also easy enough to undo in case I wanted to change the height.
Here’s a photo showing the project up on the chairs before I tied the knots. I also have a red leveler on the side because I’m pretty OCD about it hanging just right. There was an old swing in it’s place that I needed to get a bolt cutter to take down. I waited until someone was home to hold the ladder for me. The ground was way to wet and I really didn’t want to fall.
After tying the knots I started priming the wood. Can I just tell you how amazing this Krylon primer spray paint is! I like simple and fast projects so when I sprayed this primer spray down, which only took a few minutes, I was pleasantly surprised to see just how much coverage it did for a spray can. It’s good stuff and worth every penny!
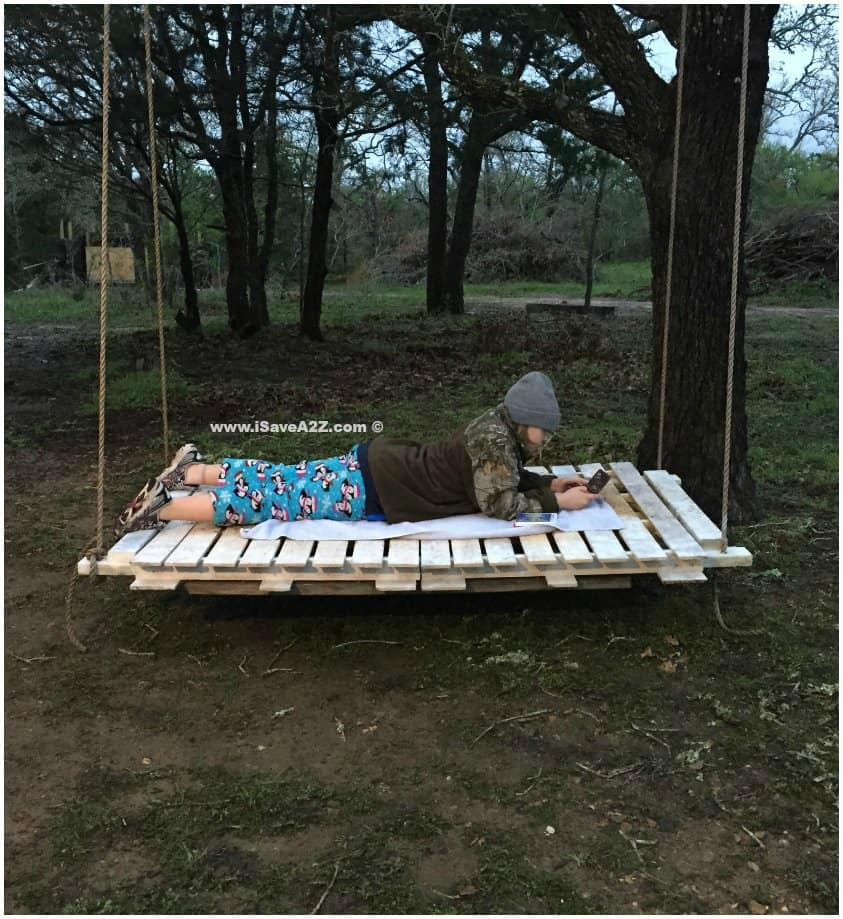
I made sure to test this bed swing for strength before anyone else got on it. My youngest felt the need to test it for strength too even though she was in her jammies already she put on a jacket and some shoes just to test it out. She didn’t want to get off it and I didn’t even have the cushions on it yet. I can tell this is going to be her favorite outdoor gaming and reading area already!
I finished painting my project by using another can of Krylon White Flat spray paint. It took two cans.
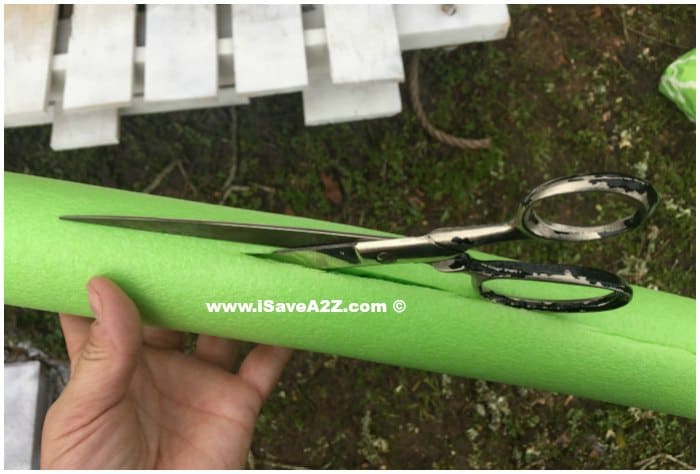
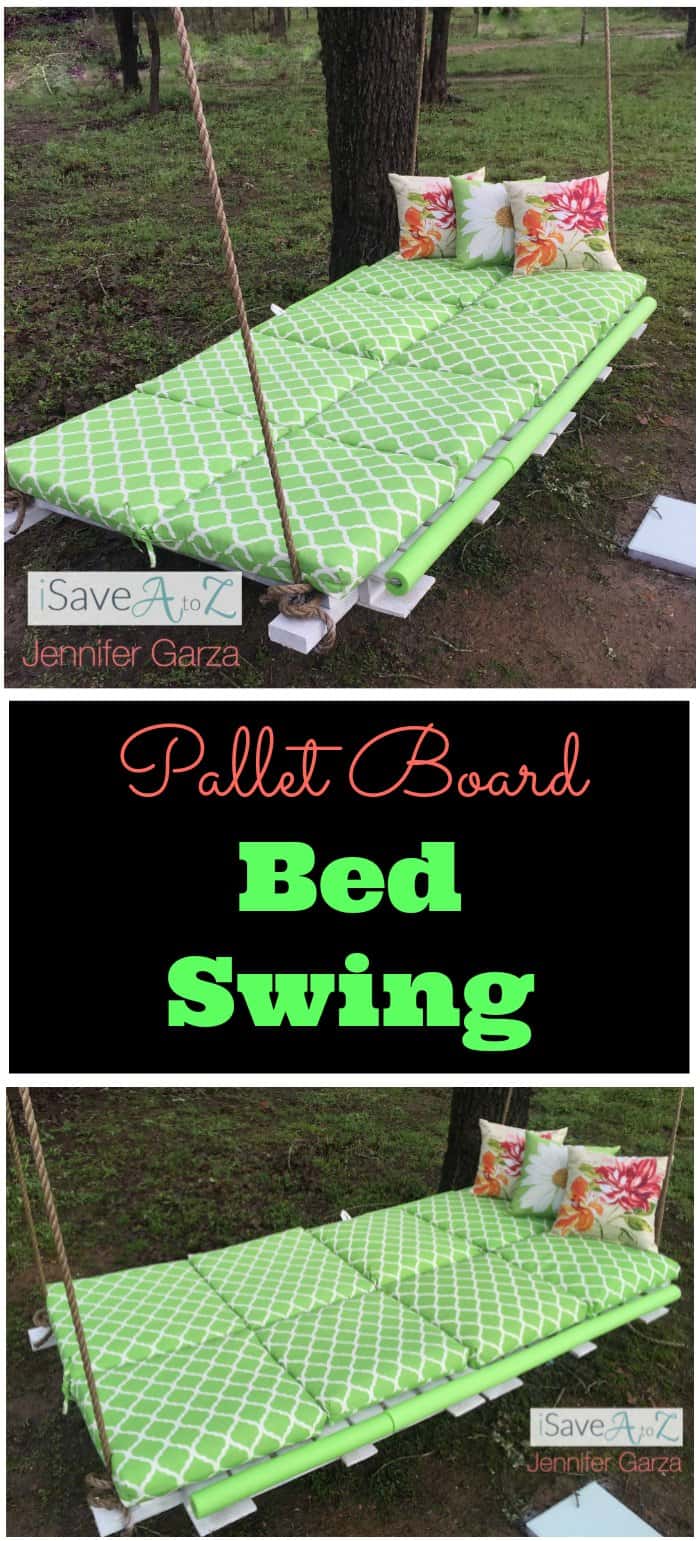
Now for the fun part of decorating it! I cut down one side of each of the pool noodles and attached it to the outside edge of the pallet board.
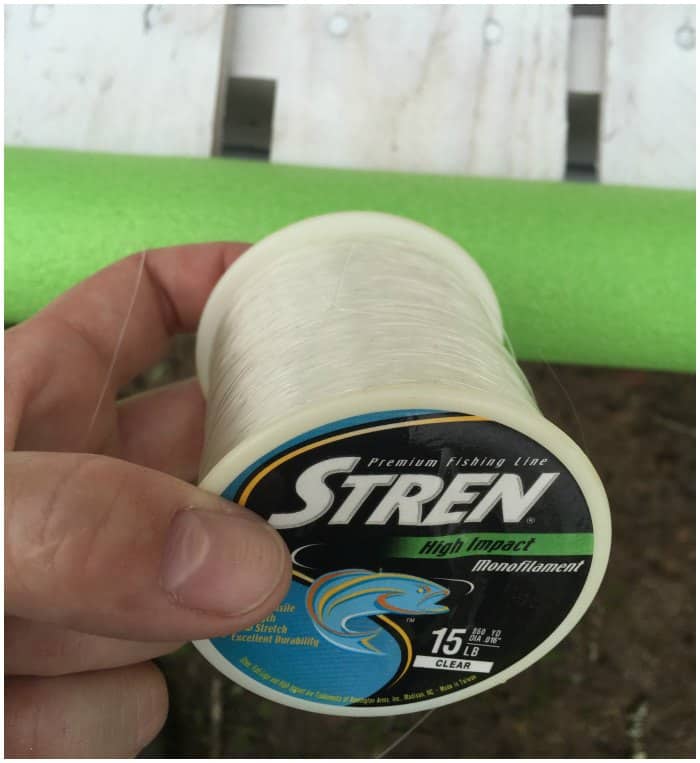
They do fit snug and secure but to make sure they stay that way I used some fishing line I had to tie them down about every foot or so. You can’t see the fishing line and I know this line will hold up in the weather so it was a perfect option to secure these pool noodles to the pallet boards. I tied extra loops in each knot for extra strength.
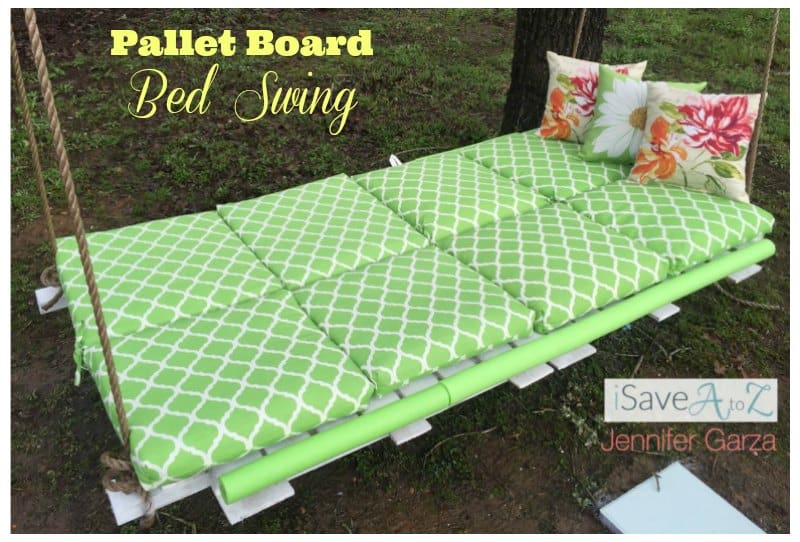
I really, really like how the pool noodles look on the edges. They are inexpensive and come in many colors to choose from.
I used 4 patio chair cushions that looked exactly like this style found here on Amazon. This style only has one line in the fold when you lay it flat. Other pillows are super thick and may even have 3 lines. I wanted something that was equal softness on the top of the chair and the bottom of the chair with one line. You can easily save a bit of money by sewing your own too. A good outdoor material that repels water and some thick foam would do the trick.
I ended up just tying the strings together on each chair cushion to attach them to one another. I tied bows at the ends. These fit nice and snug between the ropes. If they weren’t snug I would probably use some fishing line and a needle to sew them together or attach them to the pallet boards but I didn’t need to. I think it will depend on the size pallets you get and how many cushions you use. I added three pillows at the top to finish this project up. I also painted two paver stones that you can barely see in the photo.
I just ordered two sets of LED Solar String Lights that I found on Amazon here at a good price. During the summer we love to stay outside after dark and I just know they will look nice attached to this swing. I will update this article when I get them and snap an even photo to show them in action.
Feel free to pin this photo on Pinterest using this photo below:










Me gustaría hacerlo, trataré y lo compartiré.