Repurposed Headboard Into an Outdoor Bench
Repurposed Headboard Into an Outdoor Bench
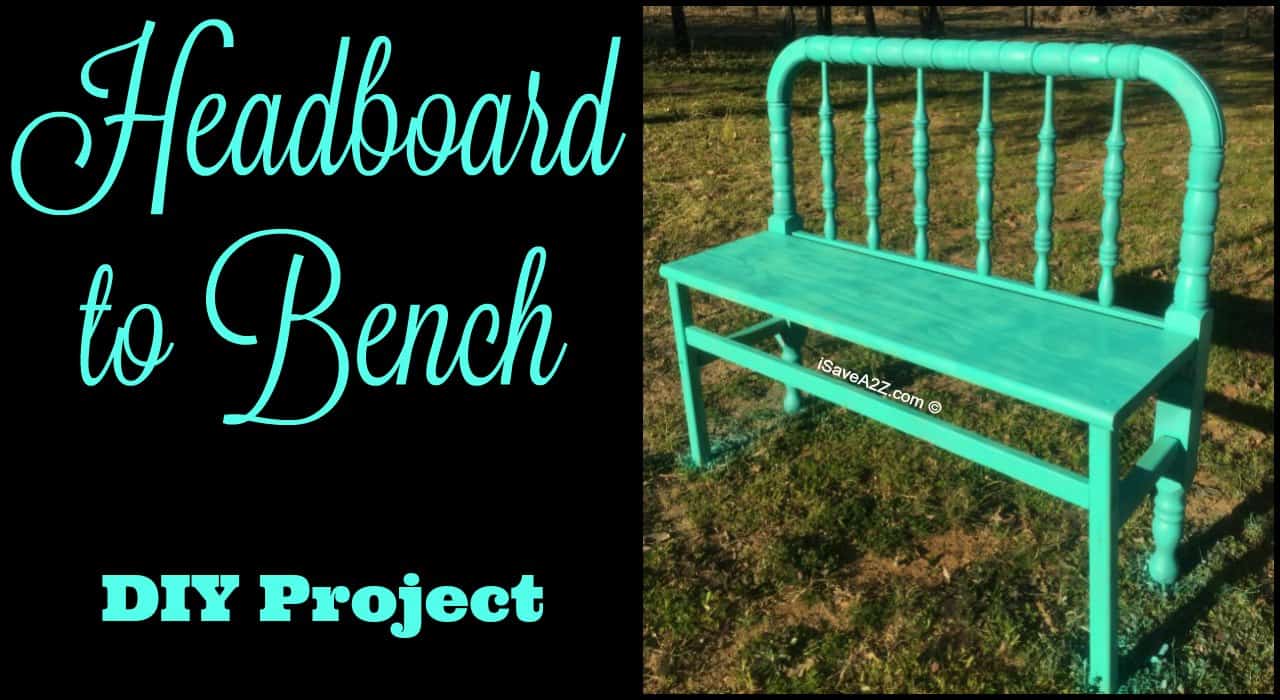
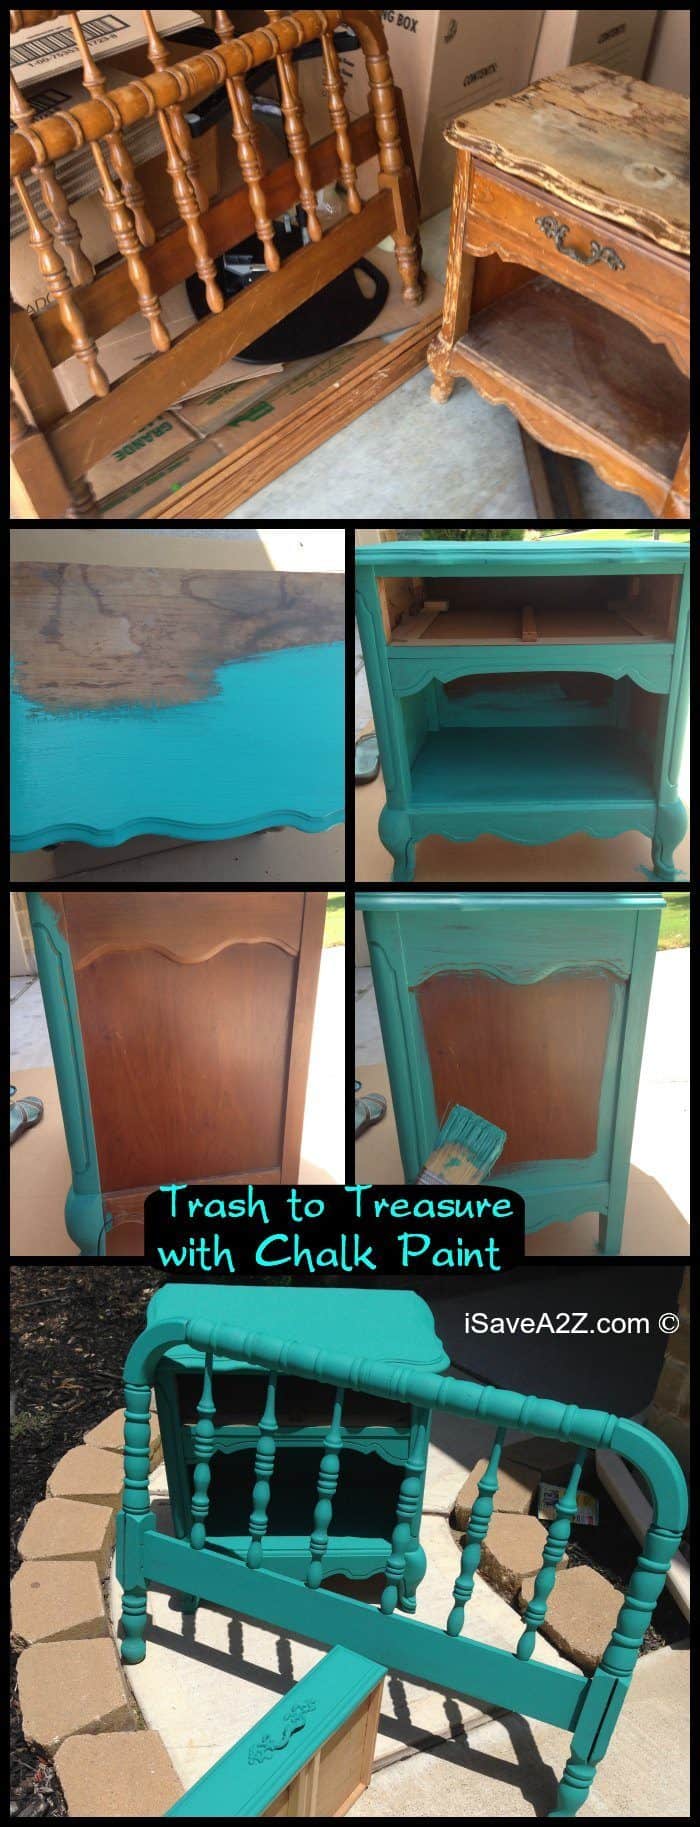
This repurposed diy project all started because I have goats that need a play area with play furniture. This idea started as I was cleaning out my garage storage area. I pulled out an old cloth chair that I plan to refinish. That project never happened. That chair sat in my garage for a year already. I figured it was time to donate the chair to someone else who would take the time to do that project. I pull the chair out of the storage unit and these baby goats, who love to play every minute, started jumping up and down off of this chair. It was hilarious. They had so much fun. These animals acted as if this was a brand new ride at Disney or something! I knew the chair wouldn’t be sure a great idea for the outdoors because of the cloth so I decided to use an old headboard that I know longer use in an outdoor bench. Remember the bedroom set that I purchased at a garage sale for only $15? That’s the set I decided to use as outdoor furniture for these cute baby goats. This is what the furniture looked like when I first purchased it:
I did use the furniture for a while but ended up purchasing a larger bed so I know longer had a need for this furniture. It was also in storage. I spotted it as the goats were playing on that cloth chair. That’s exactly when I had the idea to do the repurpose headboard into an outdoor bench idea.
I started by collecting scrap wood from other projects I had done in the past so I wouldn’t have to spend a whole lot on this project. I had some square 1 x 1 pieces of wood that I could use. I also already had some very small L-backets too. The only thing I really needed was two front legs and a way to attach them and a piece of wood for the bench part. Off to the local hardware store I go. I could live at the hardware store as much as I go there. Seriously. Love that place!
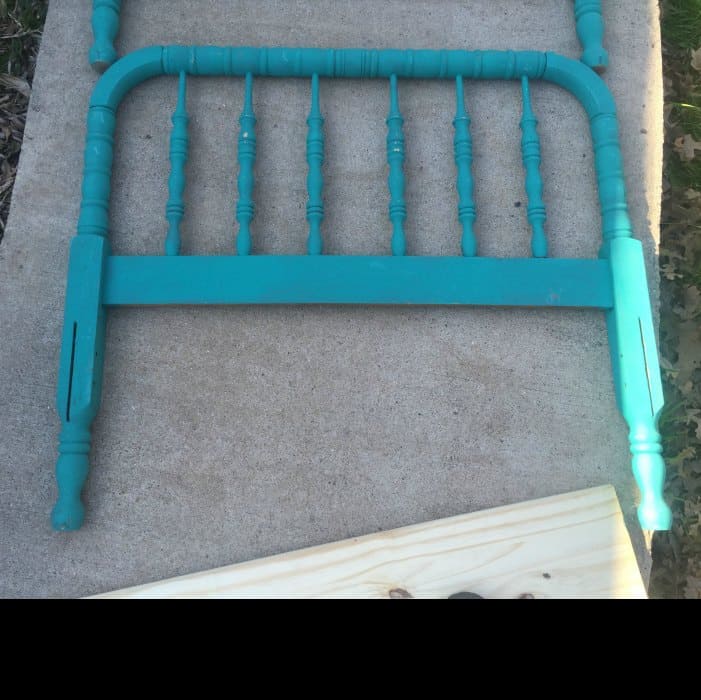
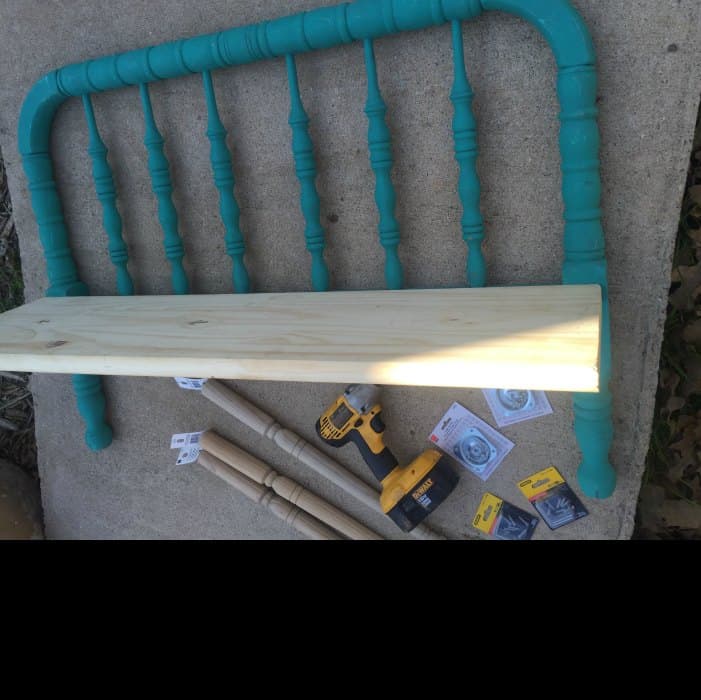
These are the items I started with. DON’T BUY THE LEGS seen in this photo though. Read more below and you will see why.
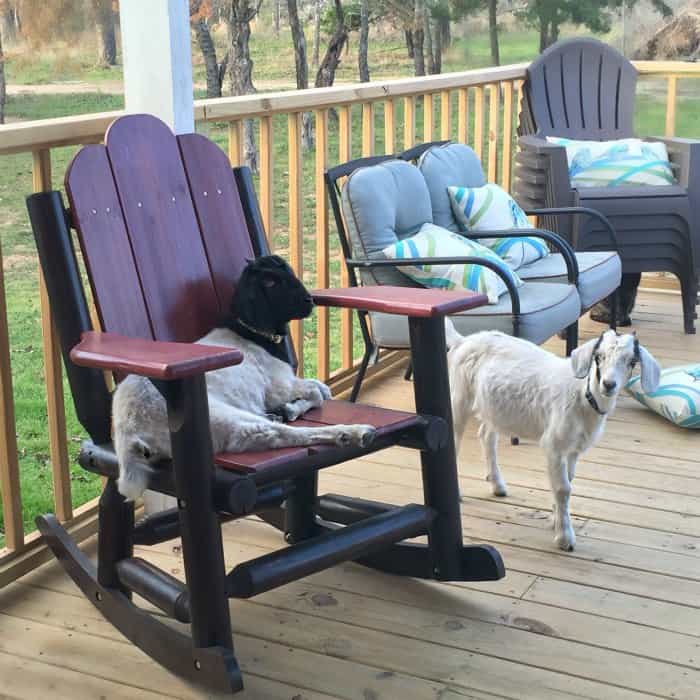
I ended up purchasing two legs that were meant for a table and two brackets that the wood legs can screw into. How easy was that or so I thought? The legs I purchased in the photos didn’t work as well as I had hoped. I wanted this furniture to be real sturdy and these legs were not going to do the trick. They looked pretty but just were not going to work for me because these goats can get rough! You can’t tell it from this photo of them though. I feel as though this goat wants me to serve her an ice cold glass of lemonade while she lounges on the patio.
I also wanted this furniture to be a real bright color so I decided to repaint over the chalk paint with some Krylon spray paint. I also picked up a few small wood screws and a small drill bit so that I could pre-drill the holes for the legs. The legs are not that big and if you don’t pre-drill the holes you can split the wood. Go ahead, ask me how I know. Aren’t you glad I make all the mistakes so I can tell you what NOT to do?
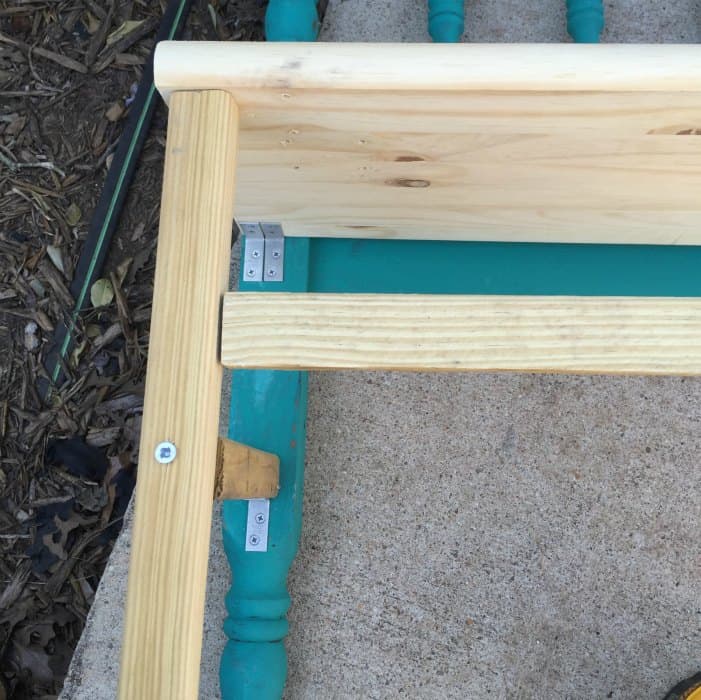
I set a dining room chair next to my headboard because I wanted this bench to be the same height as a normal sitting chair. I didn’t want my legs dangling from the chair if I put it too high. I used some of the 1 inch pieces of wood along the headboard so that the sitting bench part would be held up by something other than just screws. The board works nicely and gives it the strength to make it sturdy. I had to use a small wood saw to cut the legs to the exact measurement I needed.
I ended up using the same 1 x 1 wood pieces from my other leftover project for the legs instead of the decorative legs you see in the photo above. They were much sturdier. The legs were a bit wobbly though so I had to use another part of the 1 x 1 board to attach to each of the legs to hold them in place. That did the trick for making this bench nice and sturdy. I added two more pieces of 1×1 from the front legs to the headboard too. This way it wouldn’t move at all.
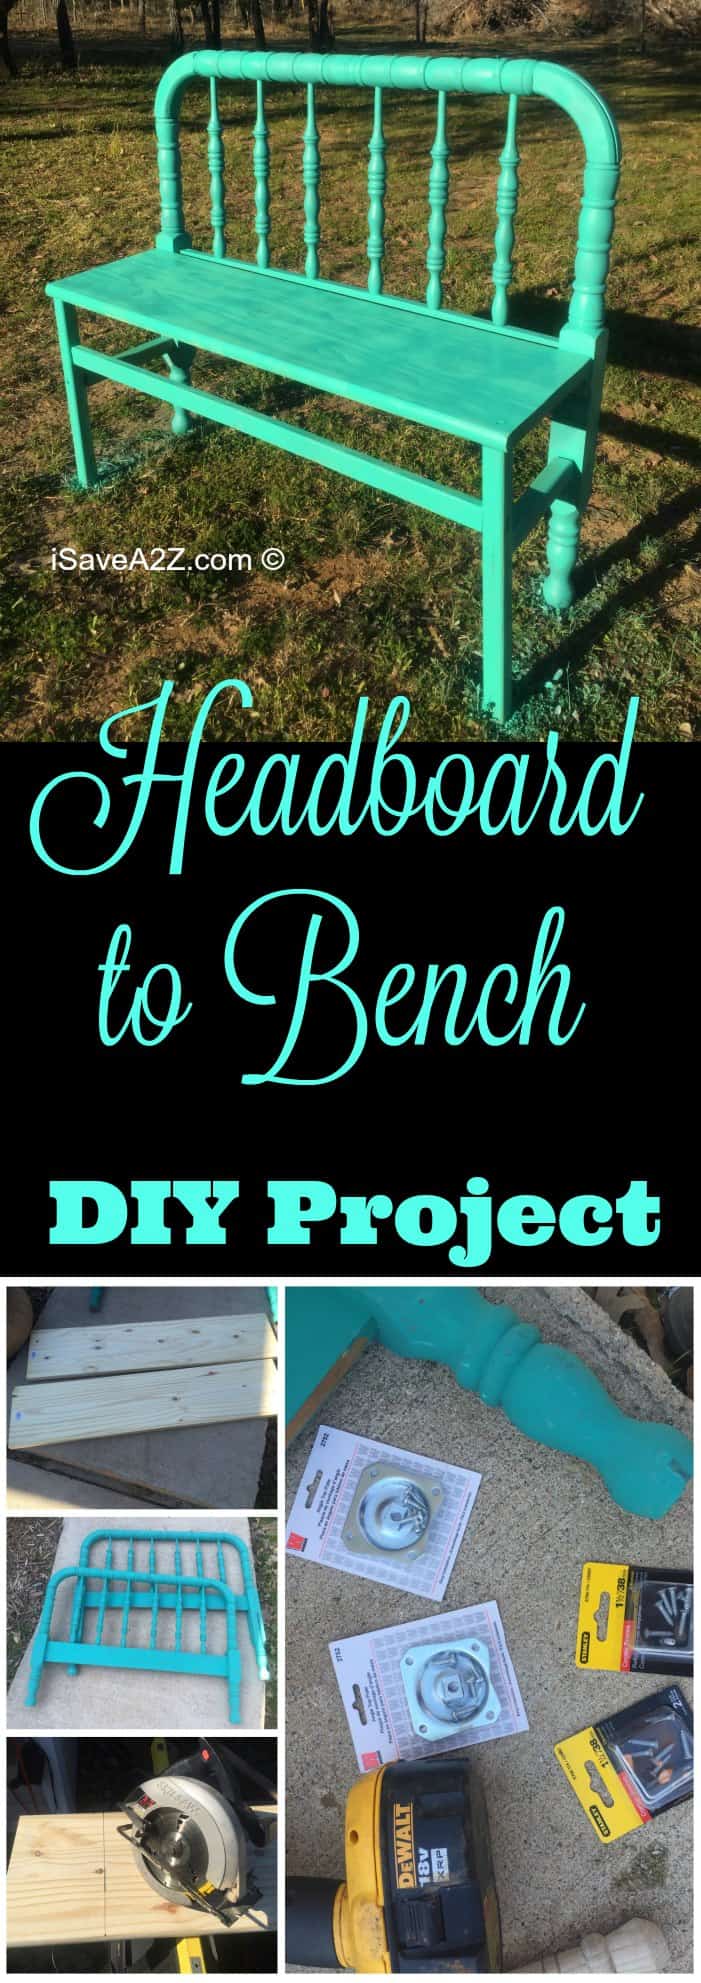
Finally I used the Krylon spray paint to finish the look and placed it in the goats play area. They love it! I’ve had friend joke with me and say that piece of furniture is way too nice for my goats. They might be right but my goats are spoiled! Can you tell? They tend to follow me everywhere.
If you like goats, you need to see this Decoupage Art project for Kids idea that we did. It was inspired by a photo of one of our baby goats.
Now if you love repurposed project ideas, you really need to see our Pallet Board Bed Swing we just made out of two recycle pallet boards!
Feel free to pin this project for later using this image below:

