Painted Table Top Idea
Painted Table Top Idea
I have a super cute Painted Table Top Idea for you!!! This project idea came when I found a table for only $40 at an estate sales close to my house. Doesn’t every good story start with a treasure found from a garage sale or an estate sale? lol!
This is probably one of the easiest projects I’ve done. It took me about 2 hours from start to finish. I think it came out amazing, don’t you?
Garage Sale Hunting led to this Idea:
This idea all started when I was on a mission to help a friend. My friend runs a business but also works a normal full time job in order to make ends meet. Boy, oh boy, do I know how she feels. The days are filled with work and there aren’t enough hours in the day to sleep. I remember being in her shoes not that long ago. When she reached out and asked for help, I just had to put everything aside and help her out! She decided she wants to quit her full time job where she is making over $40k a year and work for herself 100% off the time. She needs to make up some income while her business is taking off so I plan to help her by teaching her how to flip garage sale finds for profit. This is exactly what I did when my babies where little. It was a great way to supplement your income while not working full time hours. I told her to read this article on Reselling Garage Sale Items for Profit. It’s a good start to knowing a bit of rules you need to follow and it’s perfect for beginners.
We planned to hit the sales early Saturday morning in hopes of finding a few items she could profit off of. I really love going to garage sales and I haven’t been in a while! The hunt for treasures is a game to me and fun! We woke up and hit the streets super early. She ended up finding a few good items too! I was on the look out for a patio set. We just poured concrete and extended our patio. We need furniture so we can enjoy the outdoors when the weather gets a bit cooler. Can you believe they are already sold out of patio furniture and it’s only August! The sales hit and I missed them. Doesn’t it almost always seem to work out that way. Sure, I could order it online but I would rather find a used set for a lot less. My friend was helping me look for my set while I was teaching her the rules of reselling garage sale items for profit.
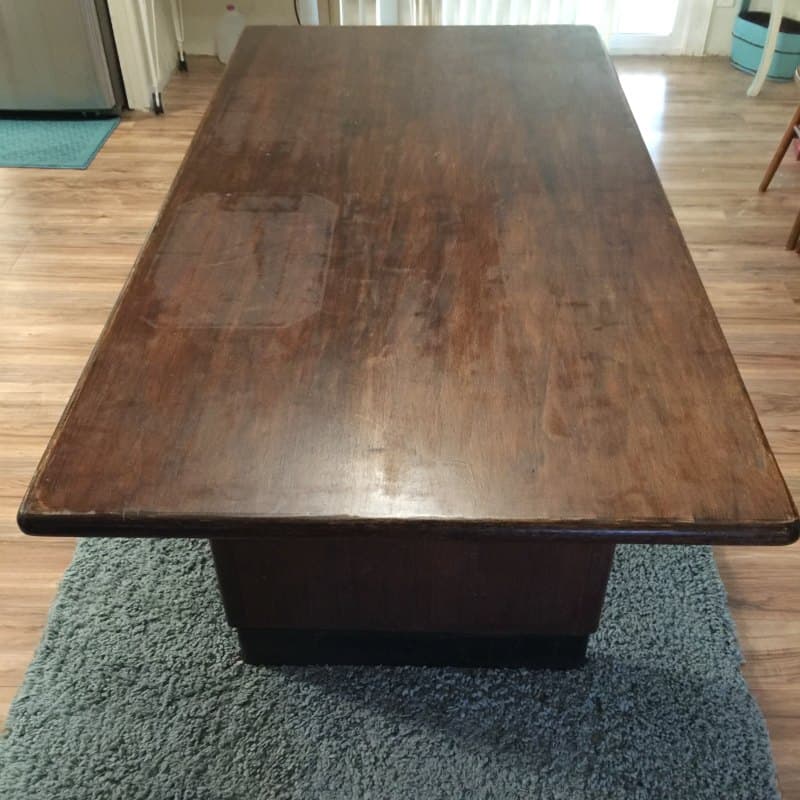
She pointed out this all wood heavy duty table that was hiding a back room of an estate sale. It’s not exactly what I had in mind for a patio set but when I saw it I just knew I had to have it for my dining room table besides I already had one or two painted table top ideas on the top of my list. The craft ideas where running crazy through my head. It’s hard to find a really big all wood table now a days. If you do find a good one, they want an arm and a leg for it. This table was only $40! ONLY $40! What a steal! Well, I did have to get it home and clean off all the cob webs off of it. It sure did clean up nicely. When I tipped the table over I saw that it was date stamped with the year 1953. Wow! It’s in such good condition too. This is what the table looked like before the project started.
Chalk Paint Information:
I decided to paint the bottom part of the table in turquoise. Actually, the exact name of the paint is called Florence by Annie Sloan and it’s chalk paint. The paint is a bit expensive but I just love the color. Did you know you can make your own chalk paint? You can! It’s really easy. You can get the homemade chalk paint recipe here. I had purchase my Annie Sloan paint a while ago before I even knew you could make your own. I had plenty on hand to use it for this table. Chalk paint goes a long way. You don’t need a lot for your projects at all. I love chalk paint because there is very little prep work you have to do to the wood before painting it. You don’t need to sand it at all to get this paint to stick. All I do to prep the piece is to clean it with soap and water to get all the debris off of it.
Painted Table Top Directions:
First, wipe down your piece of furniture to clean it. There’s no need at all to sand it.
Tape off any areas you don’t want to paint. I love using painters tape of frog tape for this part. Frog tape sticks really well and doesn’t let paint seep into the lines but it also pulls of nicely without leaving a mess.
I painted the bottom part of the table (the legs) before anything else. I placed a piece of cardboard under each leg so the paint wouldn’t get on the floor. This table I found is a dark would color. If I wanted to paint the wood to where none of the dark color shows through I would probably need at least two coats of paint. I wanted a bit of the dark to show through so I only painted it once. After the first coat, I actually watered the paint down a bit so it wouldn’t be so even. I wanted it to have an aged look to it.
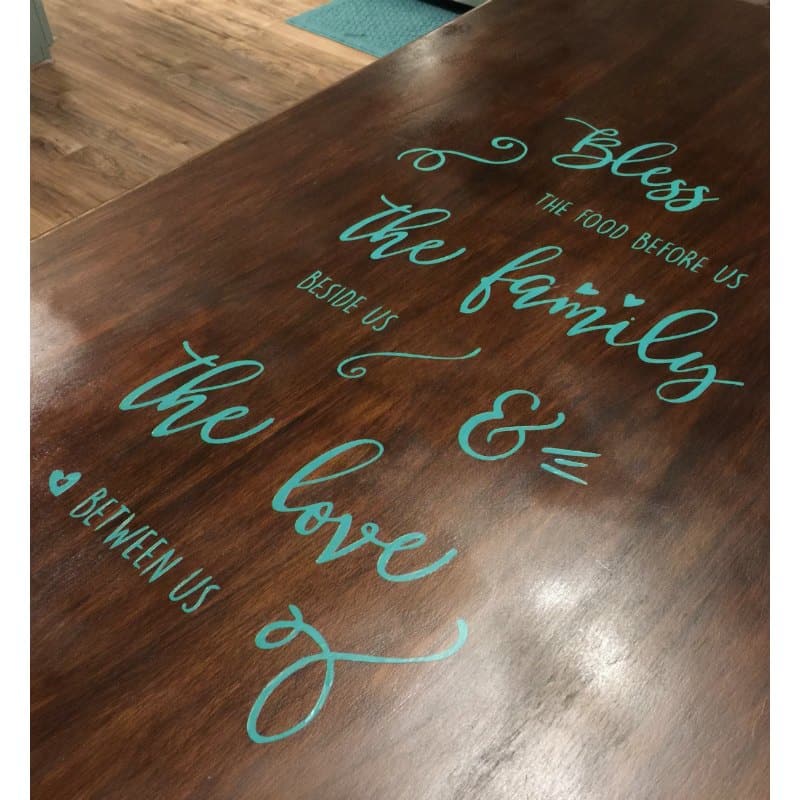
Next, I decided I wanted to do a dinner prayer quote on the top of the table. I wasn’t sure how this would turn out so I was very happy to test it on an inexpensive piece of furniture. I found a free svg file that I could use with my Silhouette vinyl cutting machine. I have the Silhouette Cameo machine. I had the Silhouette Portrait machine to start off with but that one only had a 9 x 11 print space. I love how the Cameo can print a 12 x 12 space. The portrait is much cheaper and a perfect starter machine for someone on a budget though.
I found the cutest free printable file called Bless the food before us from SVG Love online. I didn’t have a ton of time so finding a cute file that was already done was amazing! The fact the it was free was a total bonus! I downloaded the file and printed out my template using vinyl. Normally I would say go ahead and use some cheap vinyl since this is a template you plan to use once and paint over but not with this project. You use cheap the cheap stuff because it will seep through the lines and your project would be a mess. I didn’t want to take a chance with this table. When I say don’t use the cheap stuff I’m talking about the dollar store contact paper that everyone uses for templates. Although it is great for some projects, I wouldn’t use it for this project because it doesn’t stick as well as the good vinyl does. Especially if your table has any kind of texture. My table is not completely smooth. It’s wood. Wood has a small amount of texture too it.
I ended up enlarging the svg file to the size I wanted for the size of my table. It took me printing words out four times on the Silhouette mat. The biggest word on this file was the word family and I made sure that was blown up to fit the whole length of the 12 x 12 mat. There are tons of video tutorials on YouTube if you need to know how to use your machine.
I cut out the templates after printing them out of vinyl and placed the on the table exactly the way I wanted them.
I painted the vinyl stencils with Annie Sloan chalk paint (Florence color). I used a small paint brush. I made sure not to apply too much paint at once and to spread it gently. I would press down the vinyl template a second time right before painting it to make sure it’s completely sealed to the table top before you paint it.
Let the paint dry completely before you remove the stencil. I tried to remove one a bit too soon and noticed it didn’t leave a clean edge like the rest of them.
The rest of the table was in excellent condition so I just finished the top of the table with a spray on Rust-Oleum Shellac. I used the clear color. It sprays on and dries in just a few minutes. It’s probably one of the easiest products I’ve used that gives amazing results. I love easy! Make sure your area is well ventilated because the fumes are strong.
I finished up the table my applying a Annie Sloan dark wax on the legs of the table. Anytime you paint with chalk paint you need to seal the paint with a wax. You can also use a Minwax finishing wax if you want to save a few bucks. I’ve used that and it works exactly the same. I don’t use the fancy wax brush though. I apply the wax with an old rag.
This project took just about two hours to complete. The chalk paint always dries really fast for me. I live in Texas and the heat helps it dry fast. The drying time will depend on your environment.
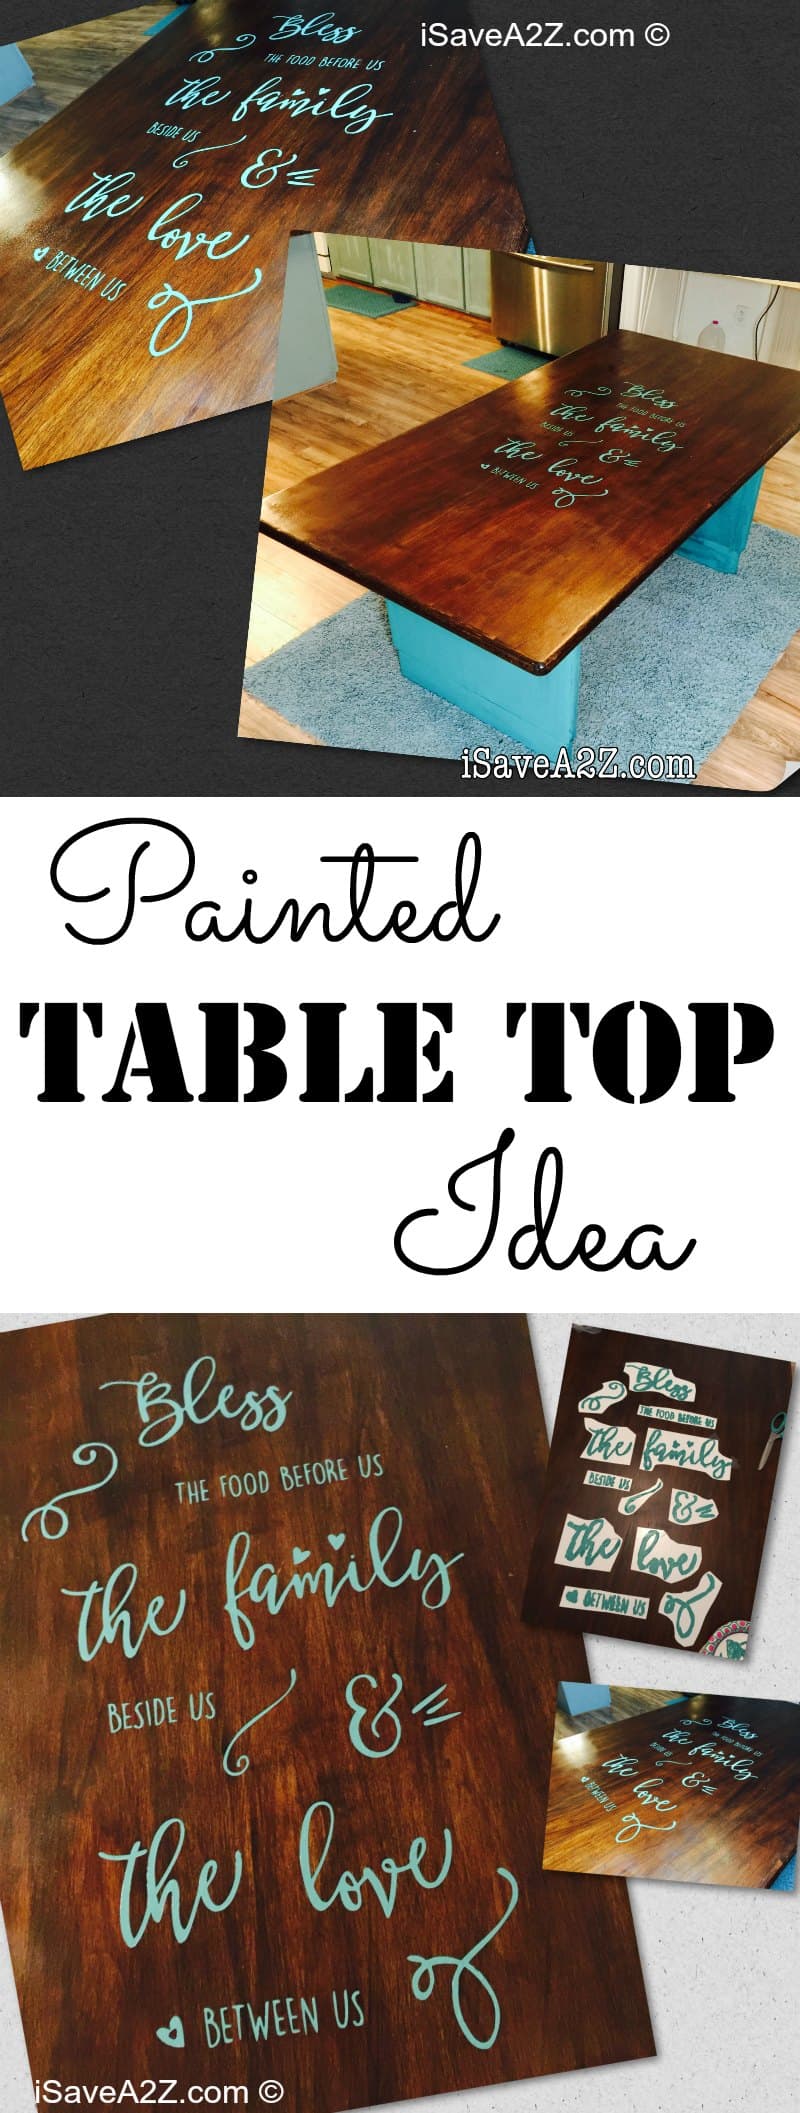
Feel free to Pin It on Pinterest with this image here:
Here are a few other projects we’ve done with our Silhouette machine:
This is a screen printing project. (stay tuned for a tutorial coming up on the blog in about a week or so)
This is a car decal we made with our Silhouette machine:
T-shirt designs using HTV and a heat press:
Heres an organization tip for your vinyl. By the baggy holders and use the holes on the sides to hold up your rolled up vinyl. This allows you to display all the colors at once. It’s very convenient when you are looking for a certain color.
I created some vinyl labels for my laundry room:
I added vinyl to my favorite coffee mug:
I created a stencil for glass etching:
Custom throw pillows with vinyl:
Monogrammed Gifts ideas:


