Homemade Shower Melts Recipe Using Vapor Rub
Homemade Shower Melts Recipe Using Vapor Rub
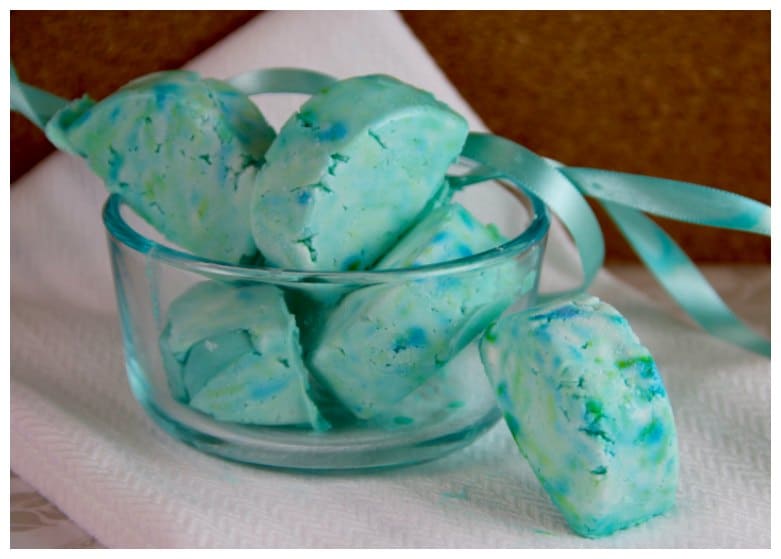
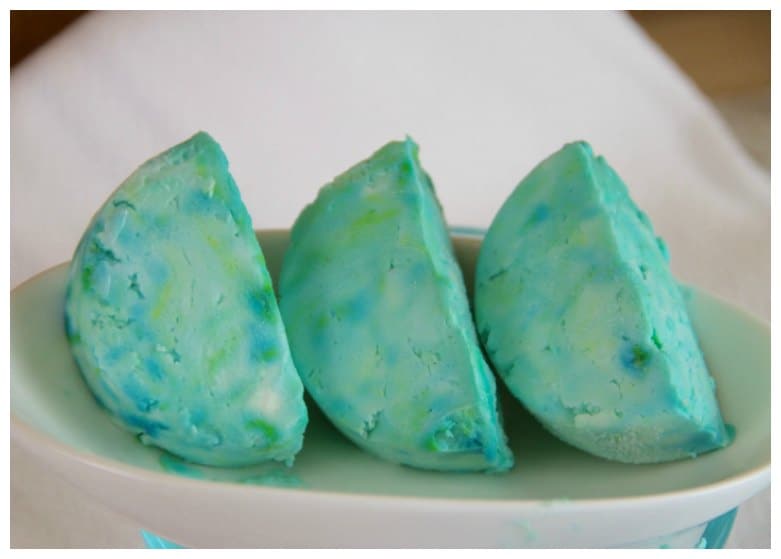
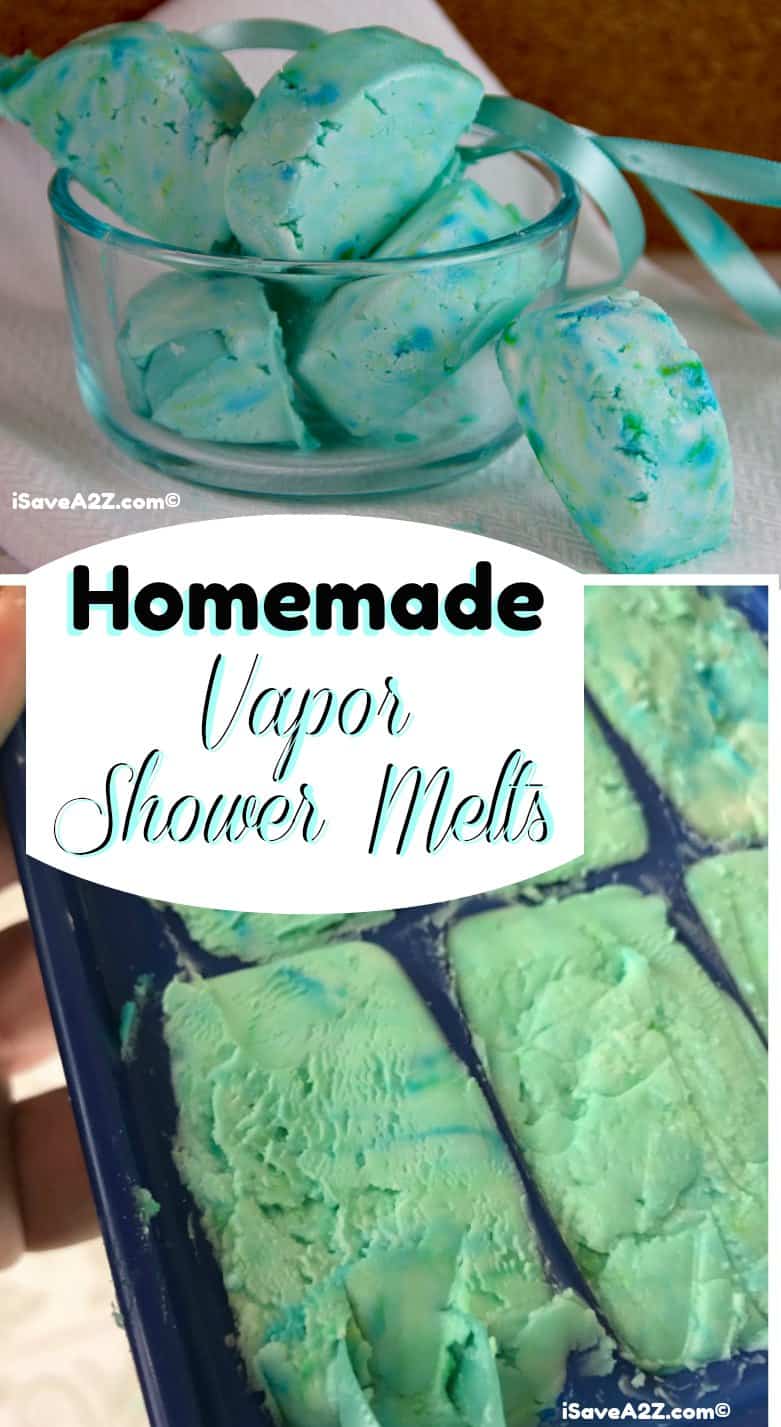
This Homemade Shower Melts Recipe is always made in the winter months. It really helps to add some steam and vapor to your shower to help clear sinus problems and a stuffy nose. My kids are not fans of Vicks vapor rub applied anywhere on their body so this was the next best thing.
Making this Homemade Shower Melts takes hardly any time at all. Just make sure you have a silicone tray or ice cube tray to form them in before you get started.
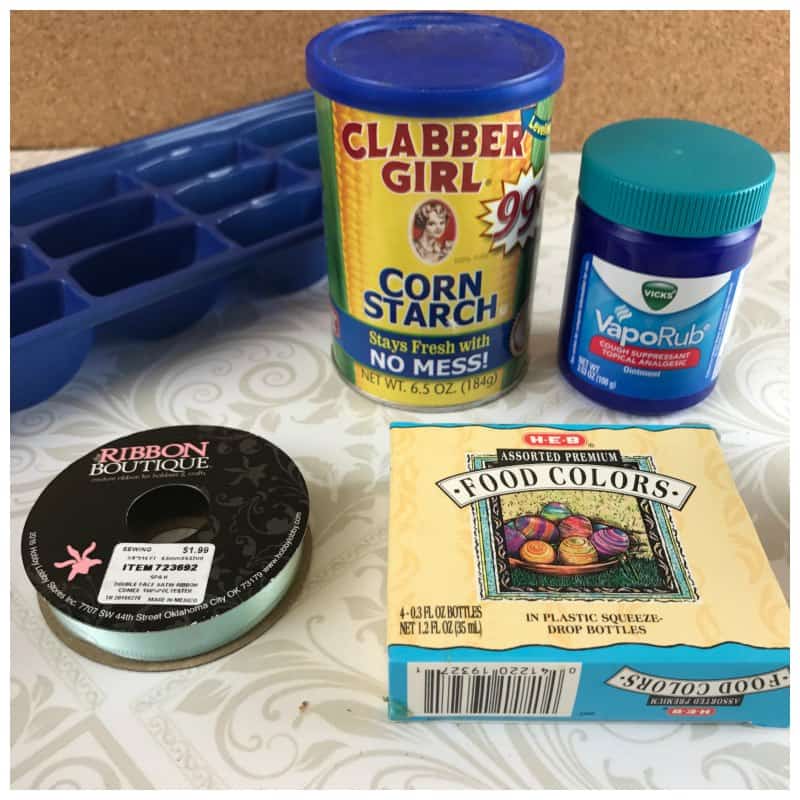
Homemade Shower Melts Recipe Using Vapor Rub Supplies Needed
Ice Cube Tray or Silicon Tray
1 Cup of Cornstarch
2 Tablespoons of Water
3 Tablespoons Vicks Vapor Rub (or the generic brand)
Optional: Food Coloring (Blue and Green for looks only)
Homemade Shower Melts Recipe Using Vapor Rub Instructions
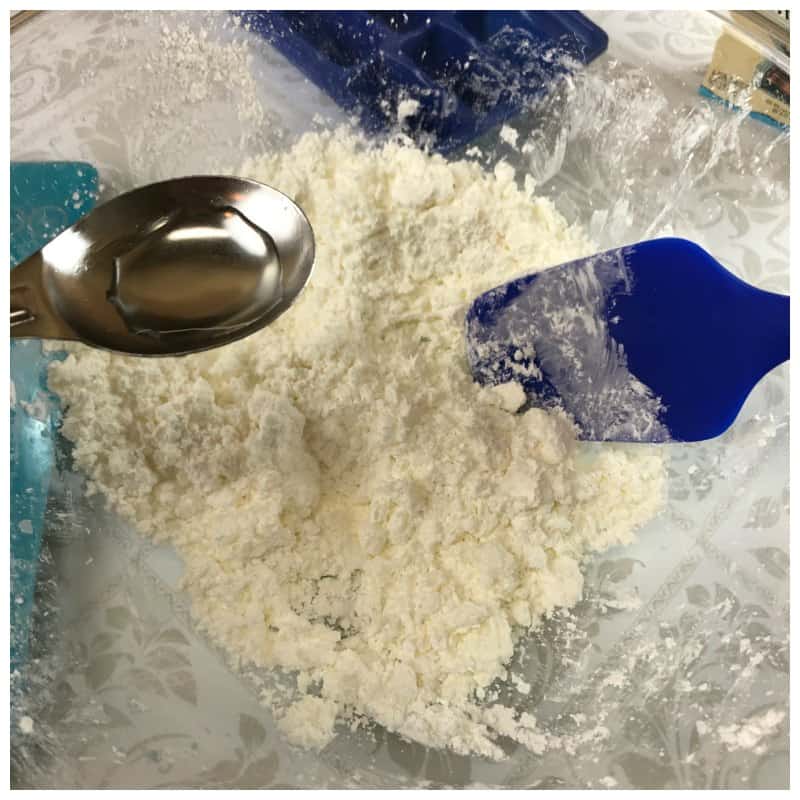
1. Mix the cornstarch and vapor rub together in a medium-size bowl. Once you start working with the vapor rub it will soften and begin to slightly melt.
2. Start adding small bits of water as you continue to mix the ingredients.
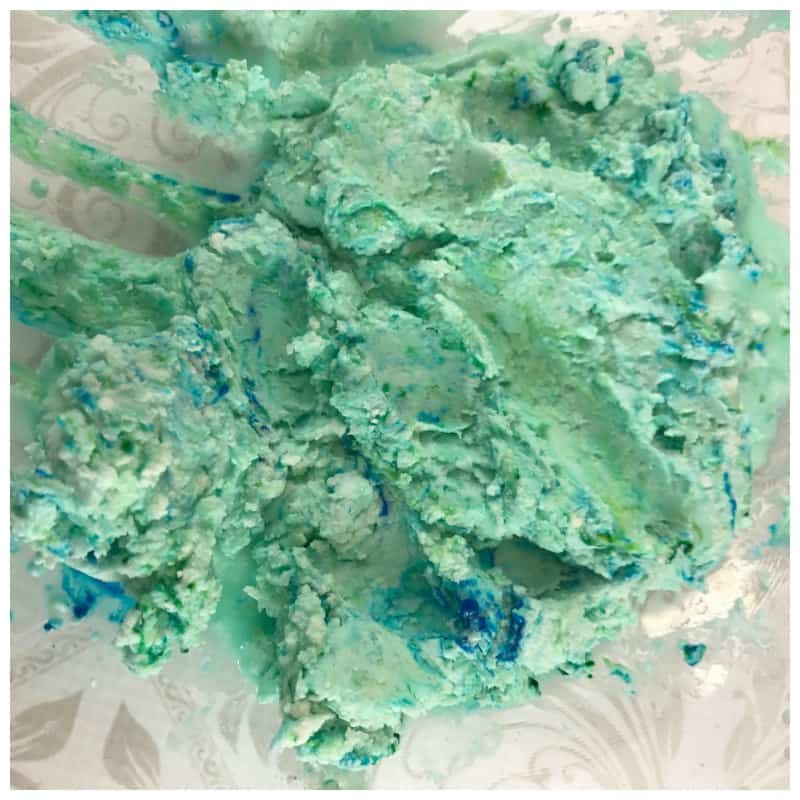
3. Once the mixture turns into a thick paste, slowly add a couple drops of each color and mix it just enough to get the look you want. Mix it less if you want more white to show through.
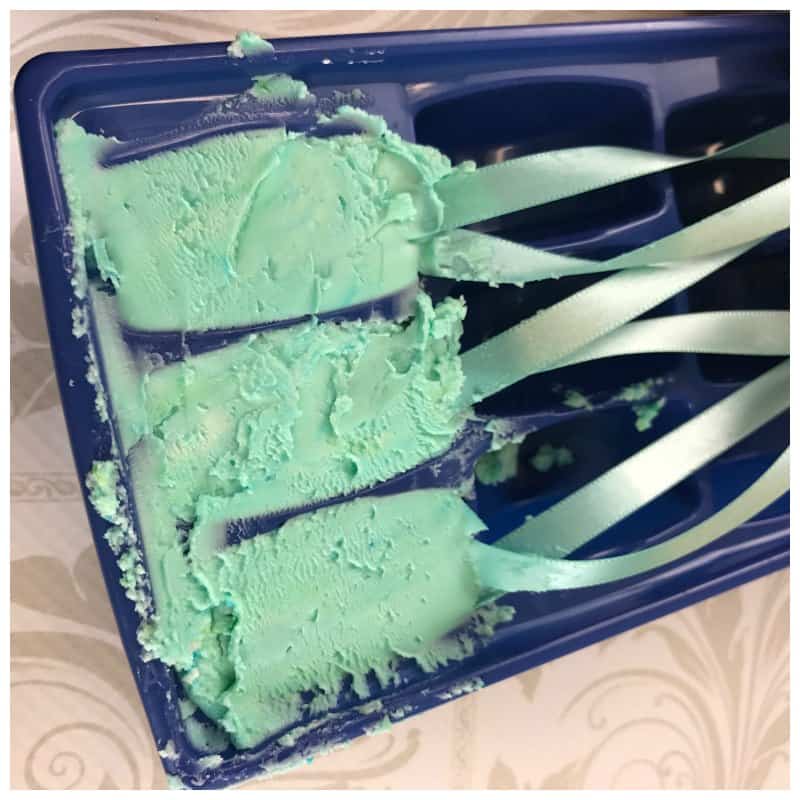
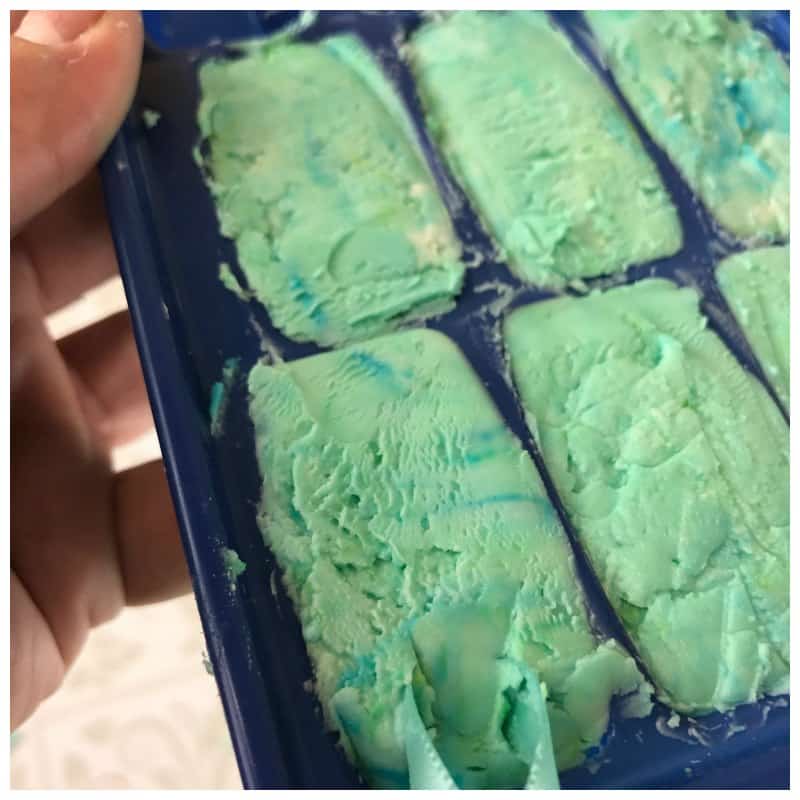
4. Finally, pack the paste into a cube of the tray and place them in the freezer to set. I used a small ice cube tray and this recipe filled up a tray and a half for me.
If you love essential oils as much as I do, you can totally make your own version of the vapor rub! This would be helpful if you are staying away from petroleum jelly too. You can make a homemade version of rub with the main ingredient of coconut oil.
Homemade Vapor Rub Ingredients
- 1/2 cup Coconut Oil
- 2 Tbs Beeswax pellets
- 20 drops of Eucalyptus oil
- 20 drops of Peppermint oil
- 10 drops of Rosemary oil
- 10 drops of cinnamon oil
Homemade Vapor Rub Instructions
- Melt the coconut nut oil and beeswax pellets in a medium pan.
- Remove from the heat and add all the essential oils.
- Pour into small size mason jars.
We’ve started making our own vapor rub and the scent is delightful! It’s much better for you too. This is an adult version recipe. If you plan to use this for babies, you really need to dilute the ingredients. Just as a disclaimer, I encourage you to check with your healthcare provider/doctor before using essential oils on babies or young children.
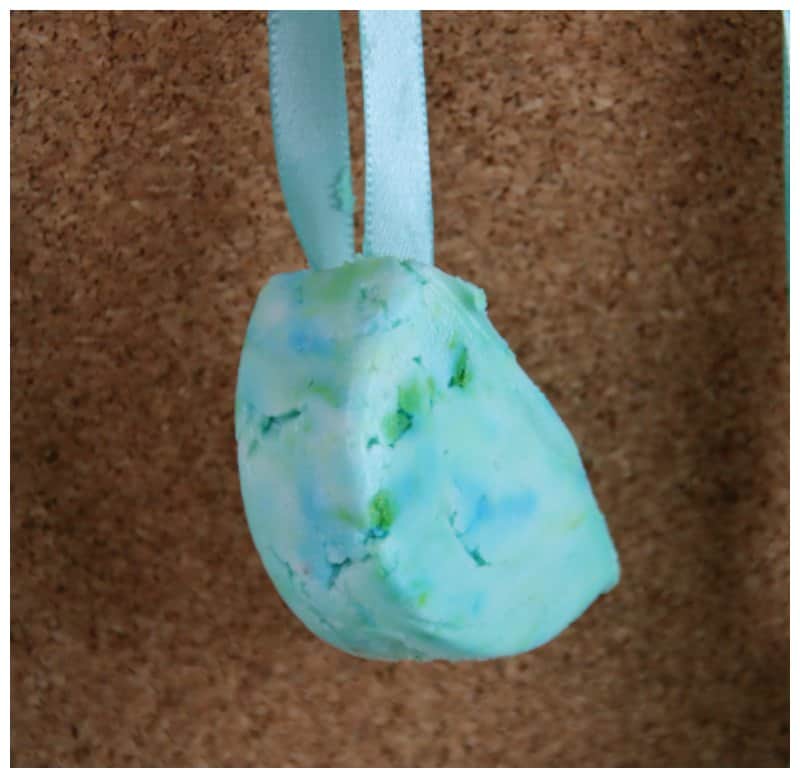
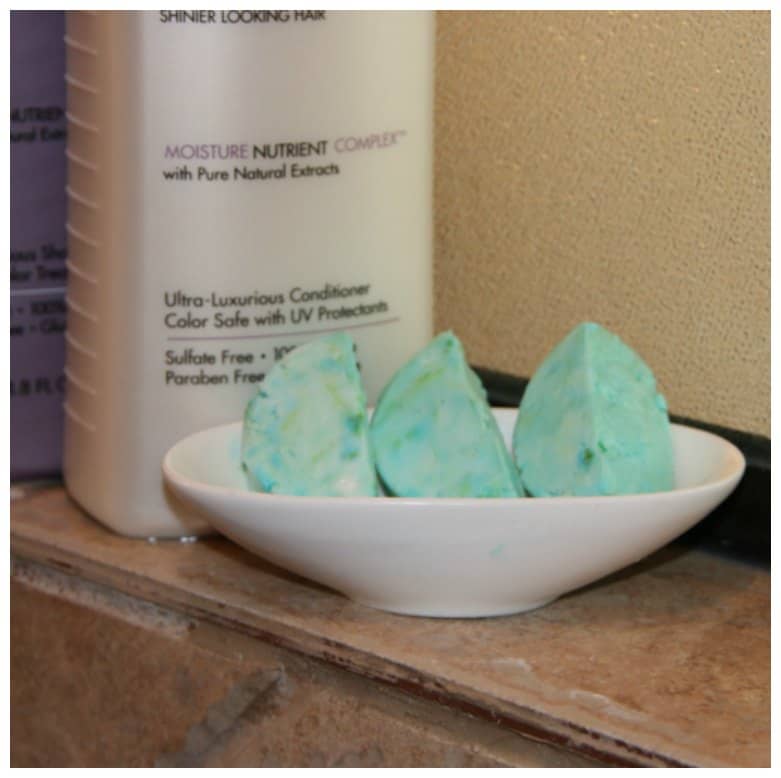
You will notice that I placed ribbons some of the cubes I made. This makes them easy to pull out of the jar but don’t hang them in the shower like I did. It turned out to be a total mess. It will fall off the string and become very slippery in the bottom of the shower. Instead, place them in a small bowl they can melt into when in the hot shower. You will still get the benefits of the vapor shower melts but without the mess. Lesson learned!
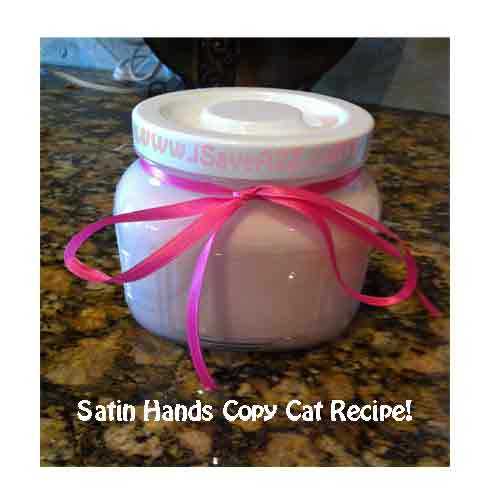
We’ve made tons of sugar scrubs and shower melts in our time. Still, to this day, my number one favorite sugar scrub recipe is one made with sugar (believe it or not). It’s this Frugal Hand Scrub Recipe – Just Like Mary Kay’s Satin Hands!!
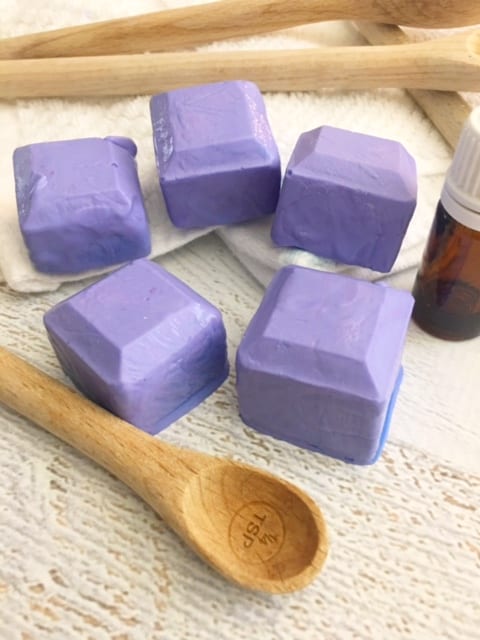
Here’s another fun shower melts recipe that I am in love with. I learned about this recipe when I found some Long Handle Measuring Spoons by Utensi last year. They have their own blog that shares tons of DIY and craft ideas! Just look at this Homemade Shower Melts Recipe made with Lavender! These would be super cute if your bathroom is decorated with lavender or purple.
OH! And do yourself a favor and grab a set of those long handle measuring spoons too! They have been so helpful in so many recipes I make. They make awesome gift ideas for a crafter or a cook! You will see my spoons in a lot of my photos. Love, love, love them!
Here are the process photos we took while we made our Homemade Shower Melts Recipe Using Vapor Rub!
Don’t forget to Pin It on Pinterest for later!
Here are a few other favorites you might enjoy:
Homemade Peppermint Sugar Scrub Recipe (Free Printable Label Included)

