Chocolate Fox Cupcake Toppers
Chocolate Fox Cupcake Toppers
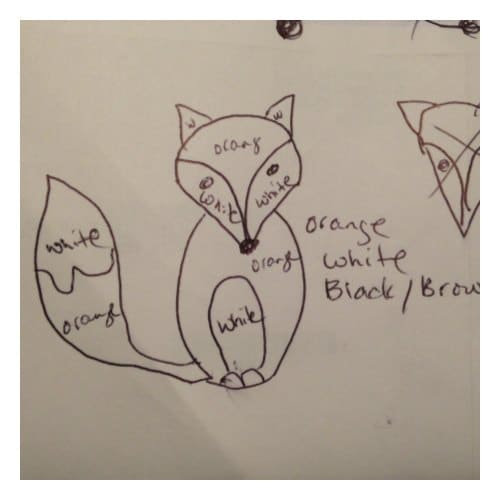
I’ve been wanting to create a unique and fun cupcake idea for my daughters birthday at school so I decided to go with one of her favorite animals. I say one because she has many favorite animals but the fox is not something I’ve attempted to make for a cupcake. I tried searching all over Pinterest for a fun fox idea but didn’t come up with anything cute. Don’t get me wrong. There are tons of very artistic people on Pinterest and some amazing pieces of art too. I wanted something cartoonish and cute with this fox. I decided to draw out my very own cute fox version. Don’t laugh. This is what I started drawing when this idea came to me.
My older daughter, who is now 19 and an art major in college, kinda laughed when she saw it. She quickly jumped in to help me create a cute fox in printable format so that I could get these chocolate fox cupcake toppers done. Grab this free printable Chocolate Fox Cupcake Toppers template here. You can print this pdf file in color and trace each fox to make this project easy! You can create 9 chocolate fox cupcake toppers per template so print out as many as you need.
Here are the items you need to make the Chocolate Fox Cupcake Toppers:
1 Bag of Wilton Orange Candy Melts, 12-Ounce
1/2 Bag of Wilton Dark Candy Cocoa Melts, 12-Ounce
1 Bag of Wilton White Candy Melts, 12-Ounce
3 Disposable Icing Piping bags (Don’t use baggies because they are not strong enough for this project)
1 crockpot
3 mason jars to melt the candy melts
Parchment Paper sheets
Tape for your printable templates
Instructions to make Chocolate Fox Cupcake Toppers:
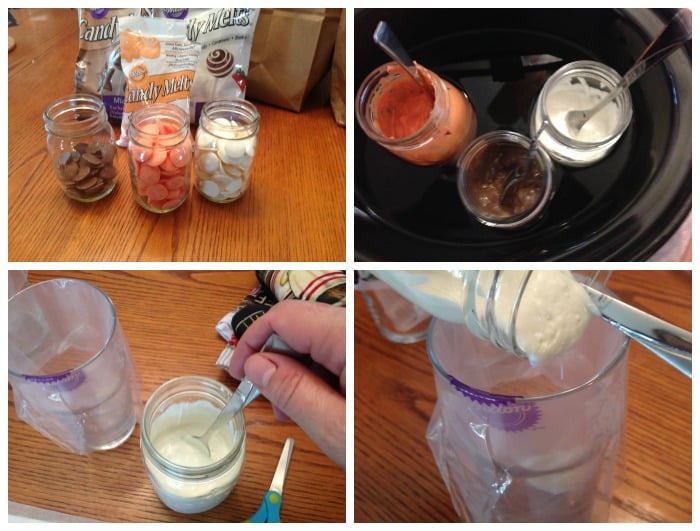
First, start melting all of the chocolate candy melts. Use a different mason jar for each color. I used a full bag of the orange and white candy melts. I only used about 1/2 a bag of the brown candy melts. Fill the crockpot with water until each mason jar is covered about 1/2 way up. Turn the crockpot on high. It will melt the chocolate in about 30 to 45 minutes. I prefer using the crockpot because it will keep the chocolate warm so I don’t have to rush when creating my chocolate designs.
Print out as many of the fox templates you need for your cupcakes. Tape the parchment paper on the table over your fox templates. This will hold it in place when you work. Be sure to tape them all down before you start working with the warm chocolate. I ended up printing four templates.
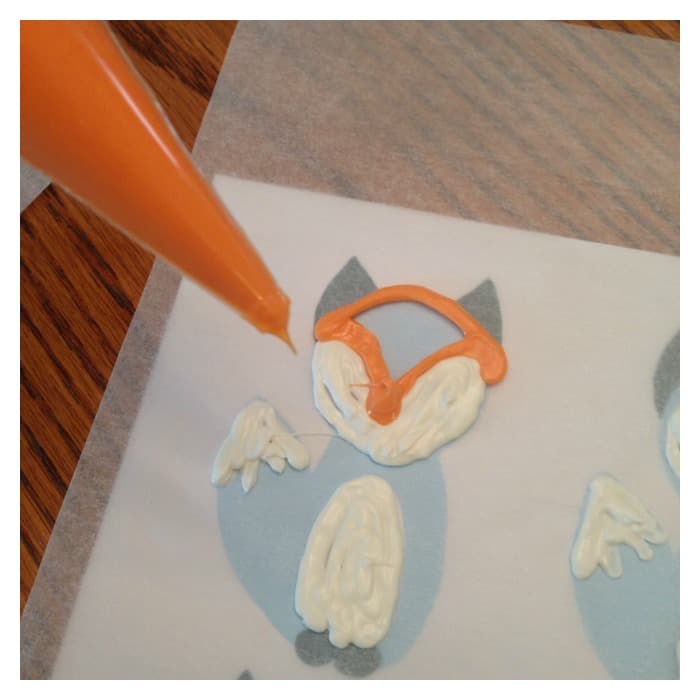
You will work with one chocolate color at a time. Once the chocolate has melted place a disposable pipping bag in a cup and flip the sides over the edge of the cup. This will hold the pipping bag in place while you fill it with the warm melted chocolate. Do this one color at a time. Do not fill all the colors at once. The chocolate needs to be warm when you are working with it. When you are not working with that color anymore be sure to stick it back in the crockpot to keep it warm. You may need to go over a fox or two at the end if you missed a part or if one area is too thin. I will explain this more later. I ended up just sticking the bag into the used empty mason jar in the crockpot. It kept it warm enough to use later.
TIP: When filling the chocolate on the template, do an outline of the area you want to fill and them fill it in with the color. This way the lines are much smoother.
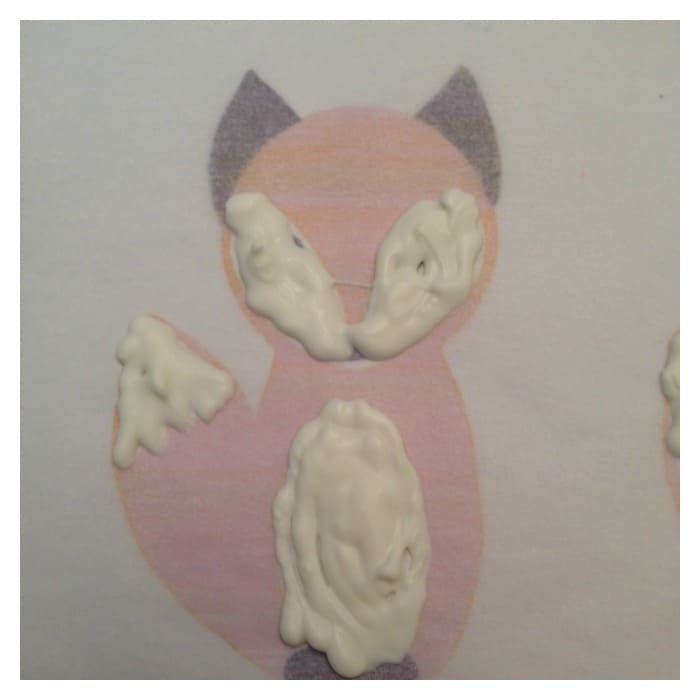
I started working with the white color. Trace all the white parts of each template. You can start with any color you want it really doesn’t matter or make a difference because all the colors eventually stick together. I tried starting with the orange color too.
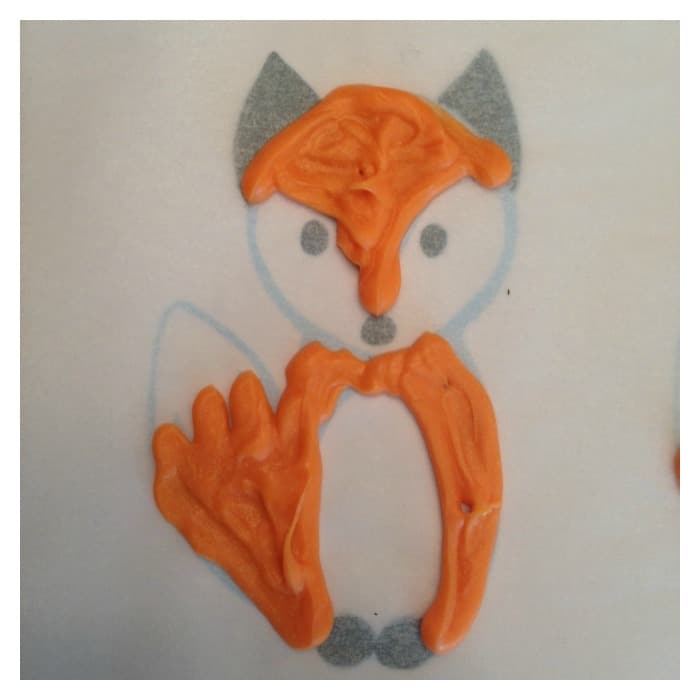
My printer started to run out of colored ink on a few of my templates. Doesn’t that always seem to happen that way? Always when you are right in the middle of a project that you don’t want to stop. I really only needed the template and I knew the colors so it really didn’t matter for me but that’s why you see the next photos as a bluish color on the fox.
As I was working away on a bunch of these fox toppers I kept singing “What did the fox say?” The song was stuck in my head!
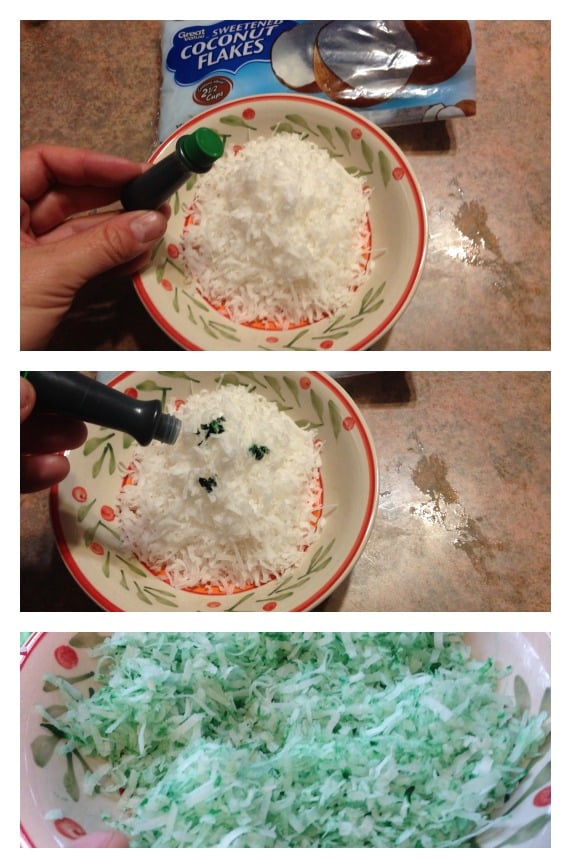
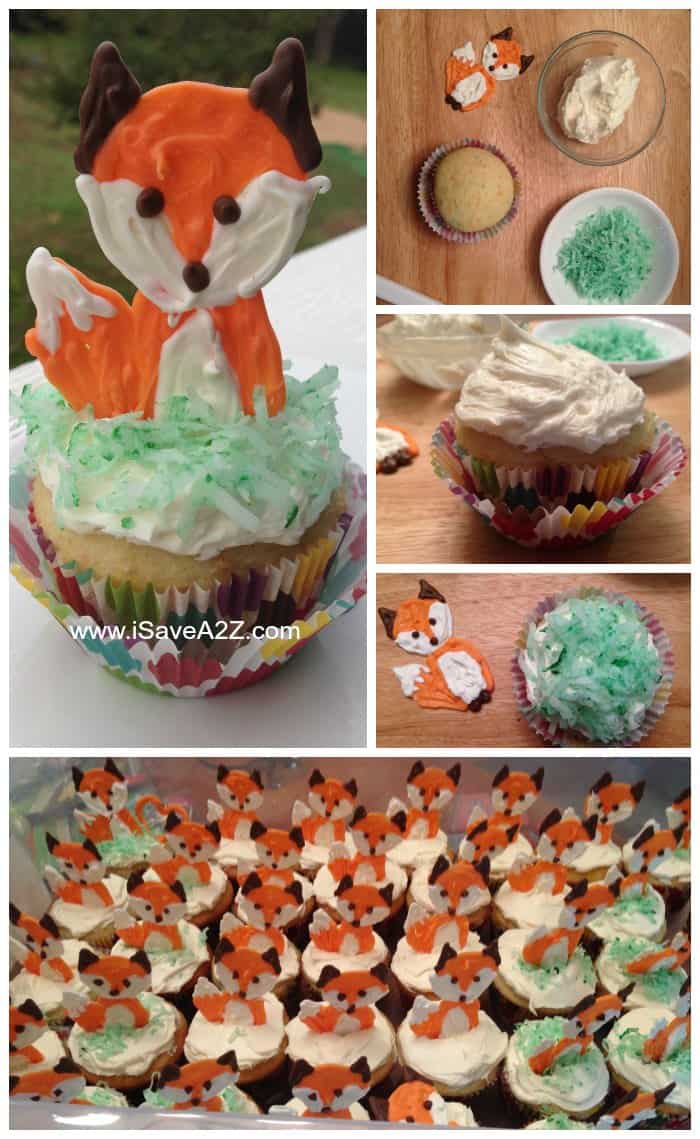
Next step, I ended up using food coloring to tint some coconut green. I wanted the coconut to represent the grass. I used about 1/2 bag of coconut and only about 4 or 5 drops of green food coloring. This part is optional. You could crush Oreos for a dirt bottom or leave it white for a snow look too. Or you could even tint the frosting any color you want too.
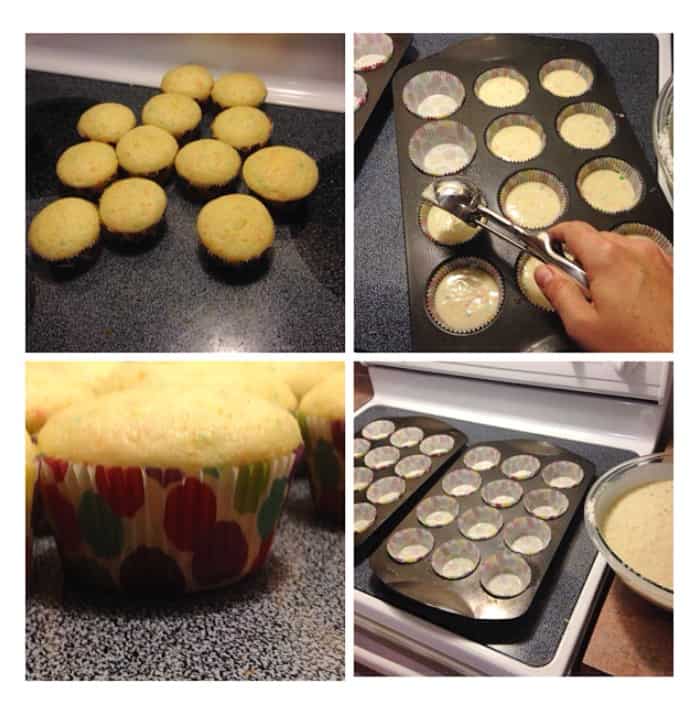
Be sure all the cupcakes have cooled to room temperature before you start frosting them. If you don’t, you will have frosting dripping down the sides of them and a big mess.
Frost the cupcakes.
Add the optional green tinted coconut.
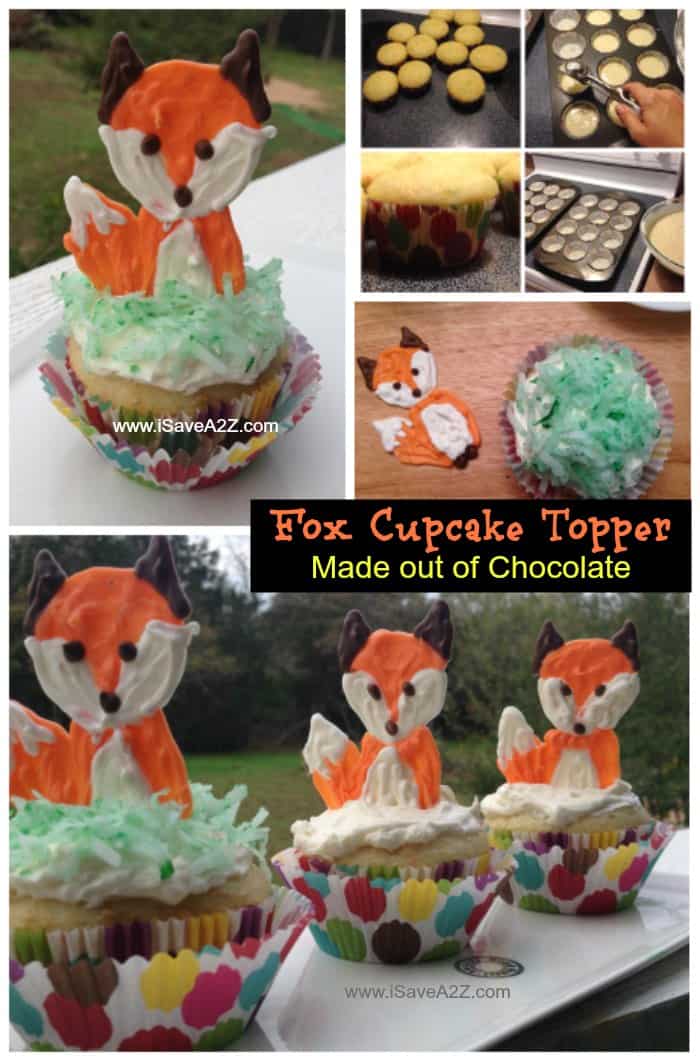
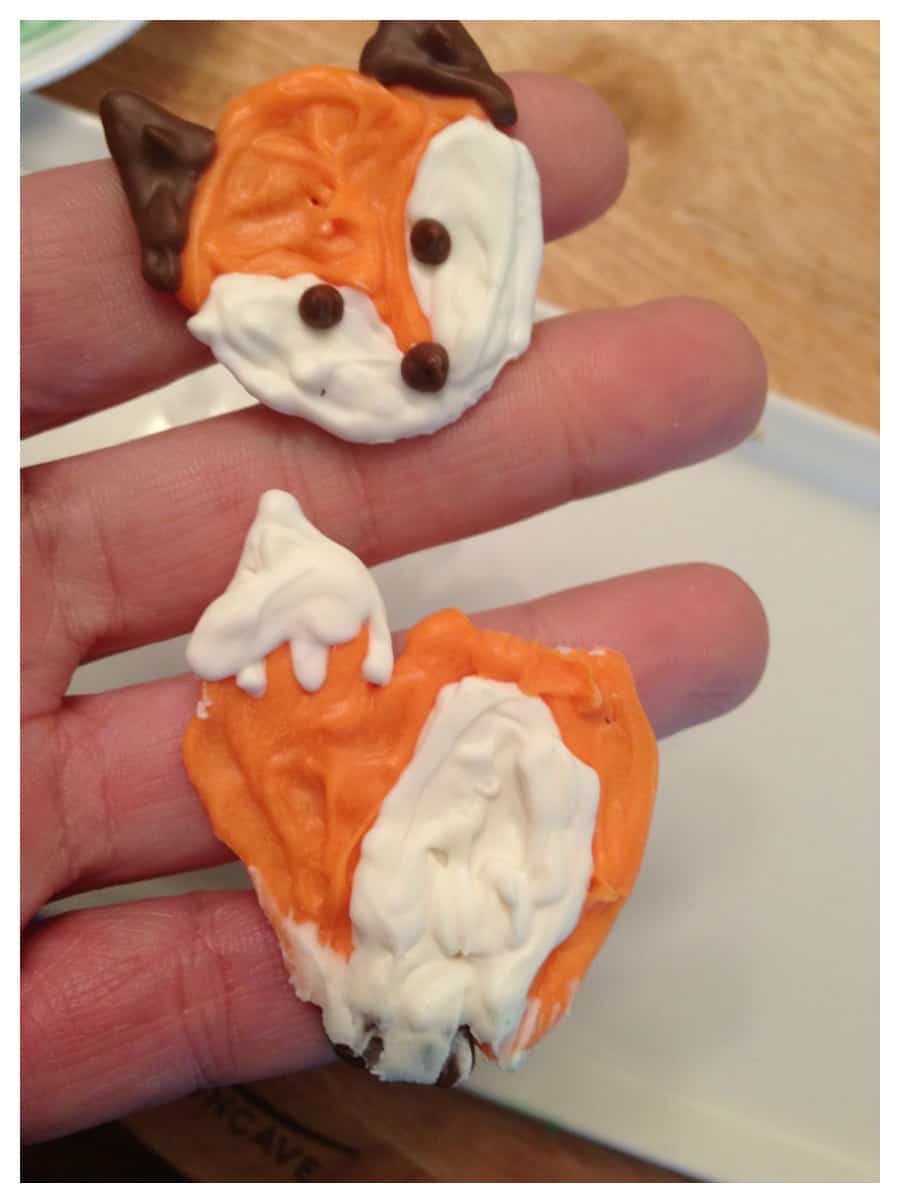
The final step is peeling the chocolate fox toppers off the parchment paper and sticking them in the cupcake. I had to stick the feet into the cupcake so they would stand straight up.
Here are some things to consider. When you are making the fox try to put more of the chocolate at the feet of the animal. This way it won’t be top heavy and fall over. Also, be sure you put a thick amount from the neck area to the body area. You don’t want the heads to fall off either. I ended up going back over some of them to add another layer of chocolate when I thought some of it was too thin.
Be sure not to grab it from the neck area like I did here. I put it in the cupcake to test it and quickly grabbed it from the head to pull it back out so that I could add the coconut but it broke off. It was the only one of thirty that I did that broke. All the rest of them I handled by the body and they were fine. Poor little guy. lol
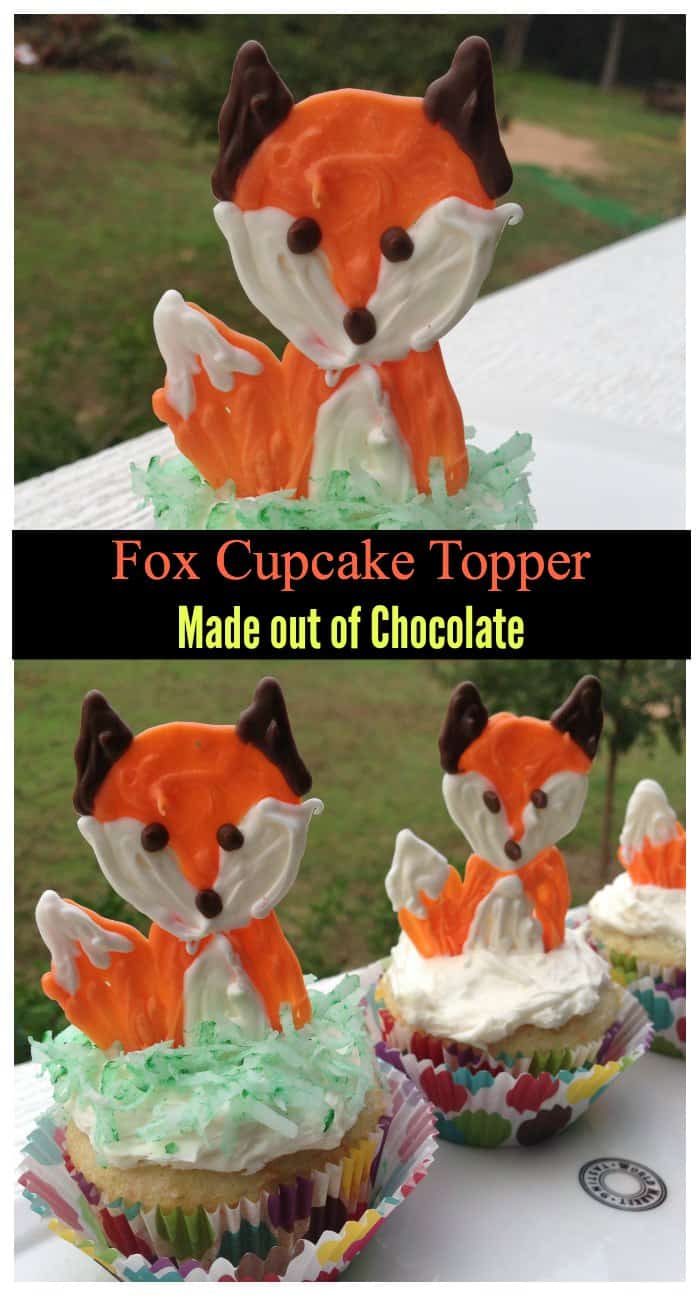
Here are a few Pinterest friendly photos if you want to Pin It for later:
What do you think? Do you like how they turned out? Would you attempt this project?




Great job, Jen!! And Happy birthday to Mel!