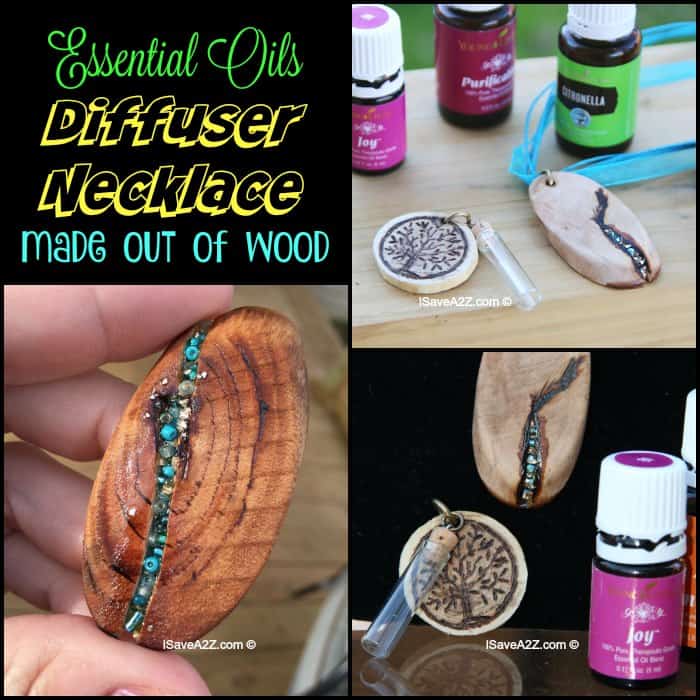
DIY Essential Oils Diffuser Necklace Made out of Wood
 DIY Essential Oils Diffuser Necklace Made out of Wood
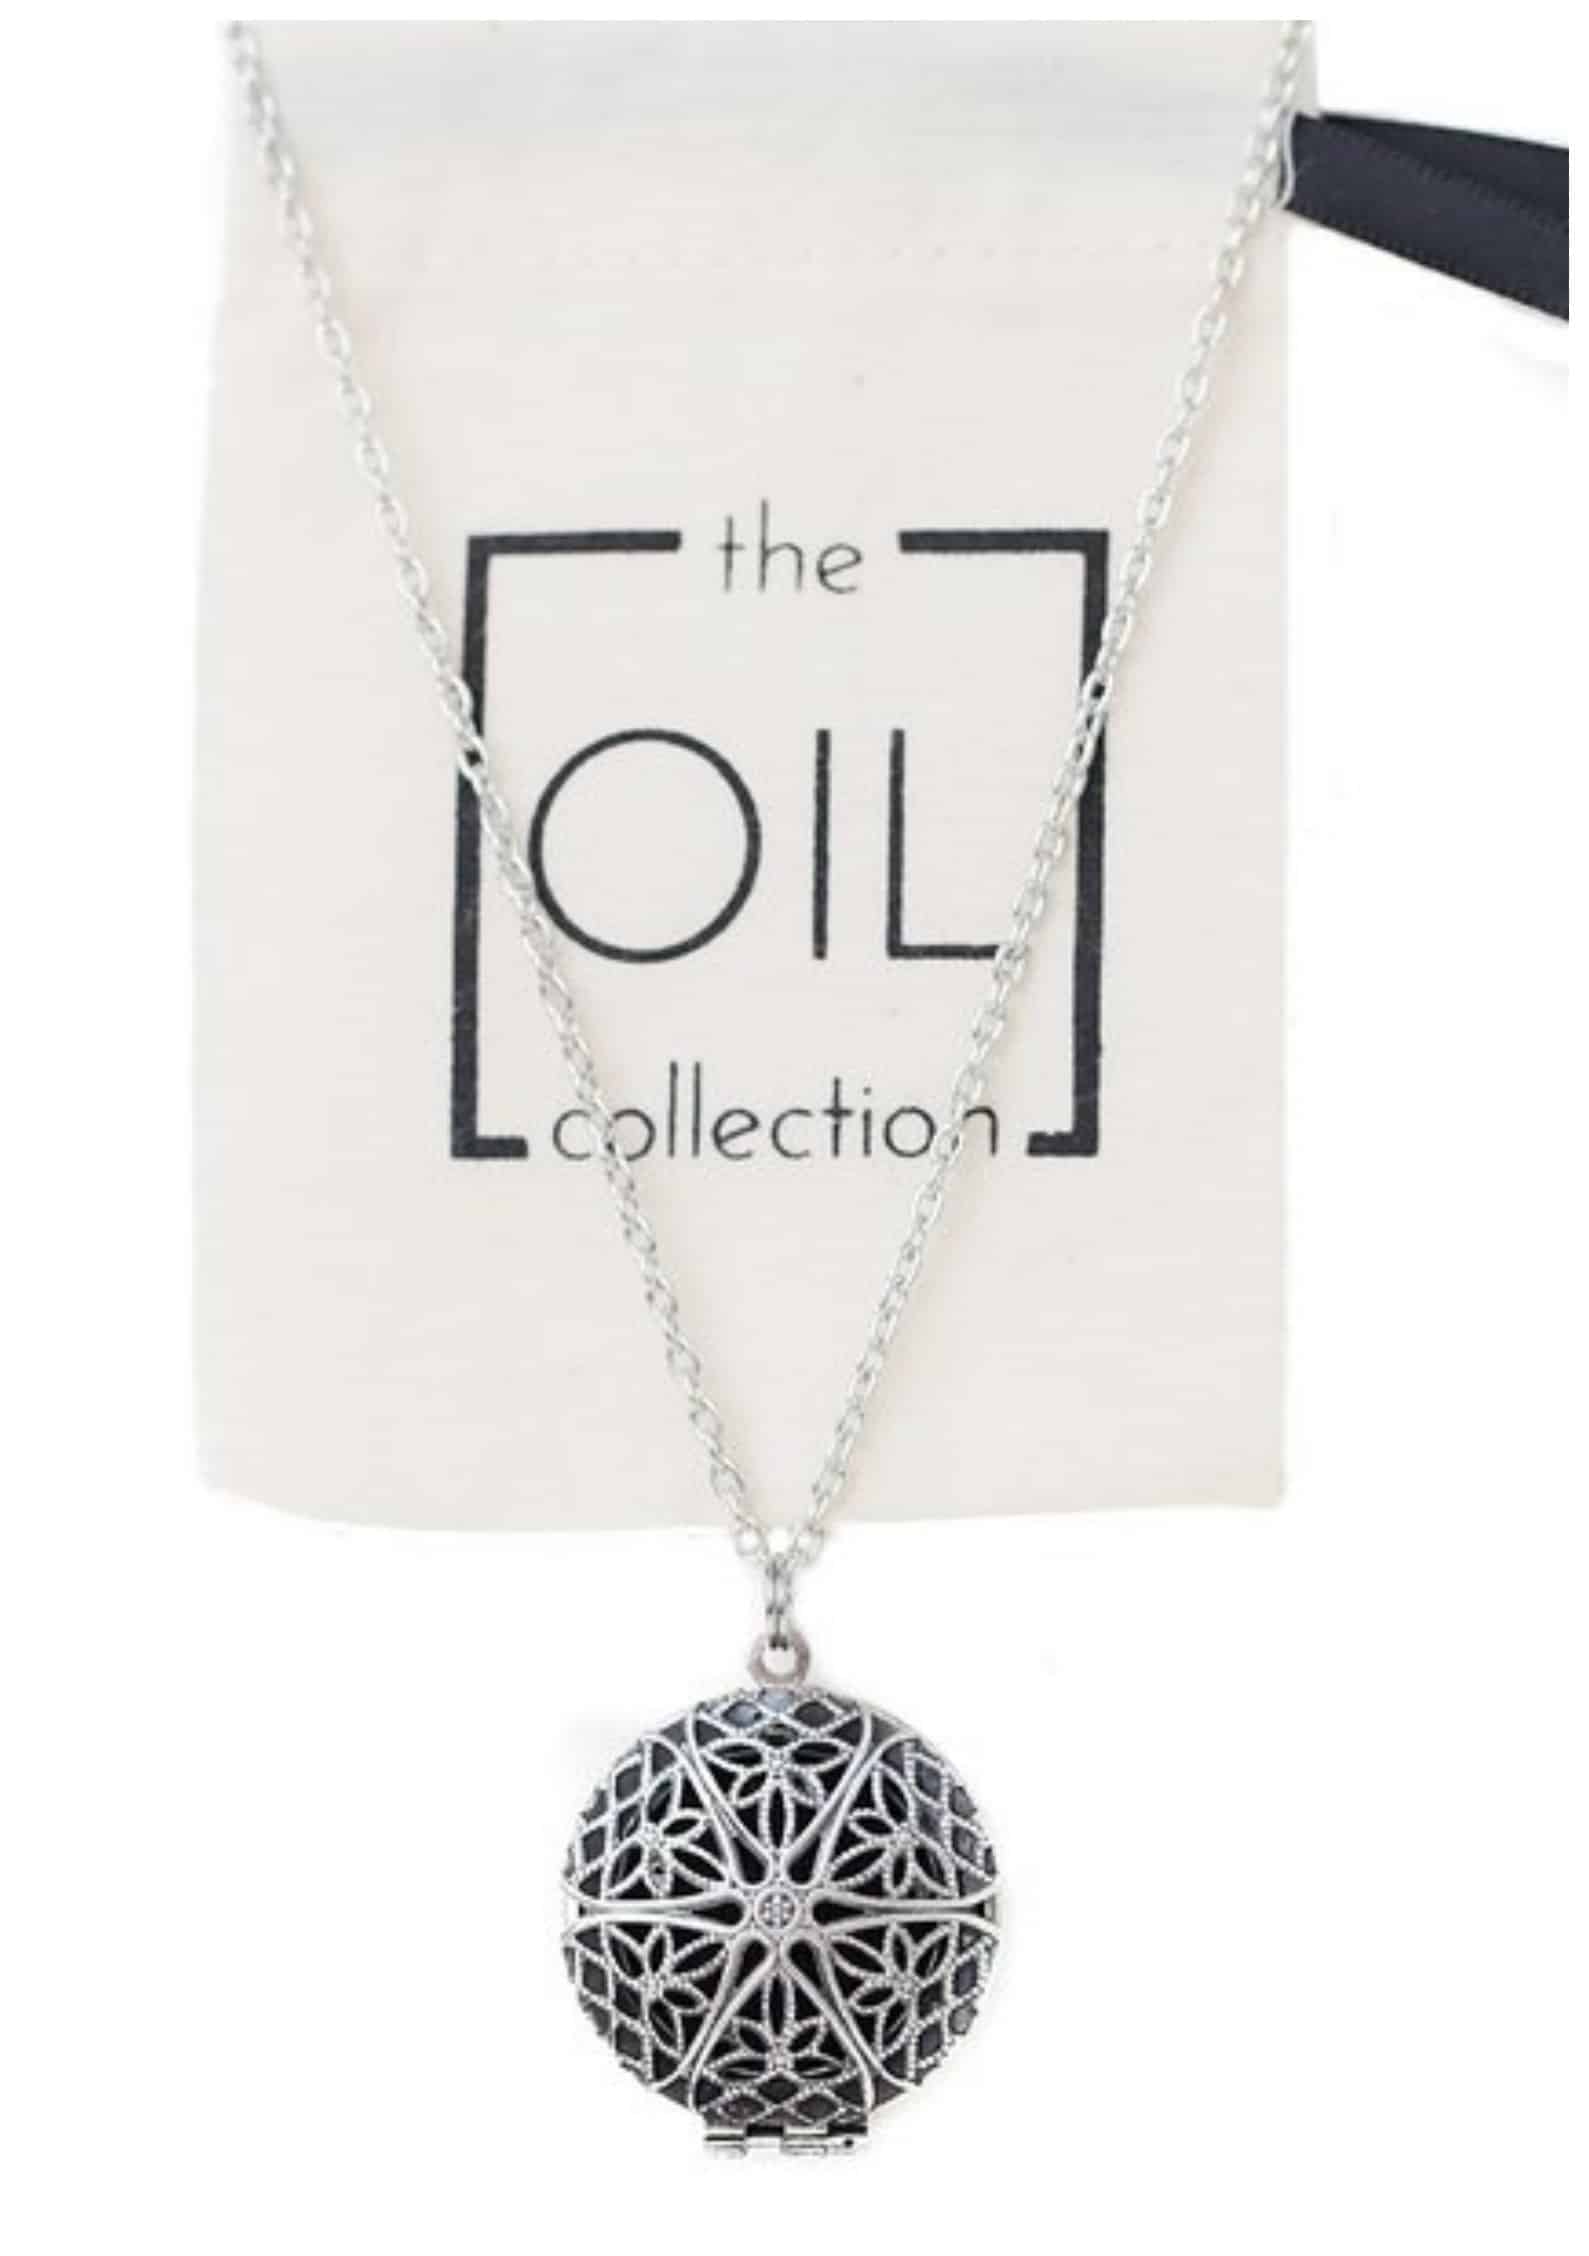
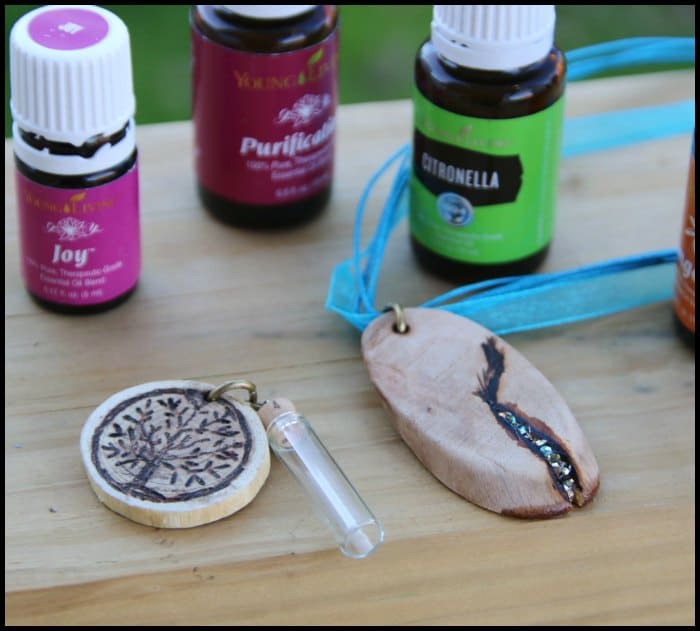
I am completely in love with my new DIY Essential Oils Diffuser Necklace Made out of Wood! I had recently done a Essential Oils Diffuser necklace out of clay but I have learned that wood is so much better. The essential oils soak into the wood and hold for a very long time! The oils turn the wood a slightly darker color which comes out beautiful too. I use these pendant necklace pieces in my everyday life but there are different Essential oil diffuser pendants as seen here on Amazon that I use to dress things up a bit too. I have a few different pieces of diffuser jewelry items and I love them all! Here’s my recent purchase!
Cute right?!! It’s really good quality too!
My inspiration for the project came when I was shopping at Hobby Lobby in the wood section. I was about to make a photo collage and plaster it to some sort of wood. I’ve seen all kinds of ideas on Pinterest but I just couldn’t find the right size or layout I needed. I was in the isle that has all the wood boards, embellishments, burners etc… Have you noticed how many cute embellishments they have in this section?! They have keys, arrows, butterflies, owls, and plain old wood circles. I saw a small bag of wood circles and another bag of oval shaped wood pieces too. All of these were just the right size to make a necklace pendant. I immediately thought of my Young Living Essential oils. There are some of those oils that I use daily and I would love to have that scent hanging on a necklace so I can smell it all day long. It’s especially good for those energizing oils! There are also times when the bugs are so bad in the country where I live that I cannot go anywhere without my Citronella oil or my Purification oil. I ditched the idea of making a photo collage and got right to work on my idea for my DIY Essential Oils Diffuser Necklace Made out of Wood! The next thought came to me when I remembered seeing a beautiful wood table that had an imperfection in it. Someone inlayed stone and glass to make that imperfection stunning. I started looking through all the bags of wood circles so that I could find an cracked or broken piece so I could do this same thing.
My project idea starts…
Here’s a few items I grabbed to start my Essential Oils Diffuser Necklace:
Wood Chips for crafting like these I found on Amazon. (Your local Hobby Lobby store carries them too)
Essential Oils – I love my Young Living Oils but they also have some you can buy some Essential Oils on Amazon here too.
Small Jewelry Beads or Crushed stone for the center (I love the crushed turquoise stone)
Gold and Silver Glitter Flakes
Blue painters tape
Here’s how I made my Essential Oil Diffuser Necklace:
I started with a few blank wood chips. You can buy these at the craft store or cut them off trees yourself. If you do cut them yourself be sure to get sanding paper because you want them to be super smooth. They are super cheap at the stores and I like easy so I grabbed a bag at Hobby Lobby. I purposely looked at each bag to examine the chips for imperfections. I really wanted some that had cracks in them so I could do the stone or bead inlay. I also stumbled upon some cute wood embellishments that will work perfectly too. (see photos below)
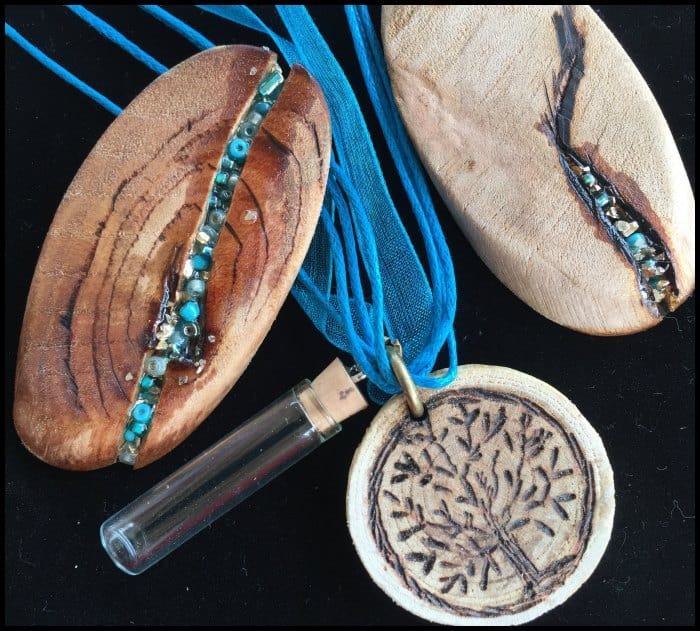
I used my wood carving tools to dig a little bit deeper in some of the wood chips. I accidentally broke one of the wood chips in half by pressing way to hard trying to dig a deeper whole. I thought the piece was ruined but I used it anyway and it turned out to be one of my favorite pieces when I finished.
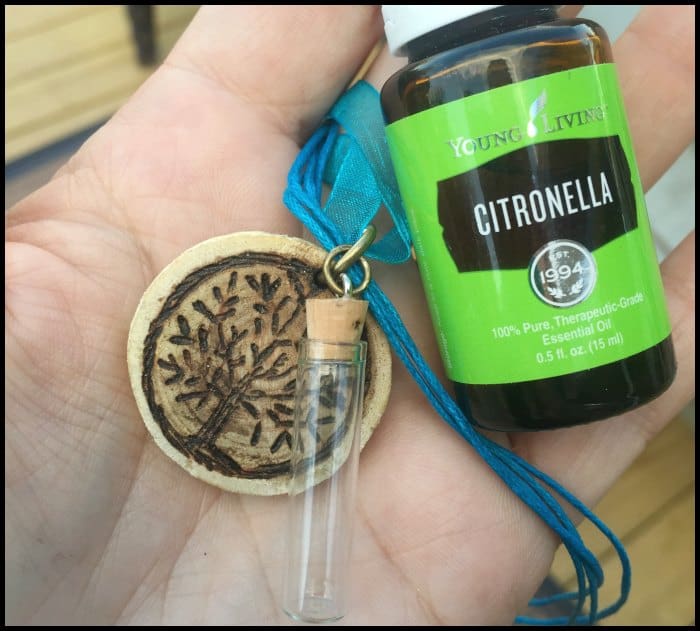
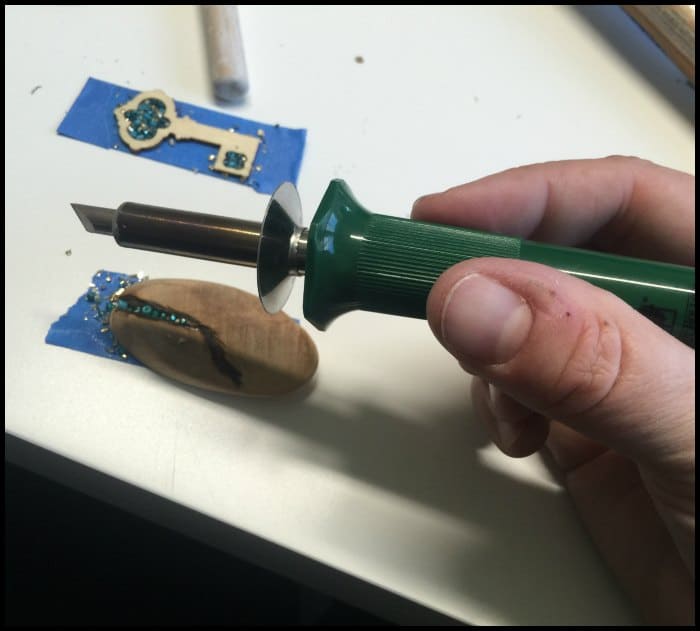
I used my wood burning tool to create some darker spots on the wood just to accent some of the natural wood design. You can draw a free hand design on your wood chip and use the wood burning tool to make it permanent. I actually used my Silhouette Cameo vinyl cutting machine to create a tiny Tree of Life design for one of my pendants. Gosh I love that machine! I had my design traced and cut out in under 5 minutes!
For some of my diffuser necklace wood pendants I did a wood burning design and some of my other pendants I did the bead/stone inlay technique. I really wanted a bunch of different pendants because I like to keep a different pendant for each of the oils I use. Sometimes I will mix them but some I won’t. For example. I always want a citronella essential oil pendant for when I am outside when the mosquitos or bugs are real bad. Other times, I may want my orange scented diffuser necklace because that always boosts my mood. These scents tend to last a long time on the wooden necklaces.
For the inlay technique I placed a piece of blue painters tape on the back side of each of my wood pieces that had holes all the way through so the beads, stone or resin wouldn’t drip through.
I filled the holes with different color glass beads (very tiny beads like these but more of a turquoise blend like this) and then added some bits of gold and silver glitter flakes too. After I added the beads I decided I really wanted to burn the wood around the crack. I did the wood burning before adding the resin. I should also mention that I used the wood burning tool to burn a hole for the jump ring too. You can use a drill but I really like the dark color it created around the hole. The wood burning tool I have comes with many different tips. It has a really small tip that allows me to make the hole I needed. That same small tip allows you to get creative with designs too. You can see all the different tips it comes with here.
Once I had the beads laying exactly how I wanted them I started to mix the Ice Resin. I squeezed a small amount into a disposable plastic cup. Then I stirred the mixture for exactly one minute as the instructions told me to do. I let the mixture set for another minute or two so it would become thicker. I found it so much easier to work with a thicker mixture. I used an old small paintbrush to dab drops of the resin on to each necklace pendant. I did not cover the whole wooden pendant. I only covered the bead portion and cracks. It’s important to leave some of the wood exposed so your essential oils will soak into the wood. It’s also important to add the resin to all of the pendants at the same time (if you are making more than one). You don’t want your Ice Resin mixture left out to harden after a long period of time. I believe the instructions say to let that sit for about 6 or more hours. I left mine overnight which turned out to be more like 10 hours.
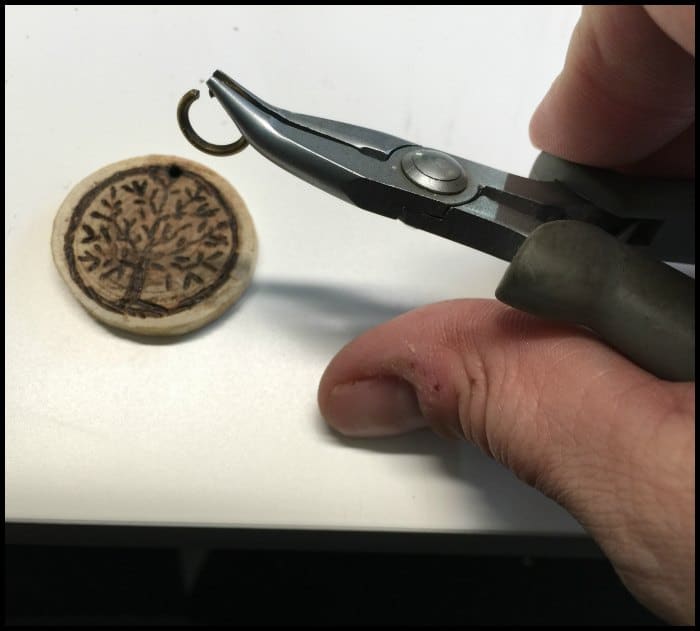
After the resin has completed formed and dried, I was able to add the jump ring with a pair of needle nose pliers and attach the finished pendant to a necklace cord. If the resin leaked at all and you don’t want the wood to be a darker color you can always sand the wood chip anywhere you need to.
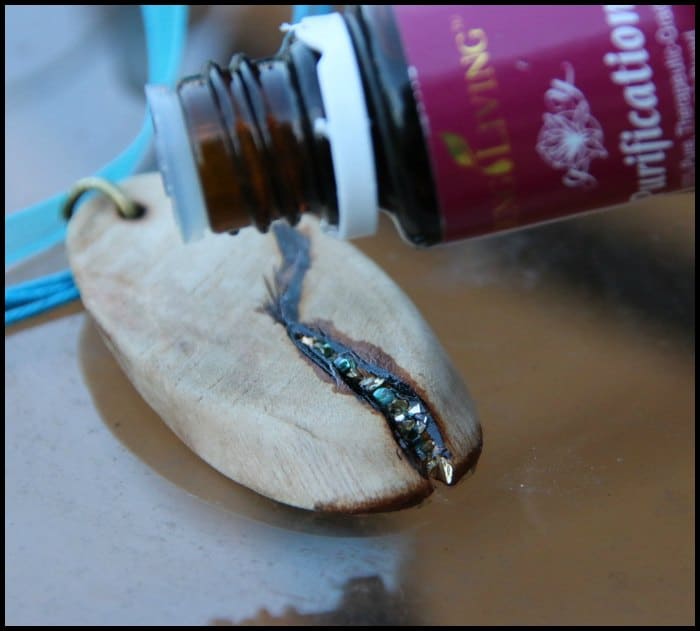
Now all that’s left to do is add a few drops of your favorite essential oil(s) to the necklace and enjoy it!
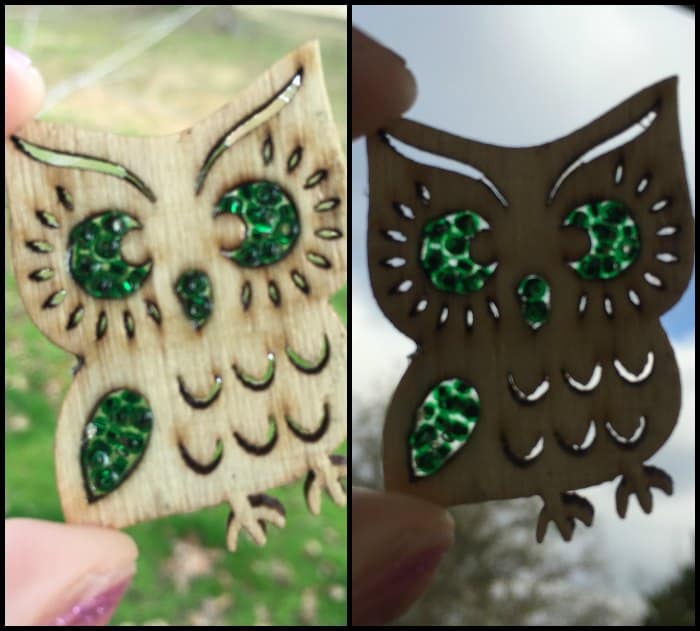
Here are a few more designs I made from precut wooden embellishments using the inlay technique:
Feel free to pin this project here for later:

 DIY Essential Oils Diffuser Necklace Made out of Wood








Your pendants are beautiful! I tried using wood but had trouble getting the oils to soak in. You’re inspired me to give it another try. Thanks!