DIY How to Paint a Faux Brick Fireplace Project Idea
DIY How to Paint a Faux Brick Fireplace Project Idea
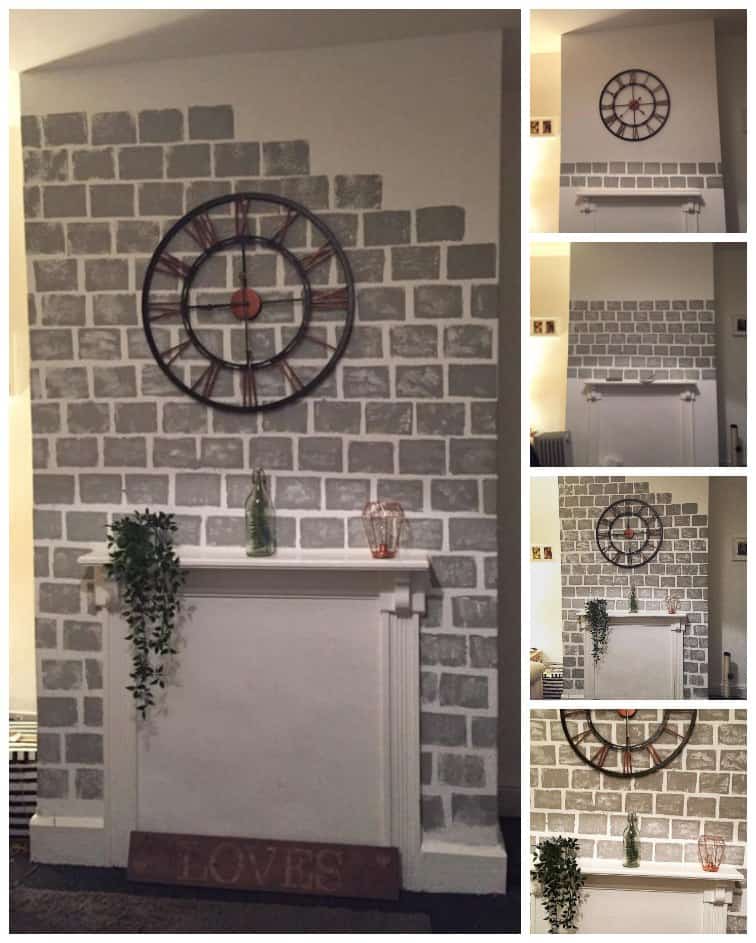
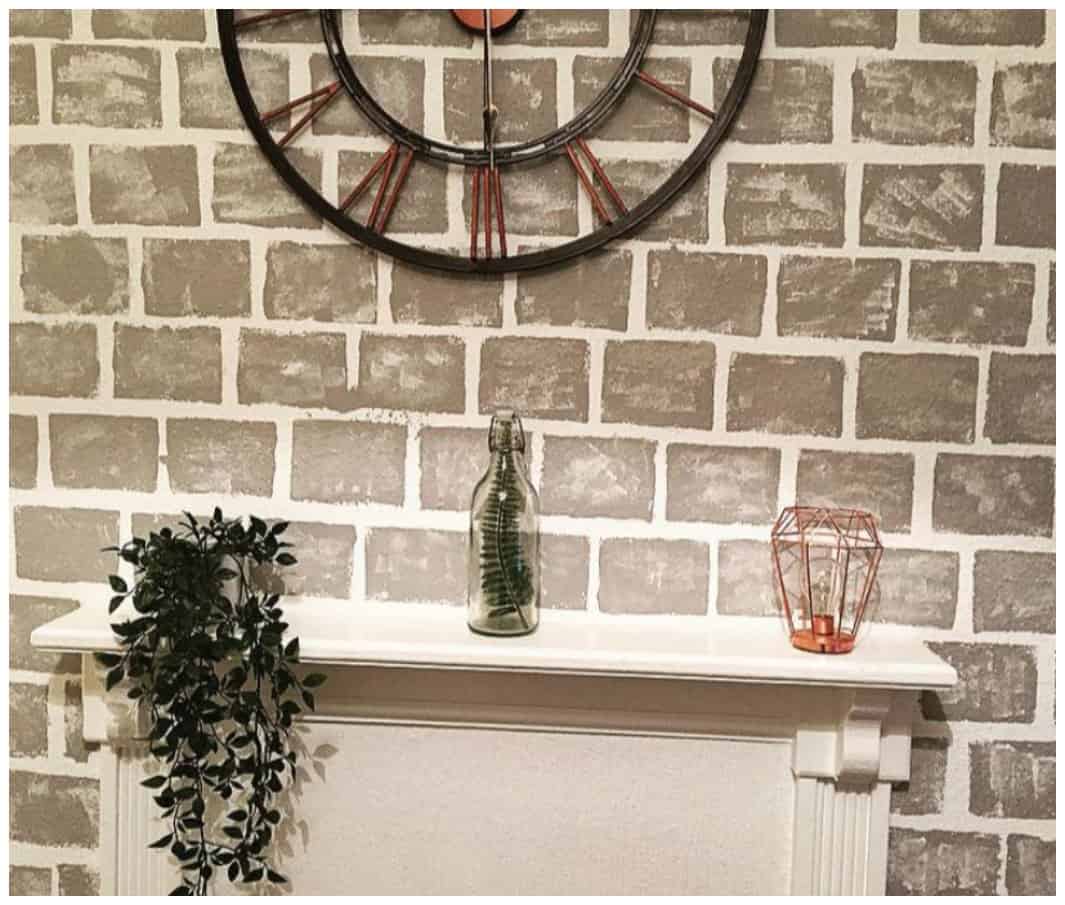
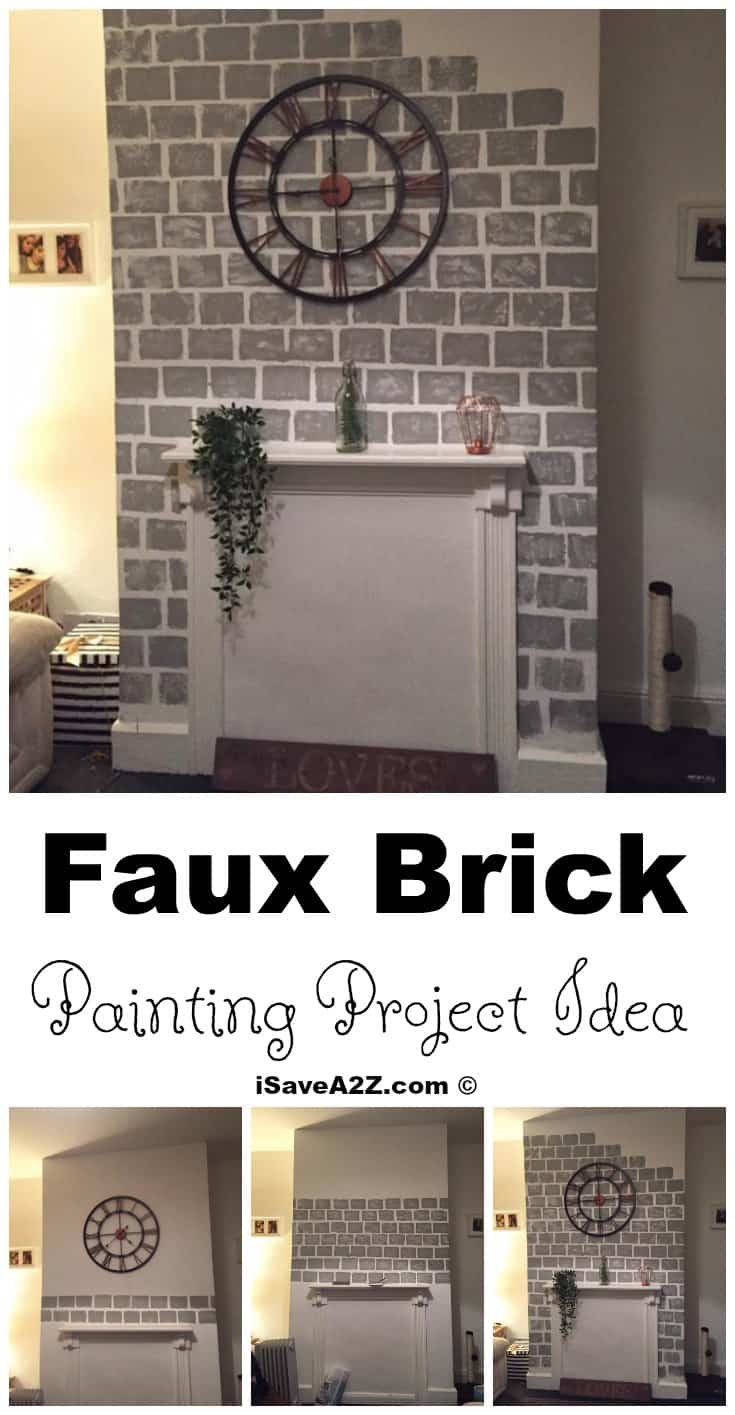
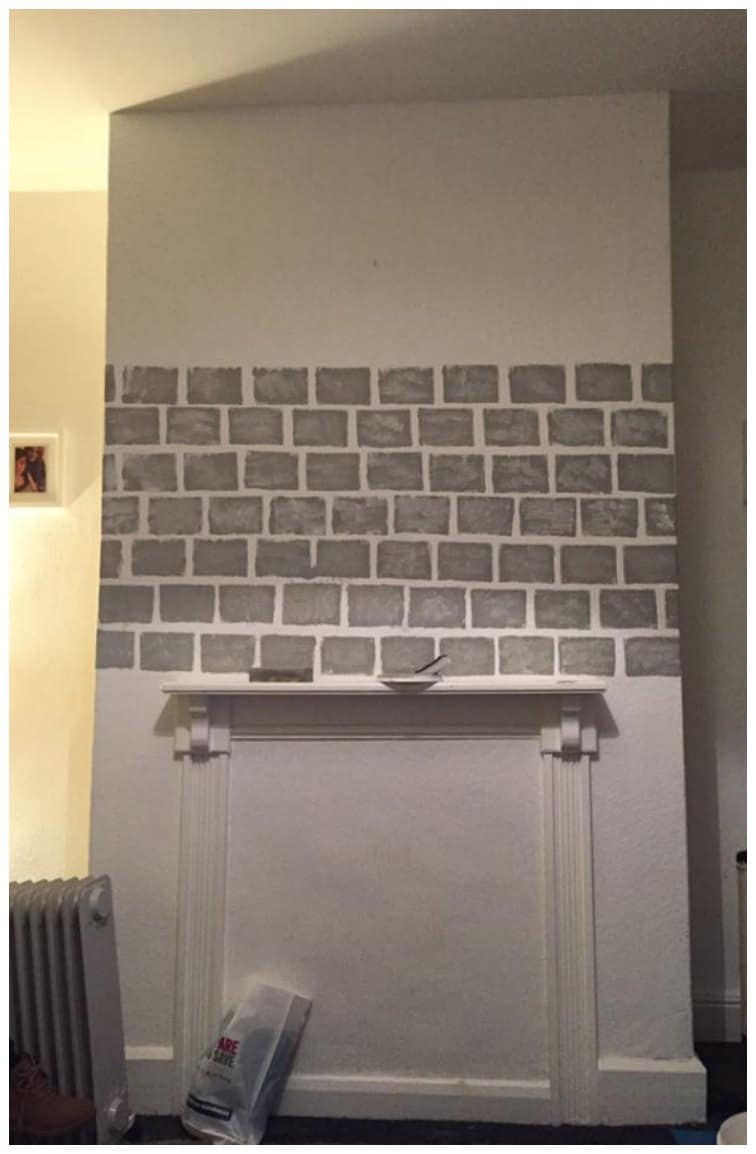
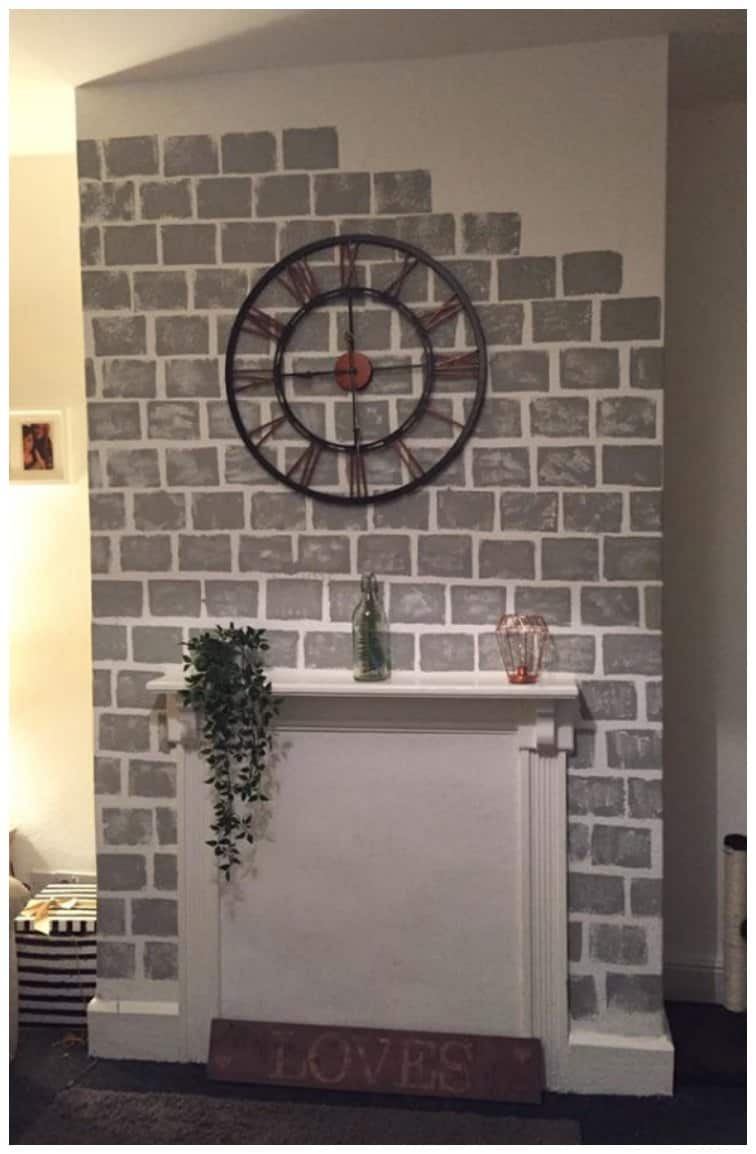
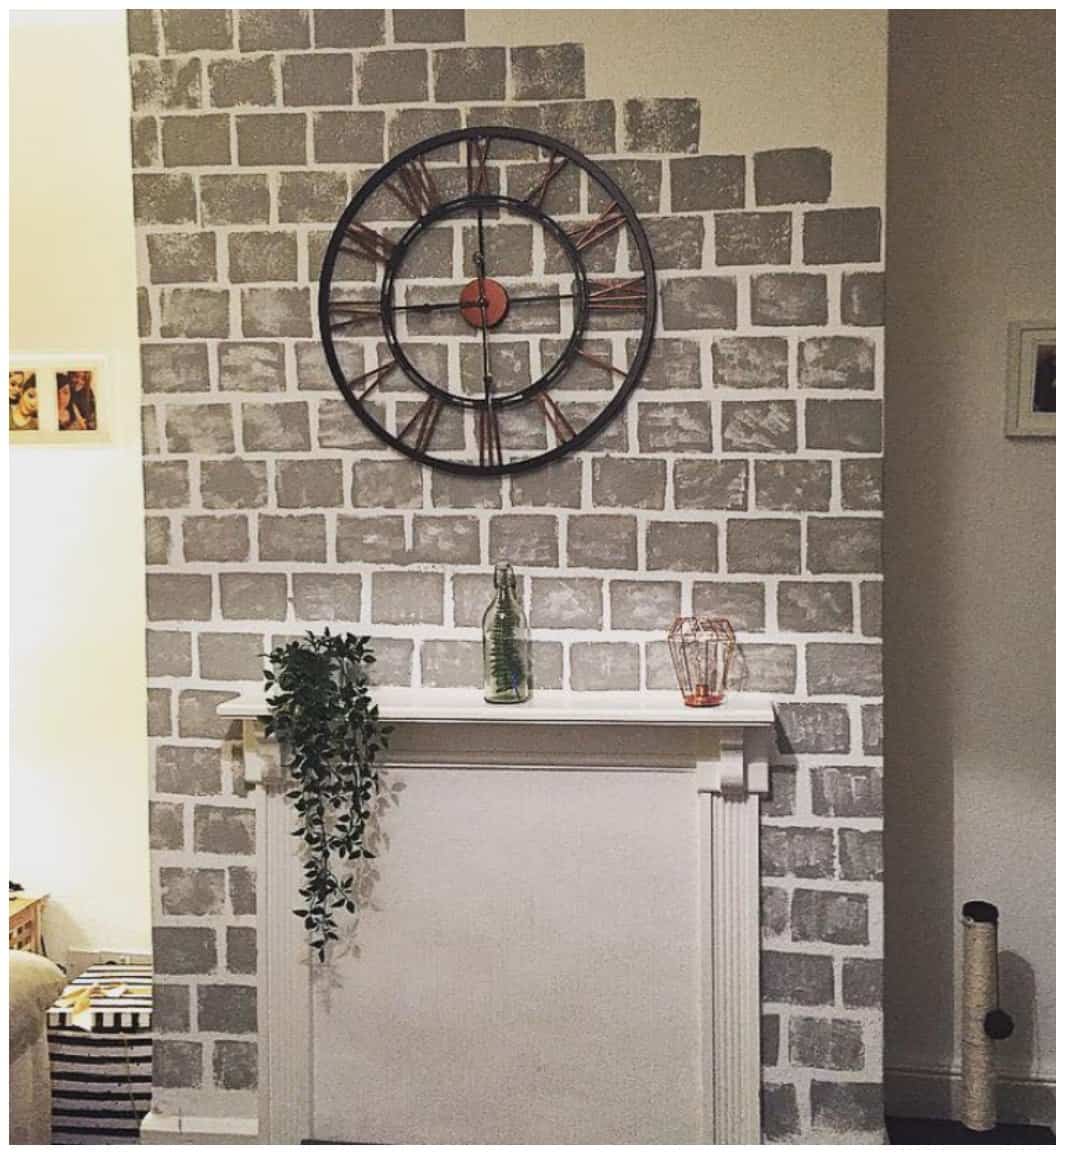
Just look at how cute this DIY project is! Paige B. is the creator of this project. She told me it only took about 40 minutes of her time and the cost of a sponge with a couple of cans of paint and voila! she has an amazing looking fireplace that changed the whole look of her living room. Impressive!!
It’s amazing what you can do if you just change up one small wall in your living room. It can turn a cold and boring room into a cozy area you will love to be in.
Remember when we did a barn wood removable wallpaper as a backsplash in our kitchen at the farmhouse? It was adorable and super easy to do too!
Or remember the Burnt Wood Door design idea? That was a cool project too!
How to Paint a Faux Brick Fireplace Supplies Needed
- 1 Can of Grey Paint
- 1 Can of White Paint
- Small paint roller and tray
- 1 Sponge (the size you want the bricks to be)
- Another smaller sponge to texture the bricks
- Drop cloth for paint spills
How to Paint a Faux Brick Fireplace Instructions
- Prep the wall by wiping it down to remove dust and debris.
- Find the center of the wall and use a pencil to find a place to start your first row of faux bricks. You may want to create a straight line to start off with.
- Take a small paint roller and roll a small amount of paint on the sponge.
- Press the sponge down anywhere you want a brick to appear. The amount of space you leave between each brick is totally up to you.
- After you finish painting the gray bricks with the first sponge, use a smaller sponge to create texture on each brick. You will do this by painting a very small amount of white over this sponge and pressing over the first gray brick you painted. It’s important to mention that you will not use as much white paint as you did with the gray paint. You will also want to paint the white texture parts in random areas of each brick too.
This is an excellent project that Paige completed and I am in love with her living room! She didn’t worry about neat, straight or perfect lines because that’s exactly how she wanted it. It’s beautiful, isn’t it!!
Special thanks to Paige B for allowing us to share her creativity here on the blog. I can’t wait to see what she does next!
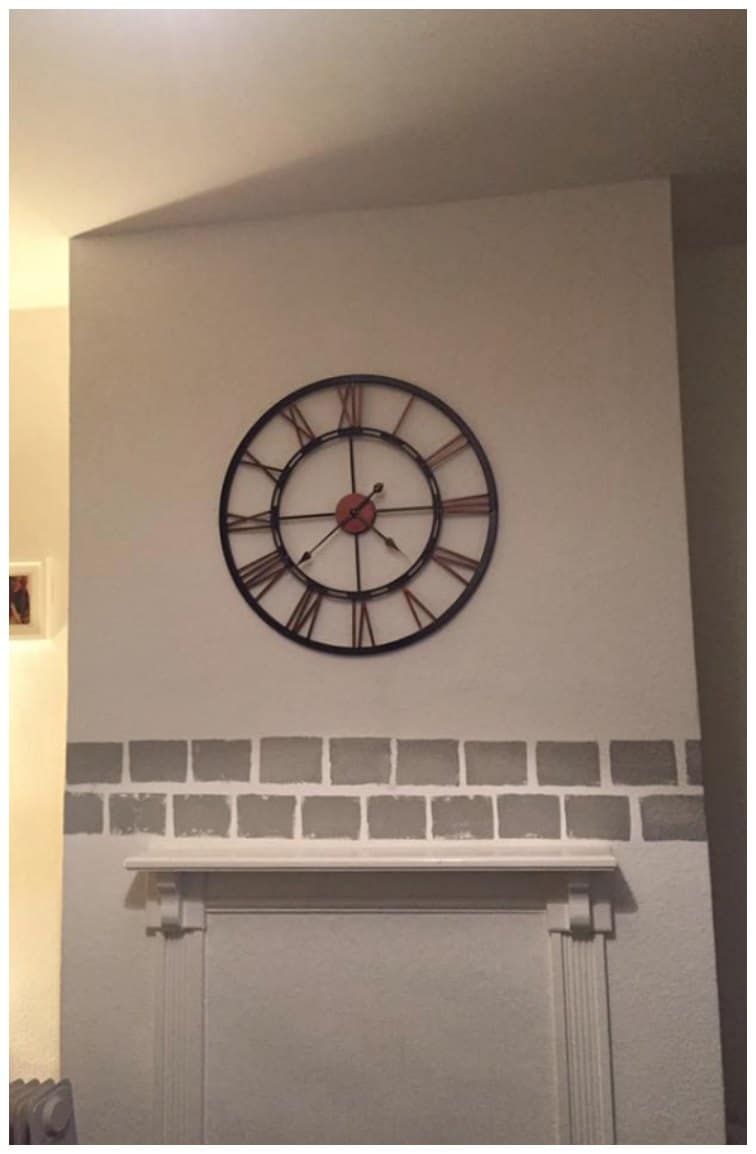
Don’t forget to Pin It on Pinterest for later!
If you like this project, it just might inspire you to update the flooring in your home too. Just look at how this Luxury Vinyl Plank Flooring looks in the before and after photo of an office with new flooring. Easy project!

