Dragon Knight Costume Made Out Of Boxes – Boxtumes!
Dragon Knight Costume Made Out Of Boxes – Boxtumes!
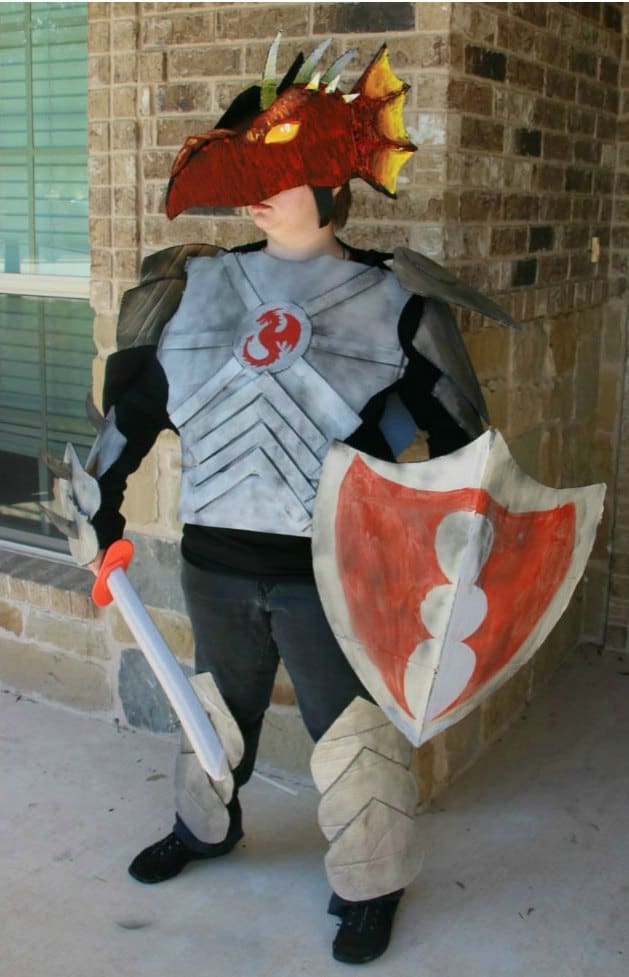
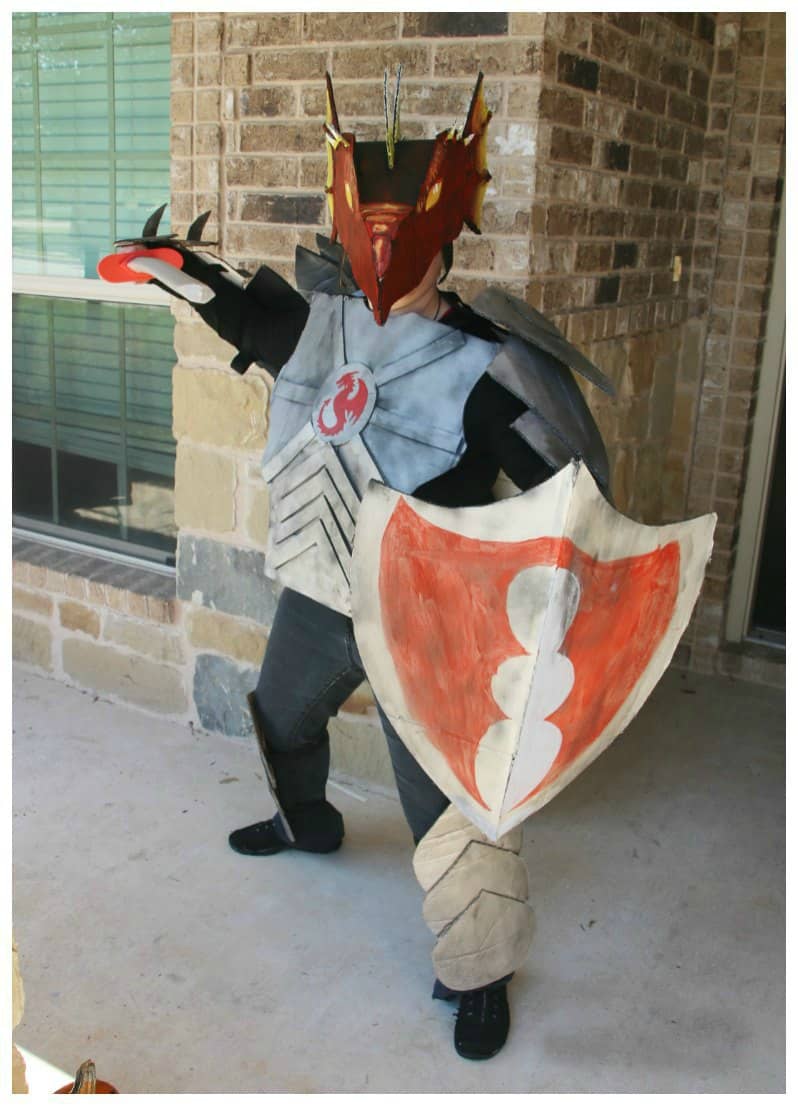
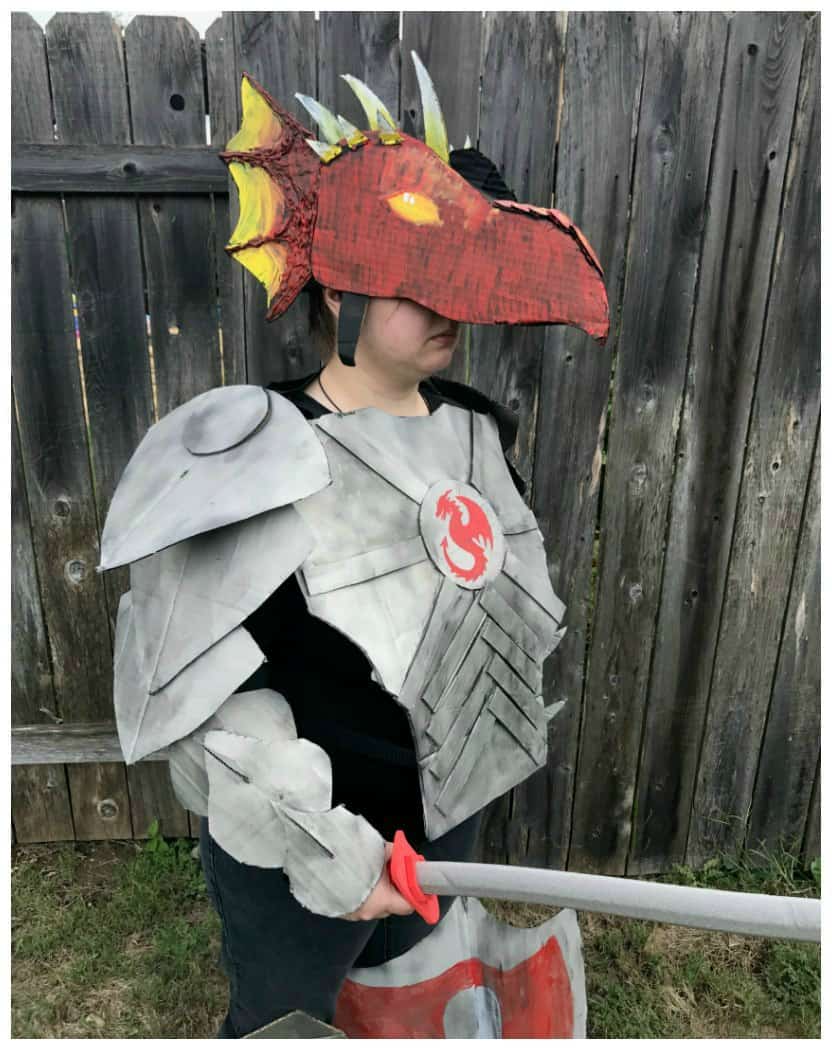
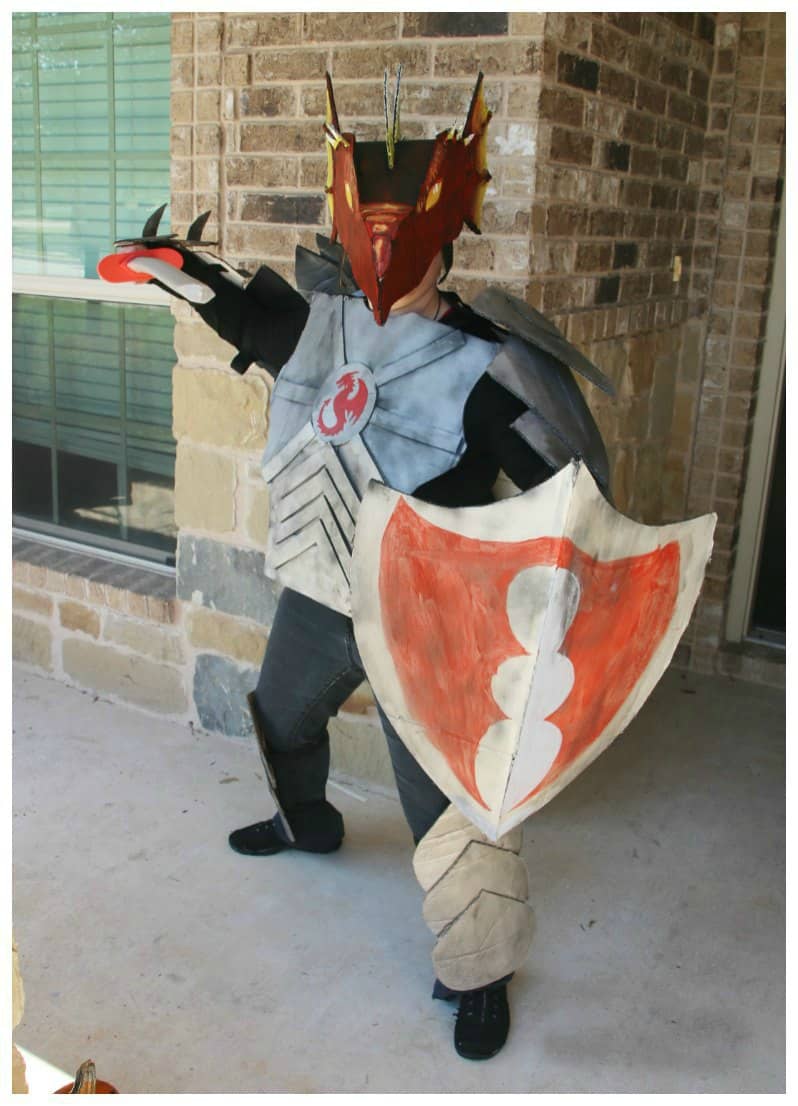
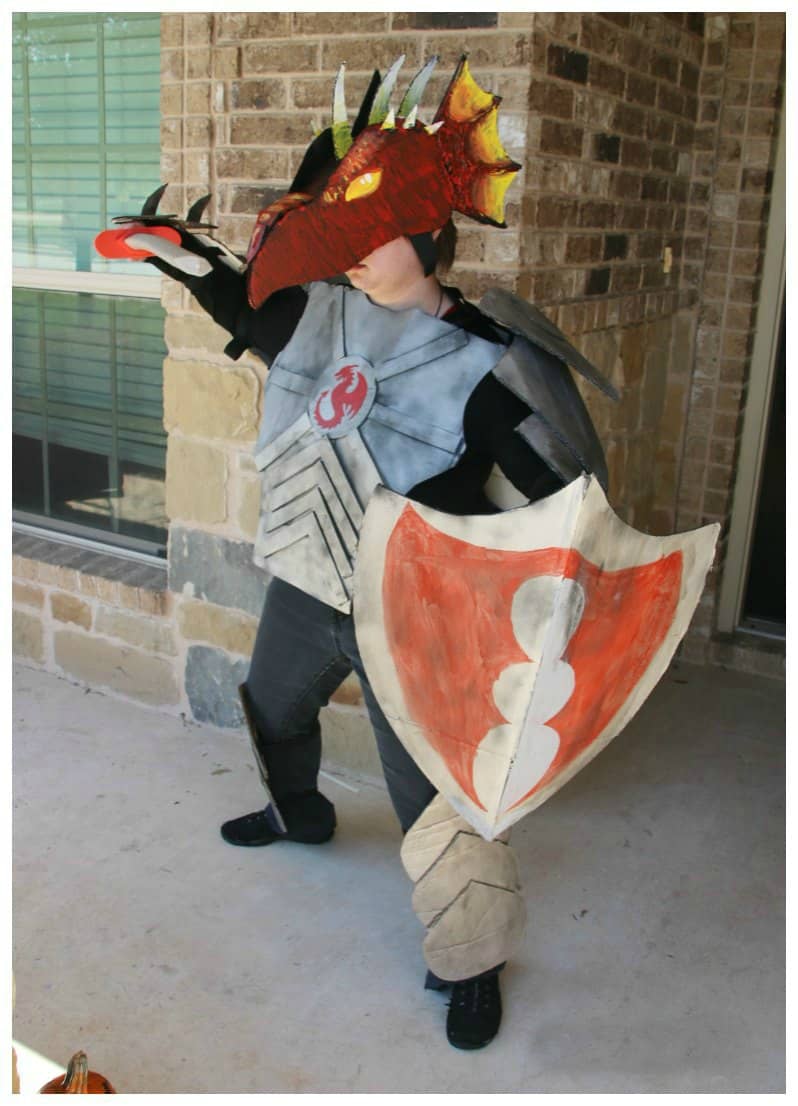
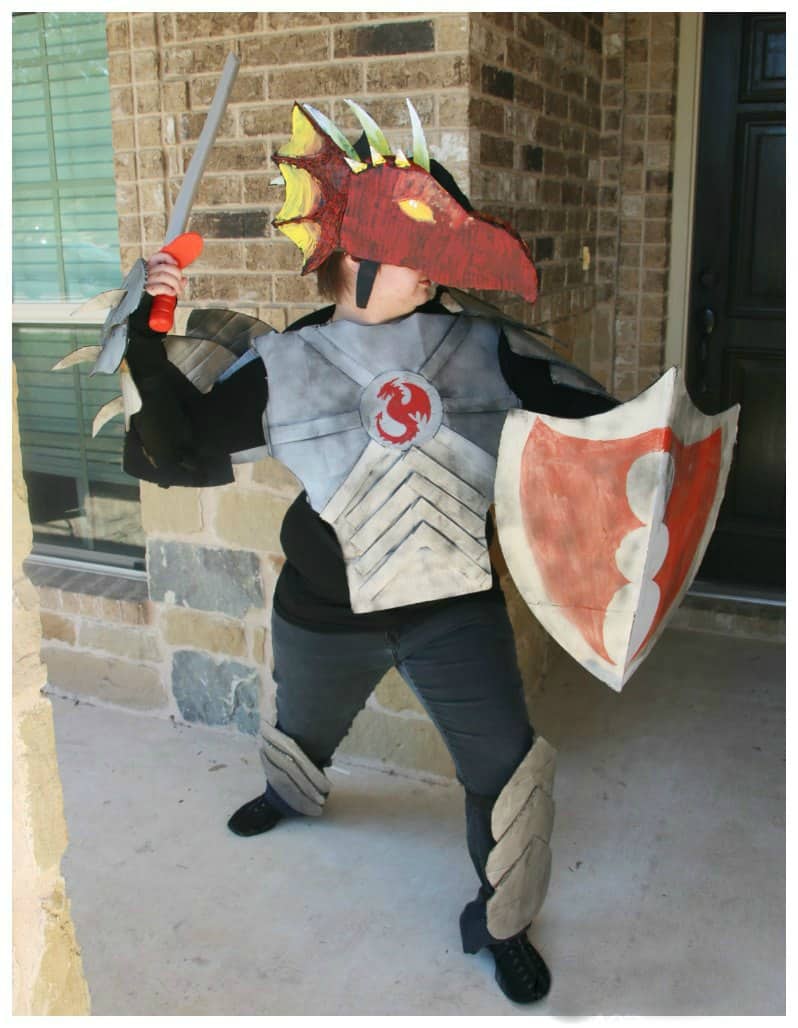
I am so excited to share this Dragon Knight Costume Made Out Of Boxes that we just finished as part of a DIY Halloween costumes made out of Amazon Smile boxes! Halloween is one of our favorite times of the year because we get to be as creative as we want to be. I am part of the Mom It Forward Influencer Network and when they asked me to do a job for Amazon I was over-the-moon excited to be part of it! Besides, I am a huge Amazon Prime lover and I had plenty of boxes too!
We, me and my girls, decided to make a Dragon Knight Costume out of boxes. We had so many ideas for box costumes that we had a hard time deciding on which one to make. I encourage you to gather up the kids and come up with a few ideas you can create out of boxes too! It’s so much fun (and quality time with the kids too)!
Dragon Knight Costume Supplies Needed
- Plenty of Boxes
- Low temp clue sticks and glue gun
- Scissors
- Box cutter
- Pencil/Pen
- Plain paper to make the pattern
- Seamstress tape measure
- Tape
- Paint
- Elastic
- Velcro strips
- Optional: self-healing cutting mat
Note: all of these supplies can be purchased on Amazon.com – shipping is fast and they always have what I need!
Dragon Knight Costume Step by Step Instructions
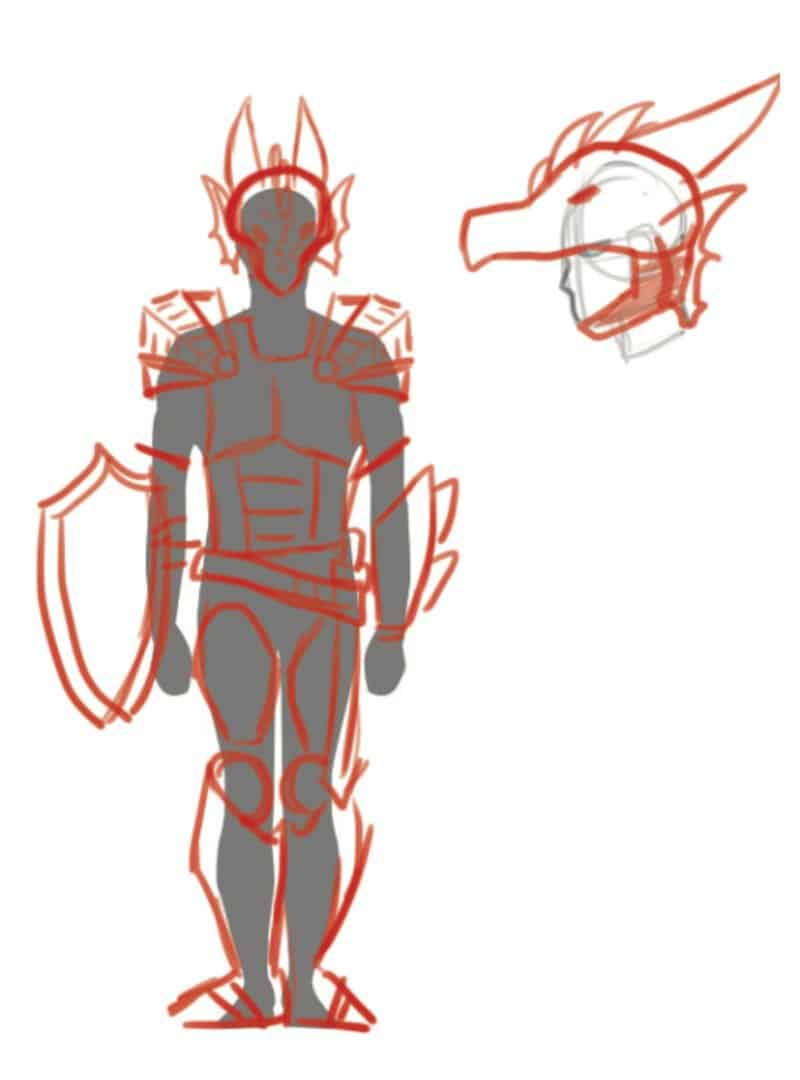
- Create a design on paper. We drew out our initial costume concept on paper before we started.
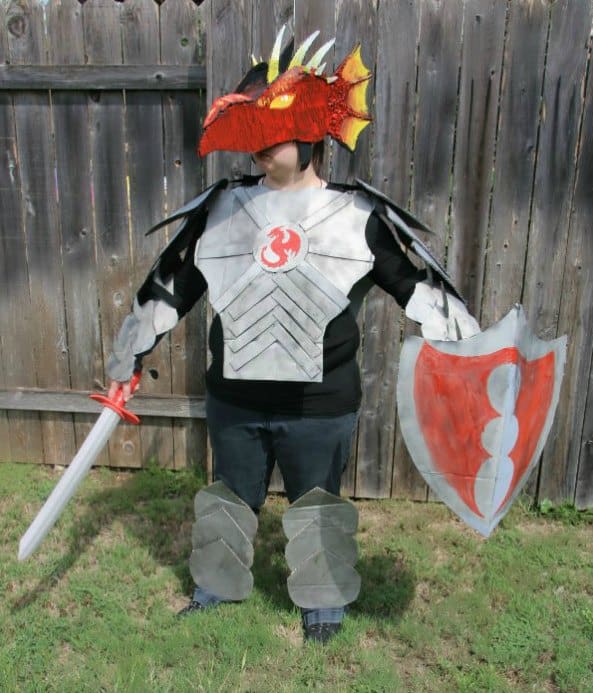
- Start creating your pattern for the design you have in mind. We created patterns for each piece of the Dragon Knight costume: dragon head, shoulder armor, arm armor, front and back chest armor, leg armor, knight shield, and sword.
- To create the pattern, simply tape enough sheets of paper together and draw out the exact size design you need. (see photos for examples) It’s best to use a seamstress tape measure when measuring your body.
- Now cut out all of your pattern pieces using boxes. I found it easier to use a box cutter for this. This is a job that should be done by an adult. I found it easy to use a self-healing cutting mat when cutting the box patterns out. (see below for detailed instructions for the dragon headpiece)
- After all the pieces have been cut out, we took them outside (a well-ventilated area) and sprayed a coat of black paint (flat or satin black color) over the front and back of each piece. This took 1 and a 1/2 cans of spray paint to complete this task. Allow the pieces to dry completely.
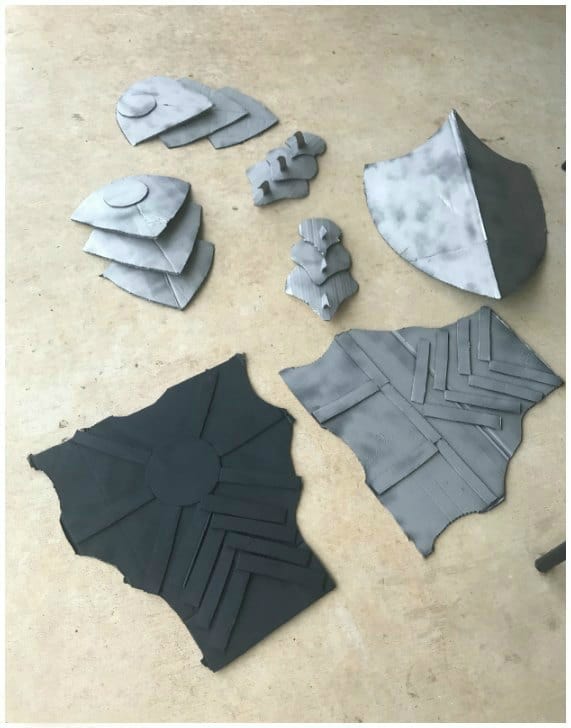
- Spray a second coat of paint but this time in a grey spray paint color over every piece except the dragon head.
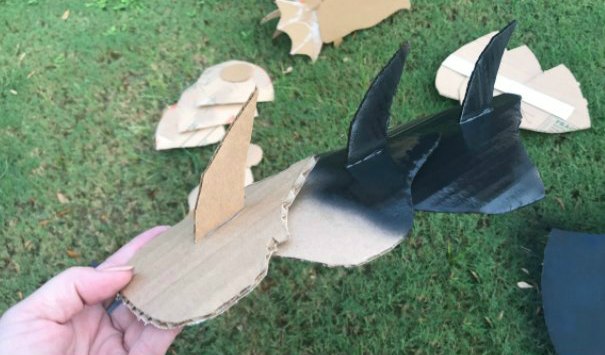
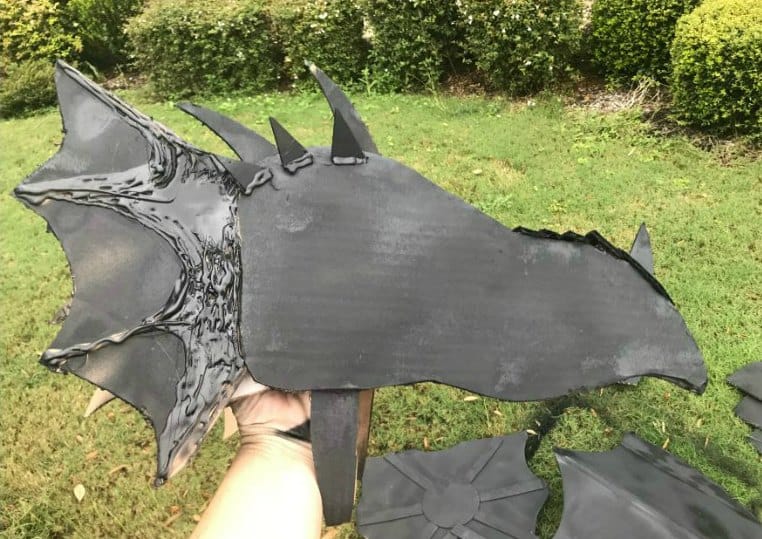
- Dragon head design: We used the glue gun to create dragon scales on the side of the dragon head before we painted it.
- Next, paint the dragon head using white, red, orange and yellow. You can do this with spray paint or acrylic paints.
- After all of the dragon knight pieces dry from the paint, you will want to start assembling the pieces together. You will use black colored elastic and stick on Velcro for this part. We placed all the pieces on the person wearing this costume to get the right measurements for this part.
- We used the hot glue gun with low temp glue sticks to attach the elastic to the inside of each cardboard piece that needed to connect. The glue gun worked extremely well in holding this design together firmly! (see each process photo below for more tips during the process). We used black because we knew the person wearing this design would dress in a black shirt, black pants with black shoes and black elastic would not be seen in the design even if it was shown. We used sticky Velcro pieces to attach pieces we knew needed to detach when putting on and taking off the costume. We found we needed to use a staple gun to make those pieces really hold to the cardboard though.
Dragon Knight Costume Step by Step Process Photos
Here are a few photos we took while we did this Dragon Knight Costume Made Out Of Boxes process.
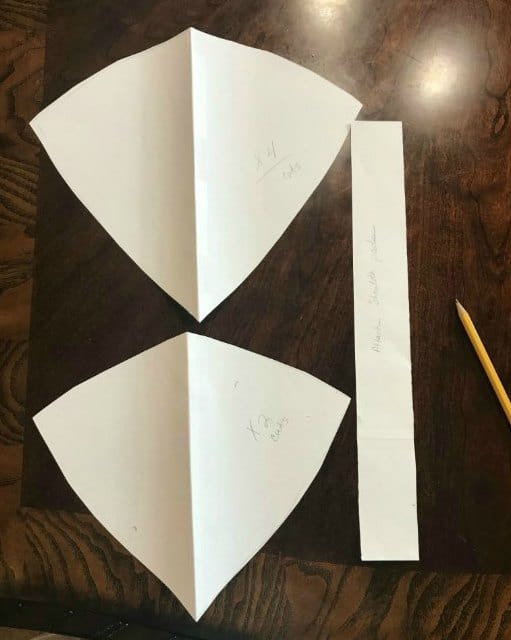
This is a photo of the should armor pattern:
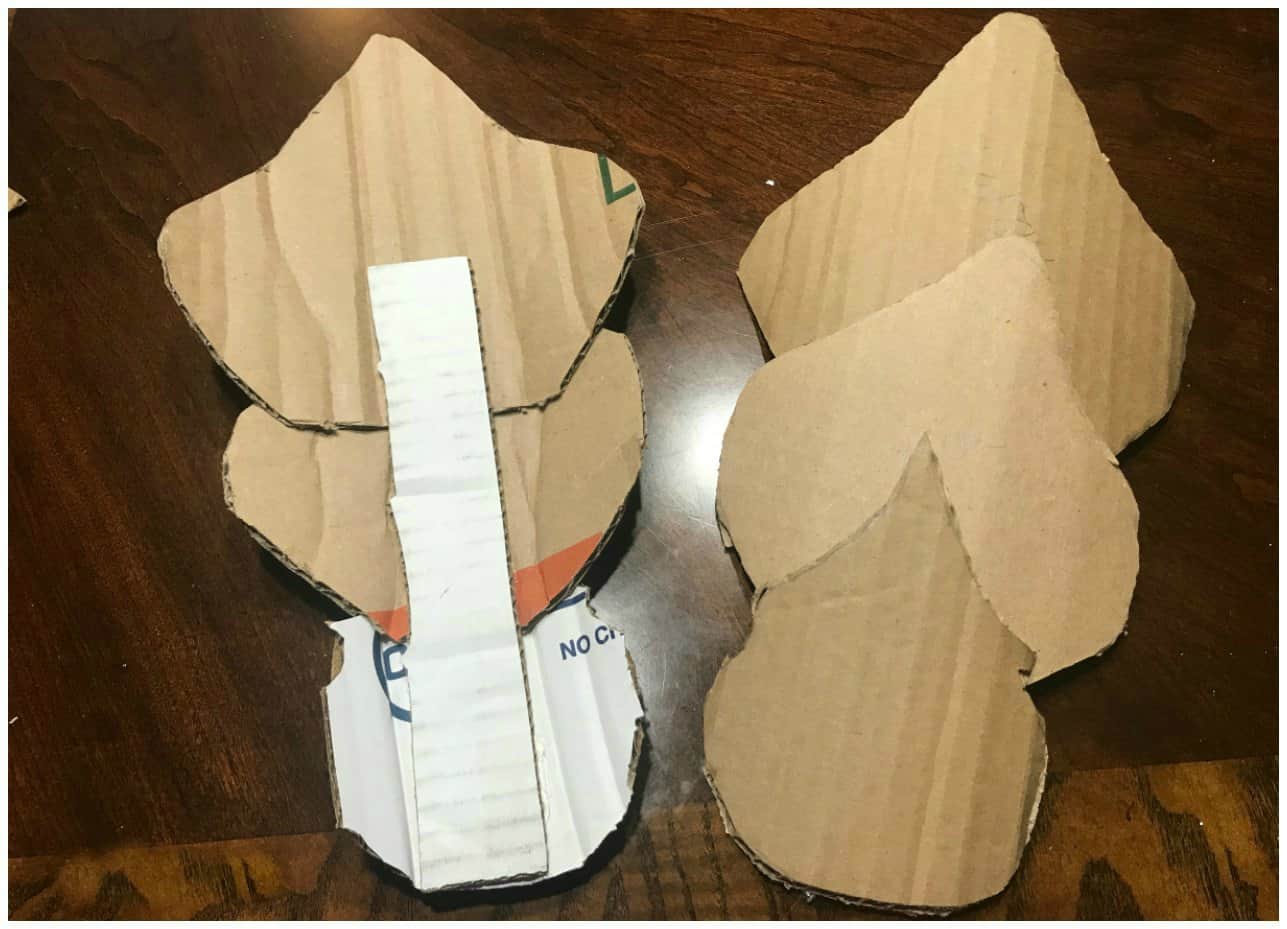
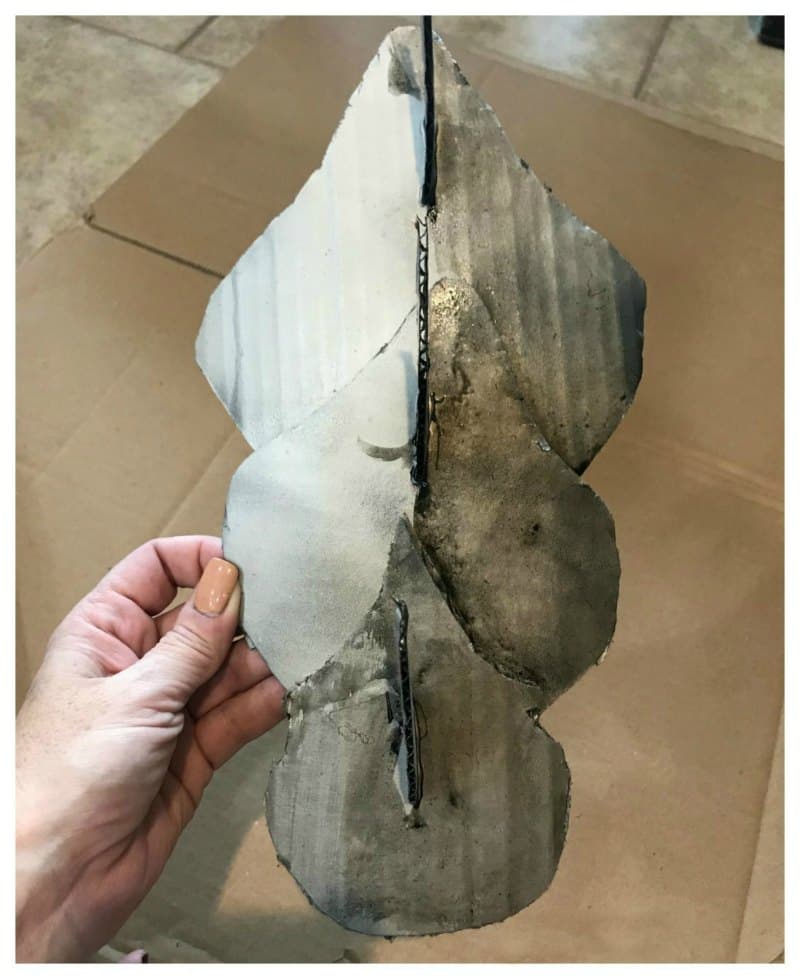
This is a photo of the arm armor before it was painted. The left side is the inside view and the right photo is the outside view. This was before we added dragon spikes to the armor design.
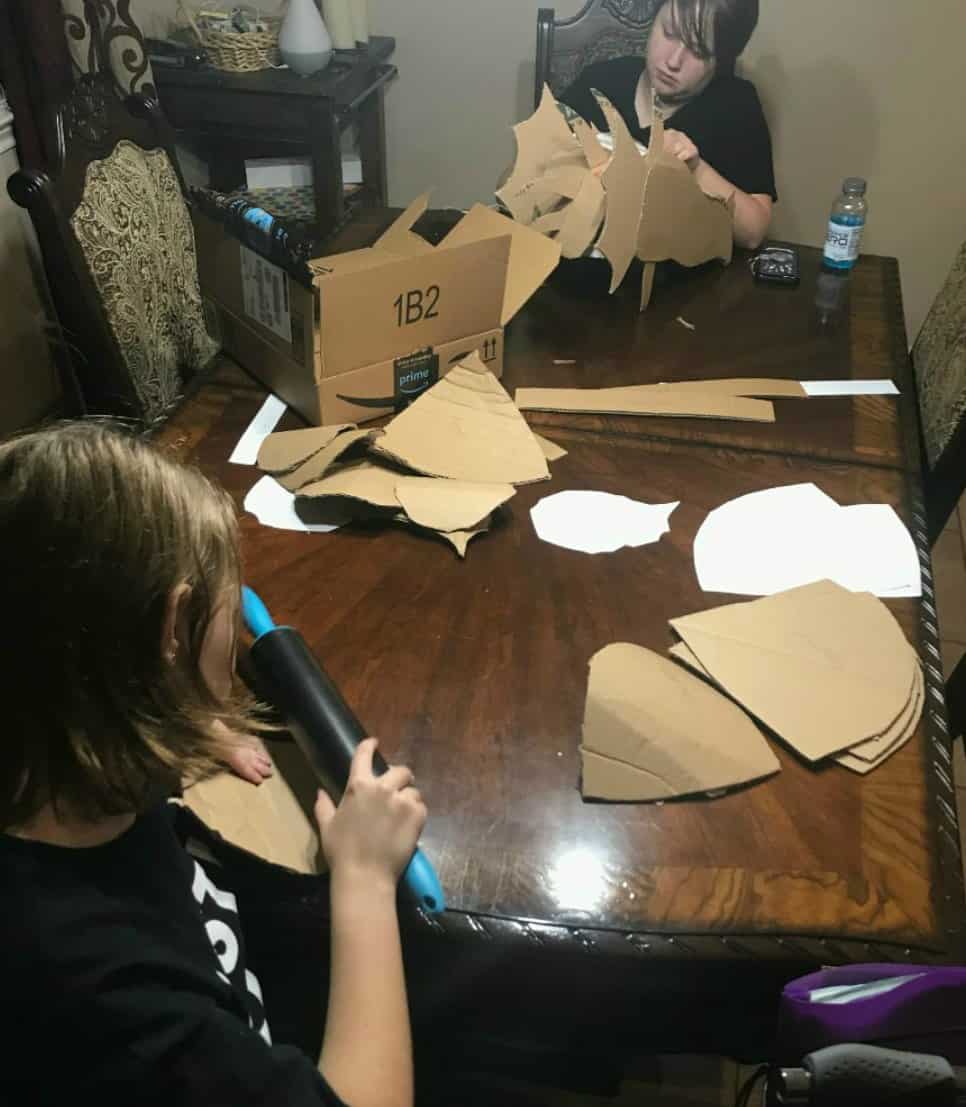
My girls hard at work creating their masterpieces! A rolling pin works amazingly well when you are trying to bend your cardboard pieces to fit your needs.
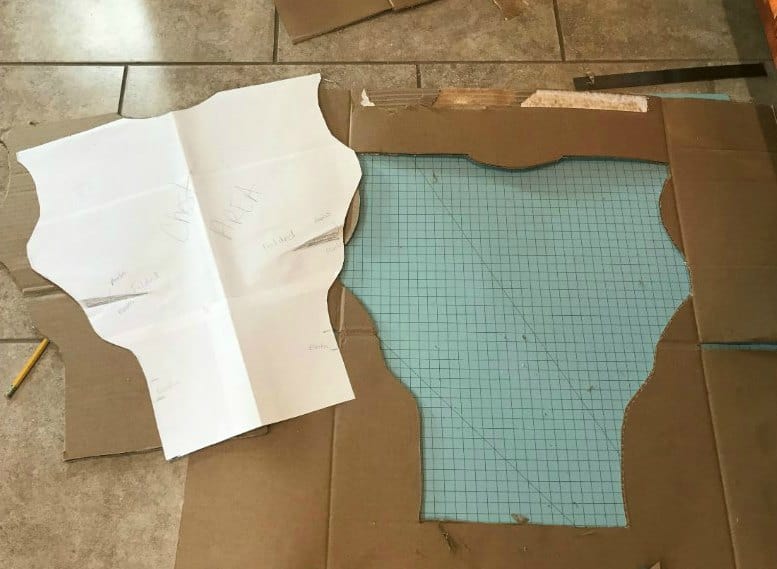
The front chest shield was so big that was had to use our self-healing cutting mat on the floor to cut this piece out. This photo shows the pattern next to the cutout. (an adult used the box cutter to do this part)
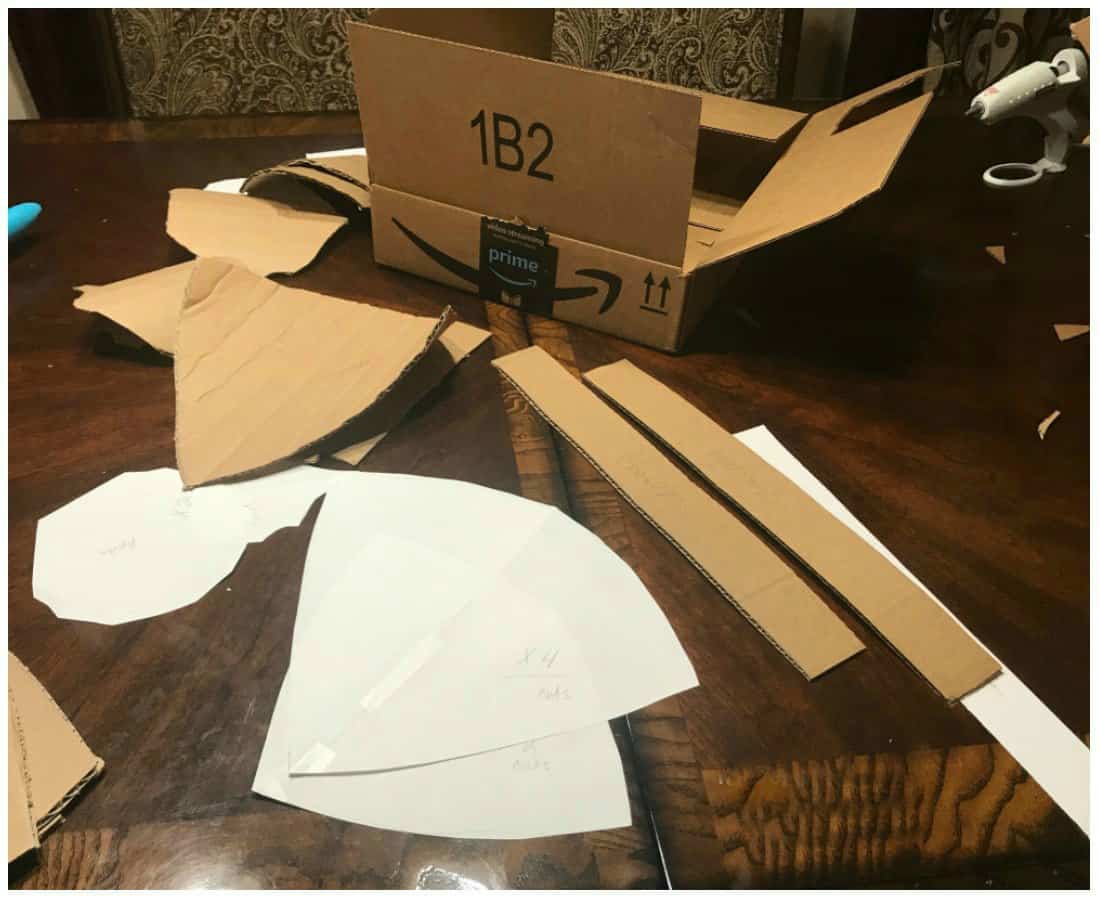
Boxes and pattern pieces are everywhere!
This is the inside view of the shoulder armor before it was painted. The glue holds up nicely on the inside reinforcement piece.
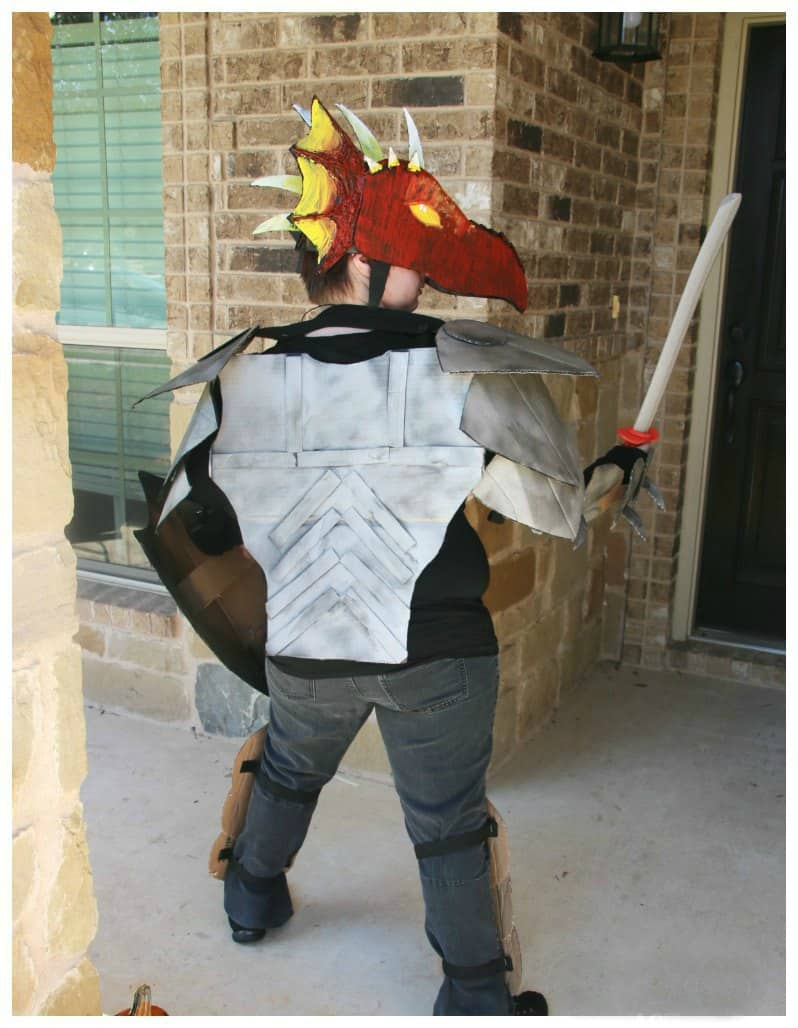
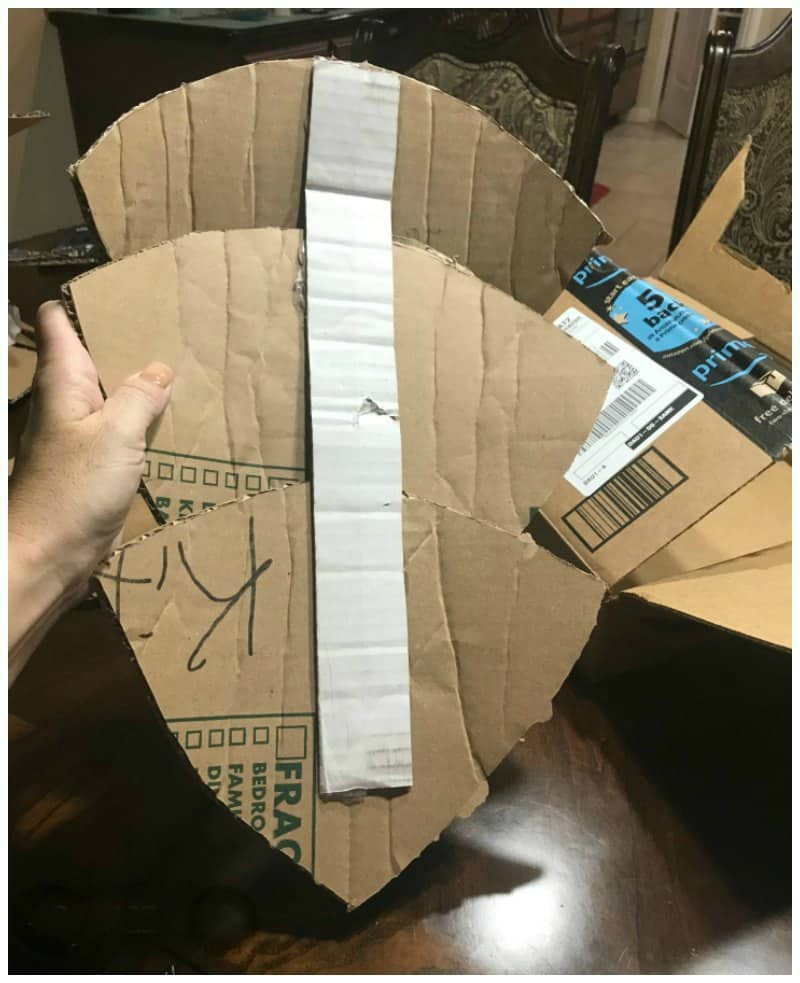
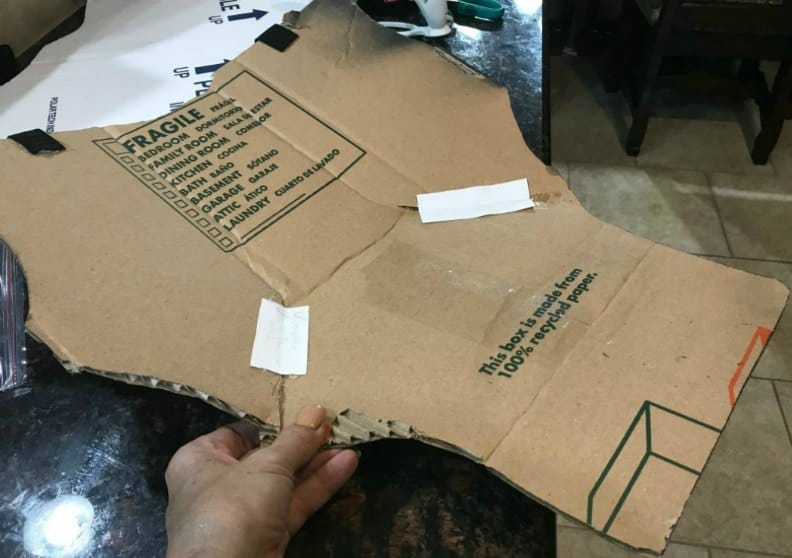
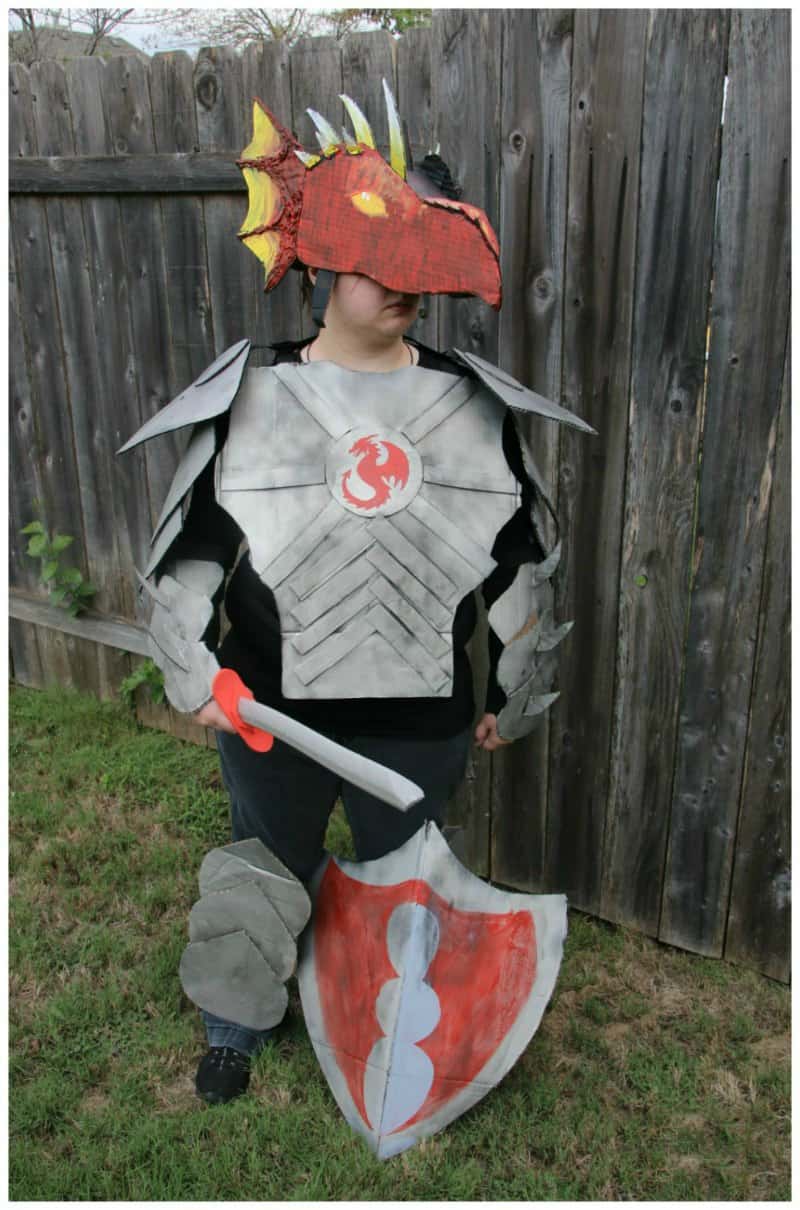
We made the front armor chest plate curved to fit a female better. We cut slits into the sides and bent the cardboard to add more dimension. We also added strips of heavy-duty paper on the back inside of these cuts so they would have a firm hold and not come undone.
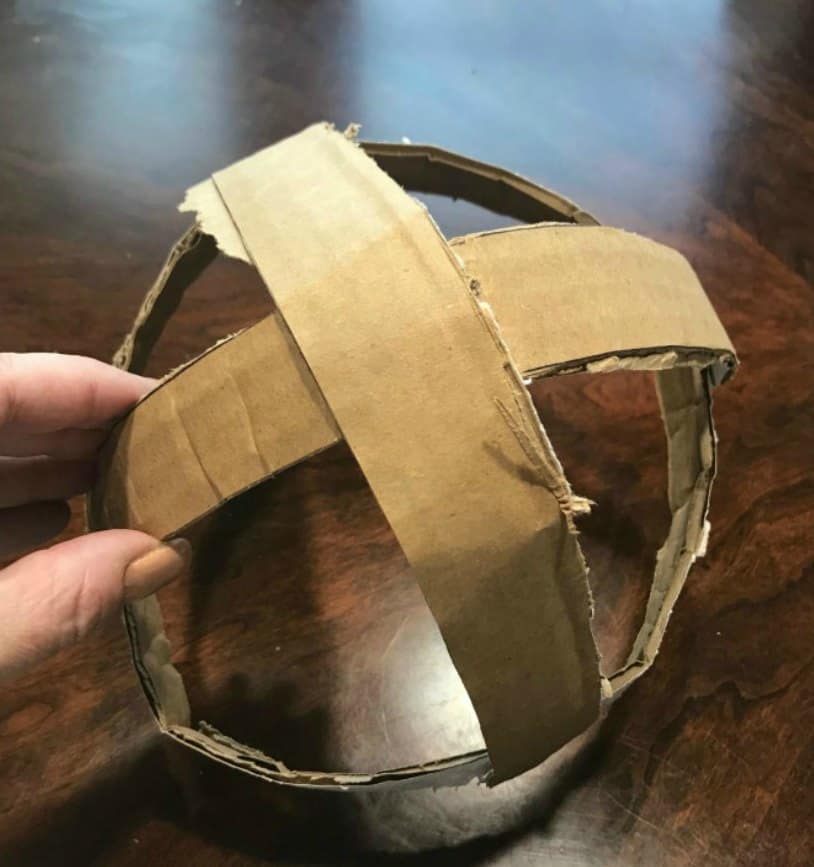
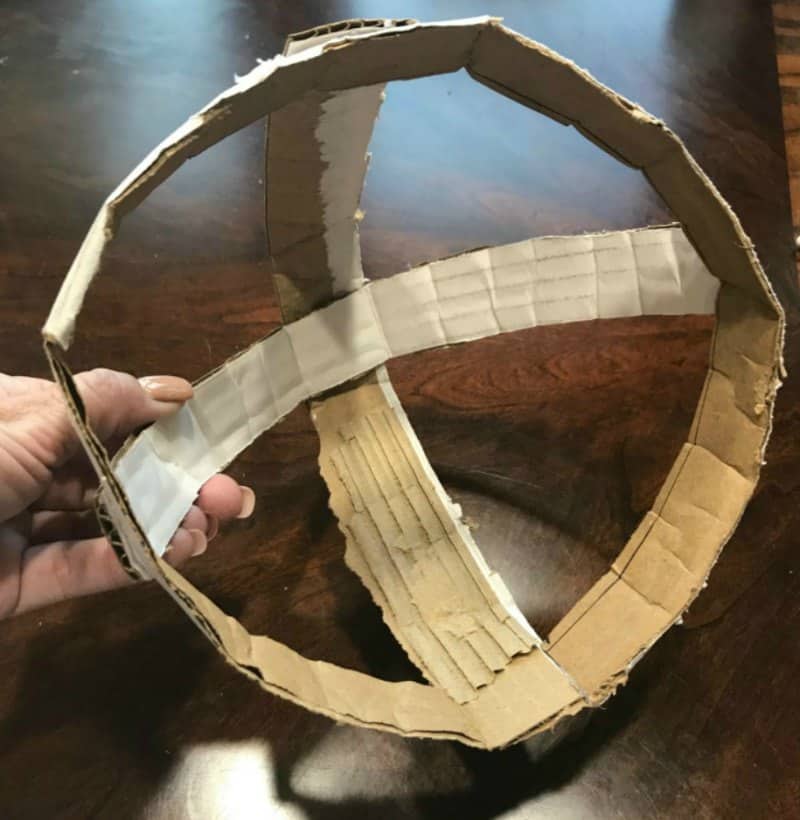
This is the start of the headpiece that holds the dragon head. Use the seamstress tape measure to get an exact measurement of the head size. It needs to be nice and fit to the person wearing it.
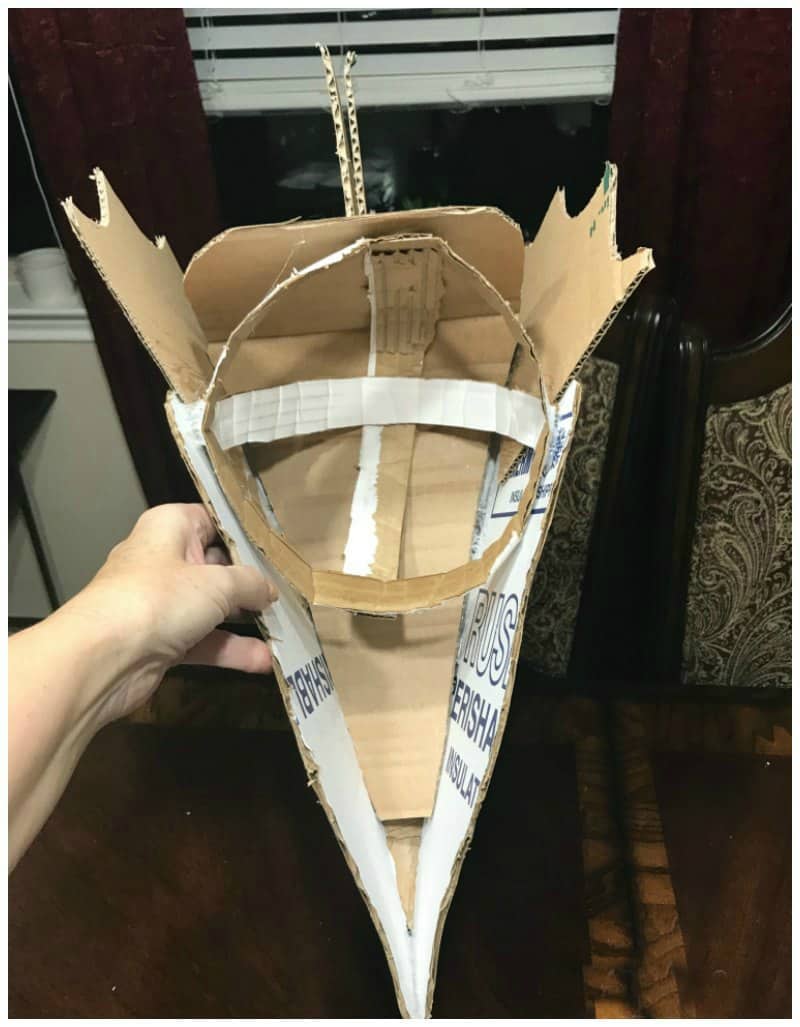
Then glue two other strips over the top of this piece to create a hat that holds the dragon head.
The headpiece you just created will be used to hold the design pieces on your head like this:
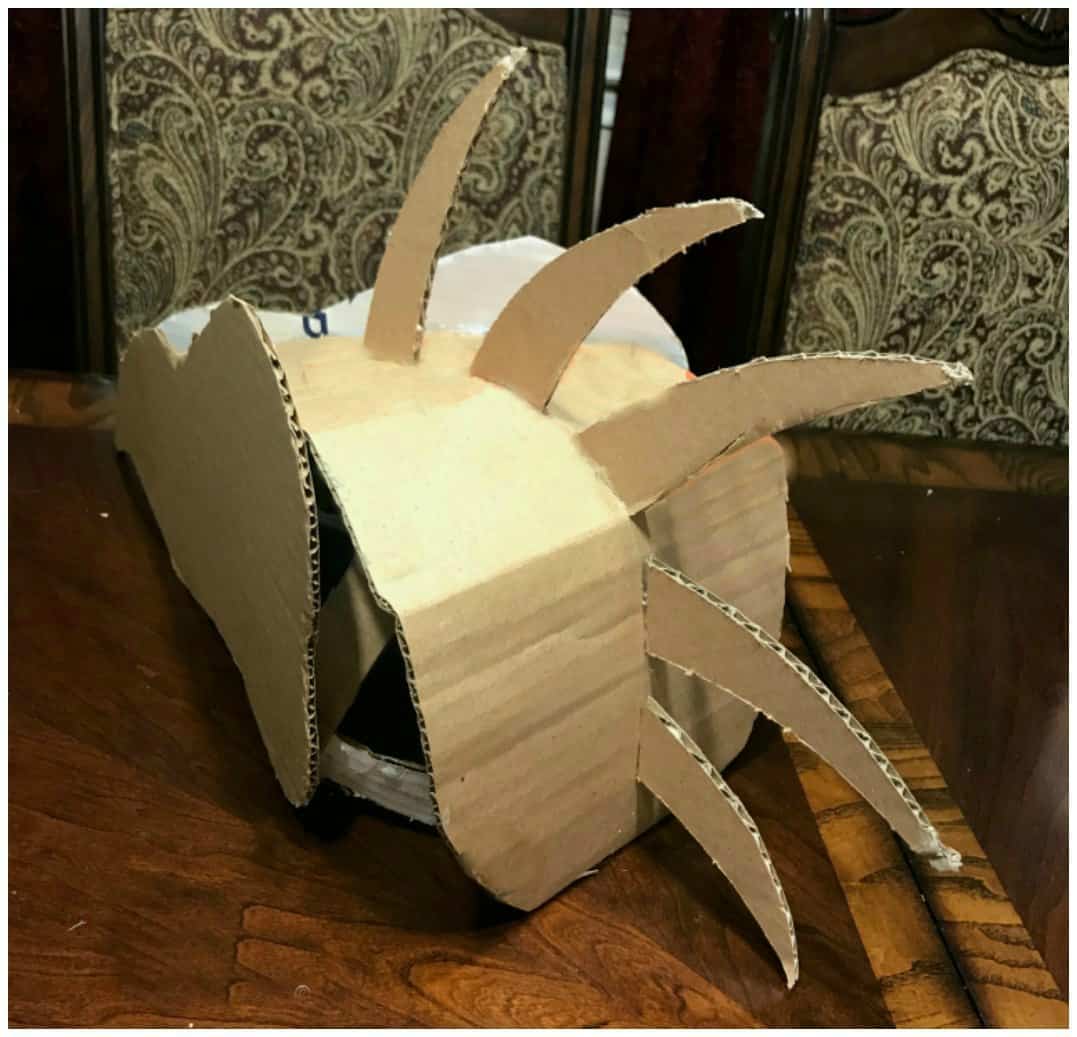
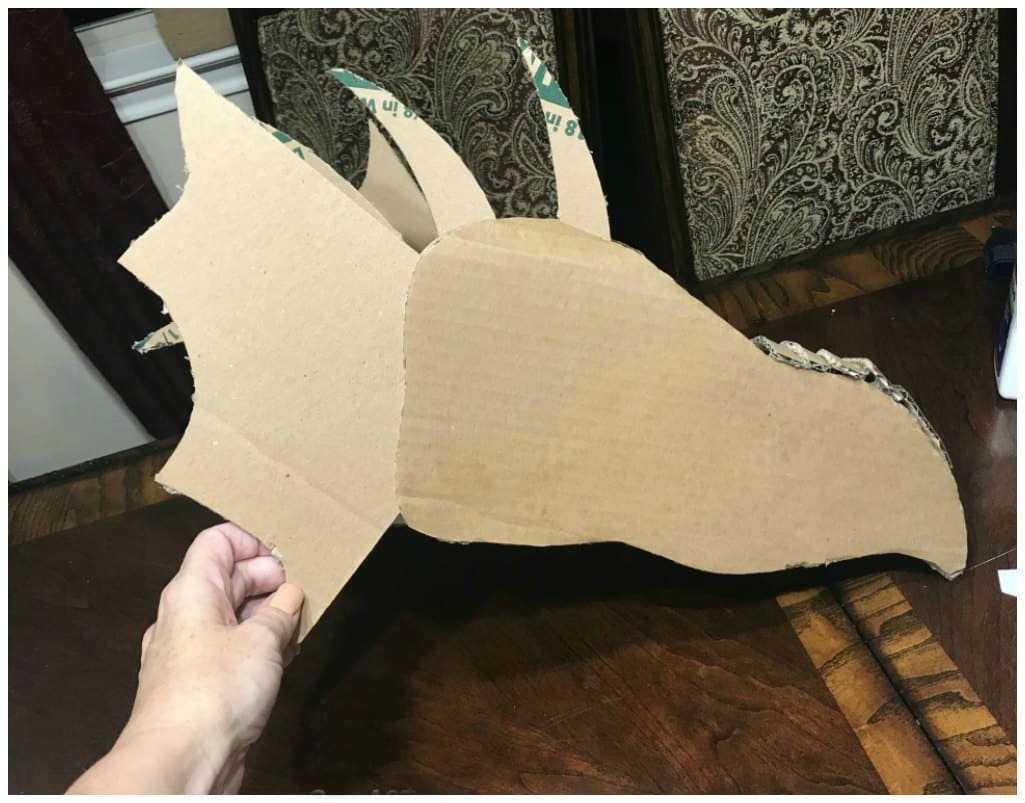
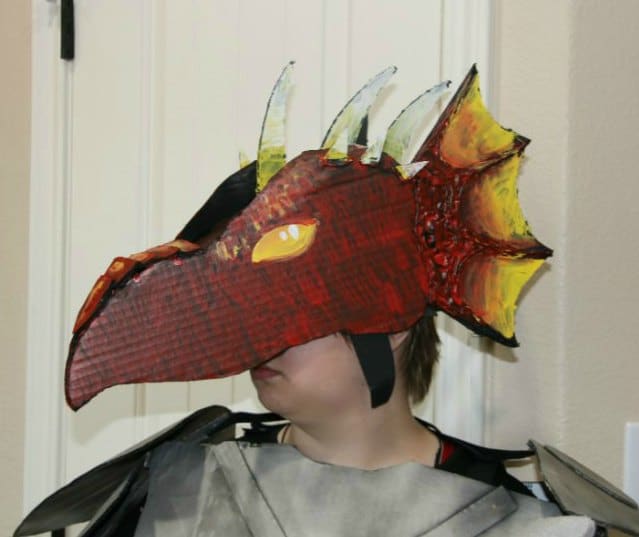
We added dragon spikes to the outside top of the dragon head.
This is a photo of the dragon head before it was painted. We also added scales to the top tip of the nose too.
Painting our box costume pieces outside.
This photo shows the first coat painted black before we added a second coat of silver paint.
The dragon headpiece we kept black before adding all the different colors of the design.
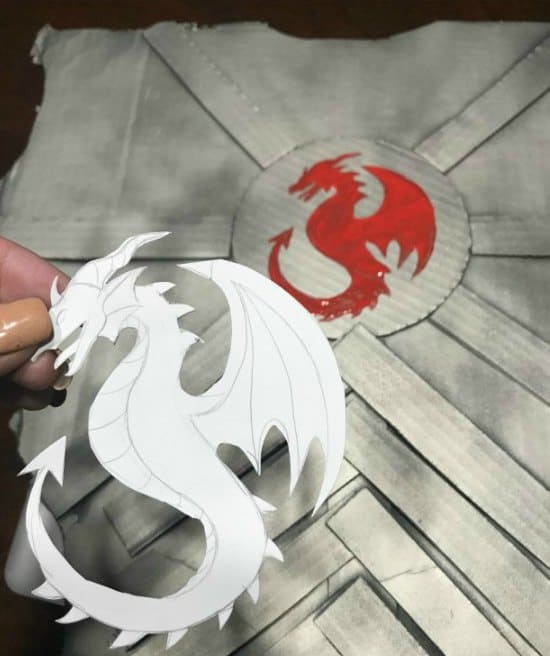
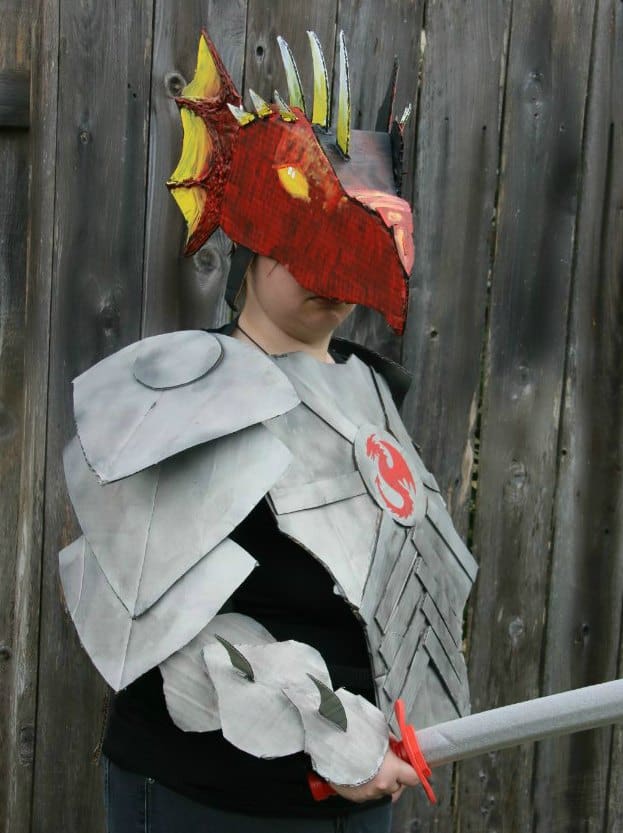
We drew out a dragon as an emblem for the chest armor. Small details like this make a ton of difference and are totally worth the effort.
This photo shows a wash we did to all the armor pieces. After we let the silver paint dry, we added a water down acrylic paint to the silver to give it a weathered look. We used a cloth to wipe off the excess paint so we didn’t get water drip marks down the armor pieces. The left side of this photo shows before the wash and the right side shows a wet version of the black watered down wash as we were applying it. This is the key to making this armor look real.
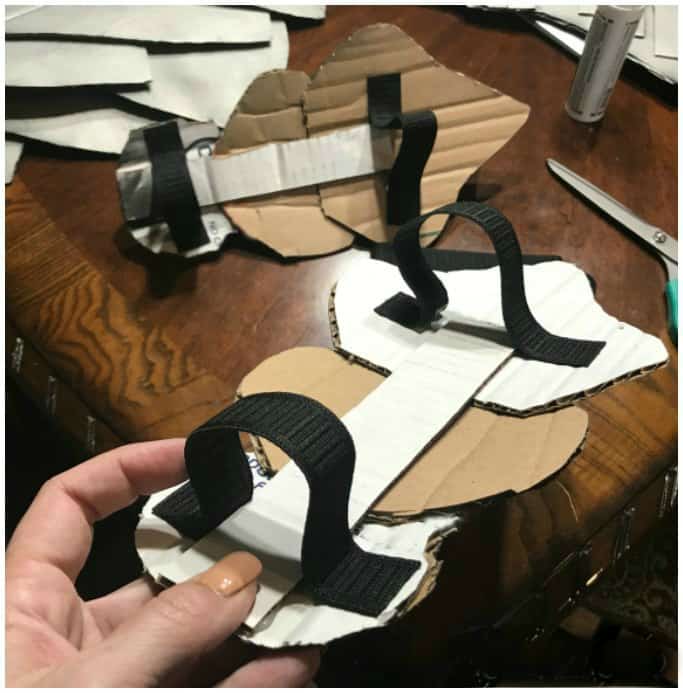
This is a photo showing the elastic inside pieces and how we attached them with the hot glue gun. These are the arm armor. We added velcro to the tops of the elastic bands for the leg armor so it would be easy to put on and remove.
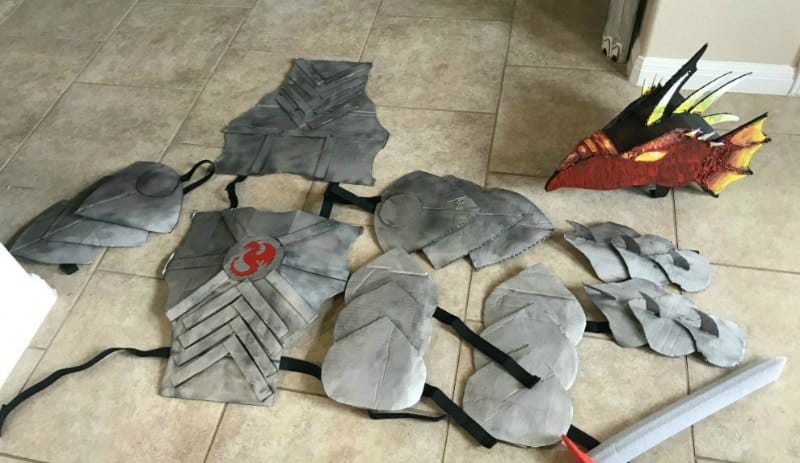
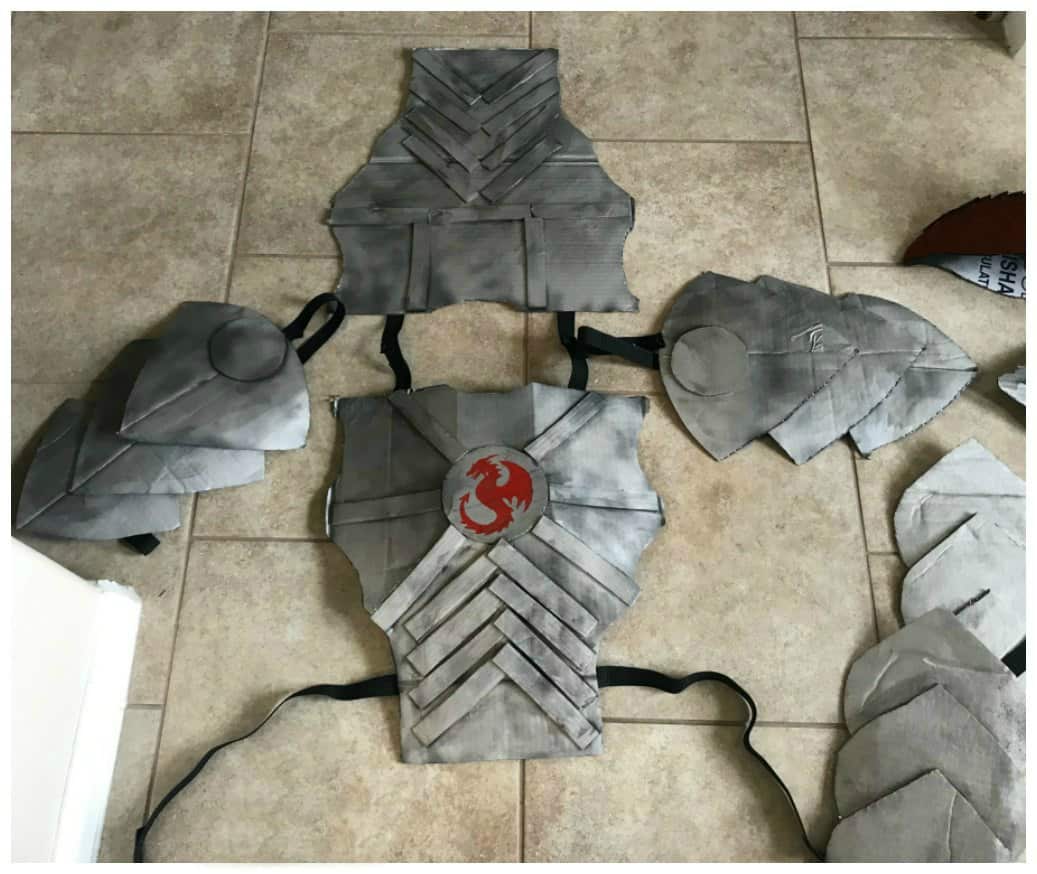
Here’s a photo of all the pieces completed. We didn’t need to use a sword because we already had one on hand.
What do you think of our Dragon Knight costume made out of boxes?? Will this inspire you to make something creative out of your own Amazon Smile boxes? I’ve already had a friend tell me that she plans to make a Pokemon character out of boxes!! Show us what you make by tagging us on social media and using #Boxtumes. I can’t wait to see what everyone comes up with!
We had the best time!



This is awesome! We usually make our Halloweeen costumes and one of my son’s wants to be a dragon and the other wants to be a knight. This is perfect!
Quick question – are there eye holes anywhere? Thanks!
All I can say is “WOW!” in all caps. This is incredible! I love the attention to detail. I bet he’s going to get so many amazing comments come Halloween!