Easy Rosettes Cookie Recipe
 Easy Rosettes Cookie Recipe
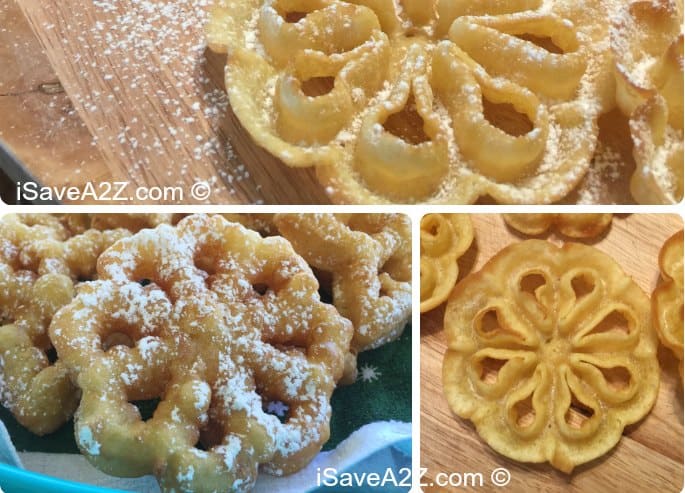
I was introduced to a old family tradition of making some Rosettes so I just had to try an easy Rosettes Cookie recipe. These cookies are very light and crispy. The recipe may be simple but I quickly learned there is a special technique that you need to master to make these Rosette cookies the easy way. If you don’t know the tricks it can become a huge fail real quick. I am very happy to write them all down so you can get them right the first time! I even created a video for you (and I hate creating videos)!
First things first. You need to have a Rosette Mold to make these cookies. This is the one use. It’s the NorPro Rosette Iron set I found on Amazon. It ships fast and it’s inexpensive too! I received mine in two days which is good to know if you plan to make these for Christmas. The photo on the box shows you can add two molds and make them at once but I couldn’t do this. Further more, I wouldn’t want to do this. Here’s why. Each mold is a different size and shape. Each size will cook differently and it could be a matter of seconds before your Rosette is way to crispy. You don’t want to make two at the same time for this exact reason. There are other Rosette Iron sets made of Cast Iron too. See them all by clicking here on this Amazon link. Either set is great. The cast iron will definitely be heavier though. The one thing to make sure you take note when buying your set is to make sure it has a wooden handle. It’s extremely easy to make a lot of these cookies when you have a handle that is pretty comfortable to use. I would not buy a set that didn’t have this type of handle.
Next you need an Easy Rosettes Cookie Recipe. I’ve tried a couple different recipes. There is a recipe that is included in the box that is good but I like to make a lot of cookies at once. Here is a recipe that will make about 50+ cookies depending on how big your Rosette mold is.
Rosette Cookies Recipe Ingredients:
2 cups All Purpose Flour
1 can of Condensed Milk
1/4 cup water
1 teaspoon salt
1 tablespoon sugar
1 teaspoon vanilla
1 egg
5 egg yolks only
Pinch of Baking Powder (this would be about a 1/4 teaspoon or less)
Milk Substitute idea: You can use regular milk as a substitute and it will come out just fine. I’ve had to do this before. Just make sure you use 2 cups of milk instead of the condensed milk and water. Your liquids should always equal 2 cups.
Rosette Topping Ideas
Coat with a Sugar and Cinnamon mixture
Dust with Powdered Sugar (this is my favorite)
Drizzle with any kind of chocolate
Dab a bit of jelly in the center and dust with powdered sugar
TIP: If you dust them in powdered sugar make sure you do this just before you serve them. Let them cool and sit for a while so the grease can settle. If not they will absorb into the cookie and become very soggy if you do it too soon.
You can get all kinds of creative with these cookies when you add food coloring too. Let your imagination go wild.
Easy Rosette Cookie Recipe Directions:
I combine all of the wet ingredients first and add the flour, salt, sugar and baking powder last. Don’t over beat the eggs. You want to mix them but just slightly. Don’t whip them. I never measure the vanilla. I usually just add a capful or a bit more because I don’t think you can ever have too much vanilla. 😀
You should have a batter that looks a bit like pancake batter but the consistency is a bit more watery. When you start making your cookies you will need to mix this batter every so often because it will settle after a while. I mix it once or twice after about every 20-25 cookies I make.
This recipe makes a lot of cookies. Sometimes I will make half of them and then put the batter in the refrigerator overnight and make the rest the next day. It keeps well in the refrigerator but only for another day, maybe two at the most. I don’t like the waste the batter.
Frying the Easy Rosette Cookies:
First and most importantly make sure your oil is at about 350 degrees. I use a thermometer to make sure I am at the right temperature. There’s no guessing the temp. You need a good thermometer! I really, really like this Polder Deep Fry Stainless Steel Thermometer because it has a handle on the back of it. This handle allows it to sit on the edge of your pan without touching the bottom of the pan and without you having to constantly hold it over that hot heat. It’s inexpensive too! If your temperature is not right the cookies will absorb too much oil if it’s too low or burn real easily it the temp is too hot. I’ve noticed my stove top temperature gauge is on about a 3 or 4 setting once I get to the right temp.
I like to use a frying pan because it’s big and shallow. I can make about three Rosettes at a time with a frying pan. I’ve used less oil when I use a sauce pan but it takes longer to make them. I can say that making three at a time if not for the first timer either. You have to be on the ball when you make these because they can burn quickly. If you are not quick, don’t make more than one at a time.
Expect to throw out a few, break a few. They’re delicate, and even careful handling can cause some to break. Plan ahead so you have enough for your tray. Sprinkle the broken ones and eat them as you go. The kids will be begging for them before they are even done. That’s what I do.
TIP: I created a video for you and if you listen closely right after I dip the oil in the batter and dab it on a kitchen towel to get the excess oil off, I put in in the batter but not all the way. You can hear a slight sizzle when I dip the rosette mold in the batter. You want to hear this sizzle. This means the rosette mold was hot enough and will allow the batter to cook slightly and grab just enough batter for your cookie. You really need to dab that rosette mold after you dip it in oil too. The reason? Because if you have too much oil on it the batter will just fall right off and not even stick to your rosette mold. (ask me how I know! lol) When I first did this I was afraid the batter would stick to the mold and not cook right if I didn’t leave some oil on but that’s not the case at all. Dip the mold in the batter long enough for it to heat up the very first time you start this process and then dab it a few times on paper towels or a small kitchen towel. It works perfectly when you do this.
Frying Information: I started to count seconds when I was doing this to give you some sort of timeframe. When I dipped the rosette mold into the batter I left it for about 3 to 4 seconds. Then when I dipped the rosette mold with the batter into the hot vegetable oil I held it under the oil and counted about 10 to 12 seconds before I lifted it out. Most of the time if you do it exactly like this the cookie will fall right off of the rosette mold when you lift it up. If not, keep a fork nearby and just give a little tug with your fork to make it come right off as you can tell from the video that’s exactly what I do.
I hope you enjoy this Easy Rosette Cookie Recipe as much as my family does. These tend to be a tradition around the holidays for many.
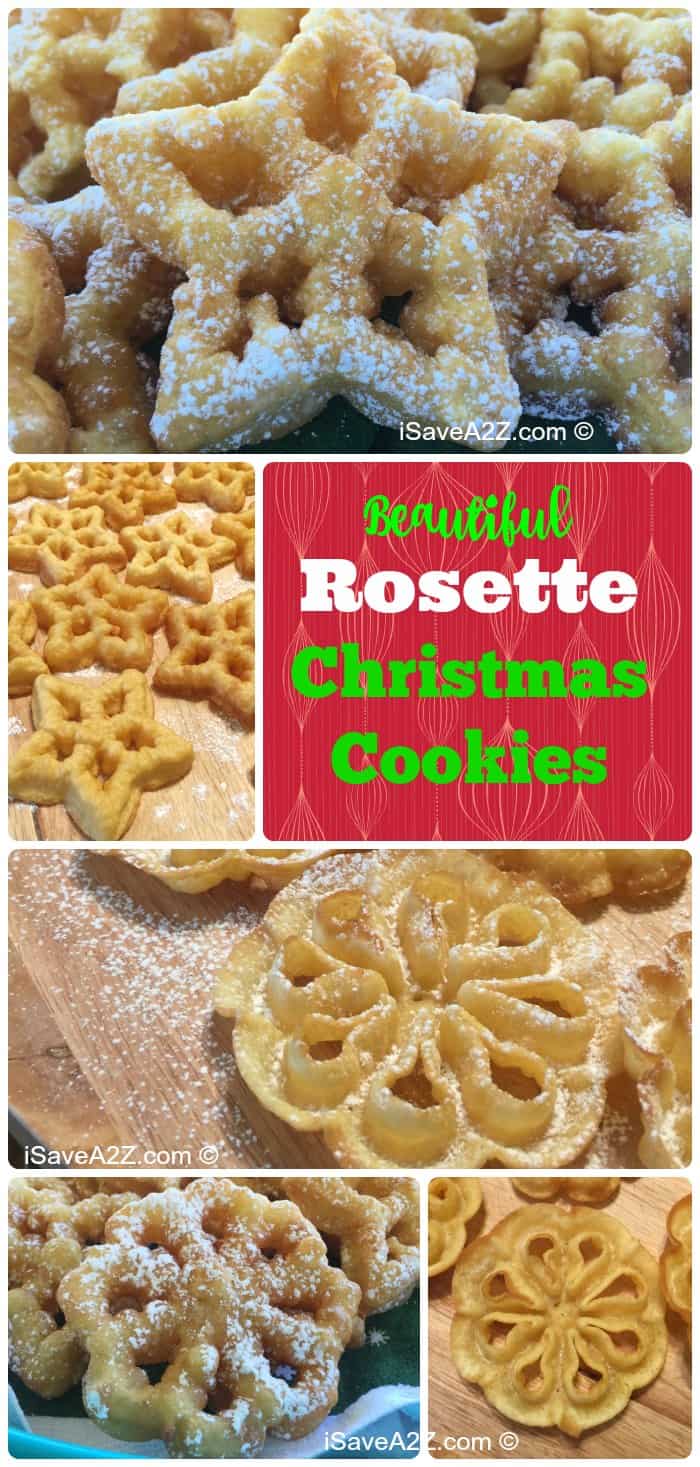
Feel free to “Pin” this Easy Rosette Cookie Recipe here for later:



Can you thicken the batter to be used in a waffle iron?
these are a very great cookie one of my favoirte cookies for any occaison