Homemade Amish Sweet Bread Recipe with Step by Step Instructions
Homemade Amish Sweet Bread Recipe with Step by Step Instructions
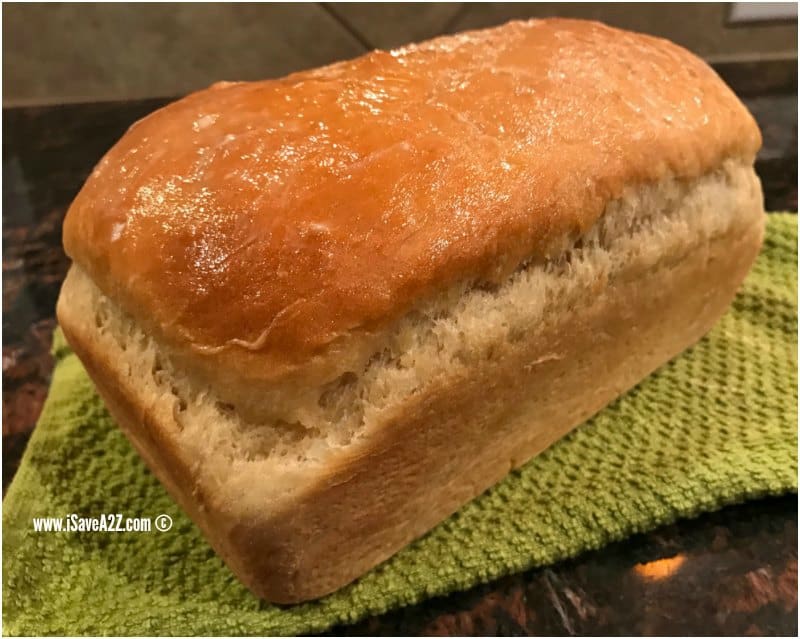
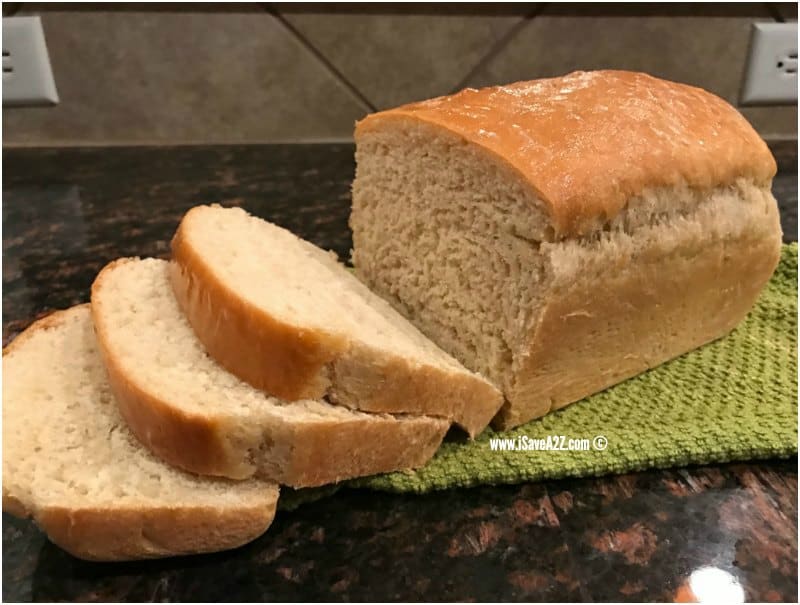
Have you ever wanted to make your own bread but you’ve felt intimidated by the yeast process? I have. I have conquered that fear and I want you to also! Or maybe you are already an expert and just want a good homemade Amish Sweet Bread recipe, that’s fine too. I am here to please!
First, let me give a special shout out to my dear friend Kim for coming to my house and walking me through this scary process. She was brave enough to conquer this on her own and offered to hold my hand through the process. Isn’t easier when you have a friend by your side? Sure it is. Thanks Kim! Love ya girl!
There is a printable version of this recipe at the very bottom of this post.
Homemade Amish Sweet Bread Recipe Ingredients
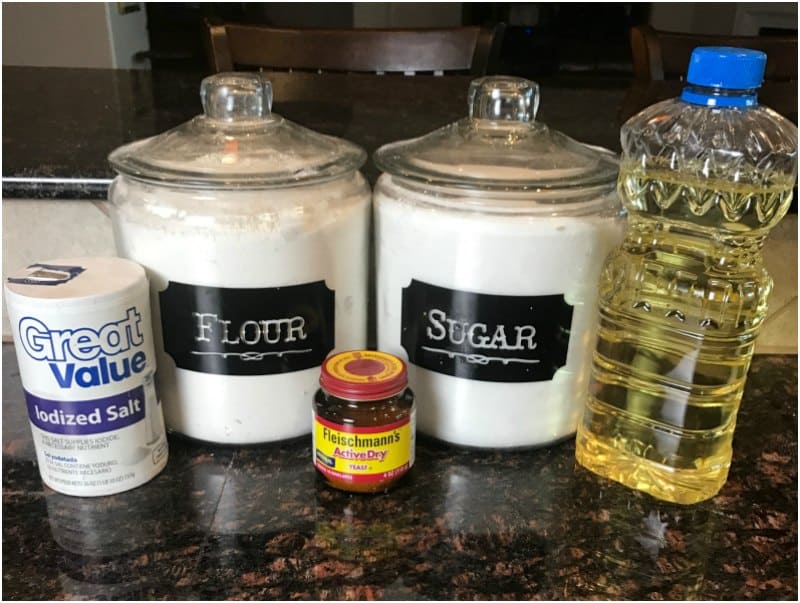
- 2 cups water
- 2/3 cups sugar
- 1 1/2 tablespoons Active Dry yeast
- 1 1/2 teaspoons salt
- 1/4 cup vegetable oil
- 5 1/2 to 6 cups all purpose flour
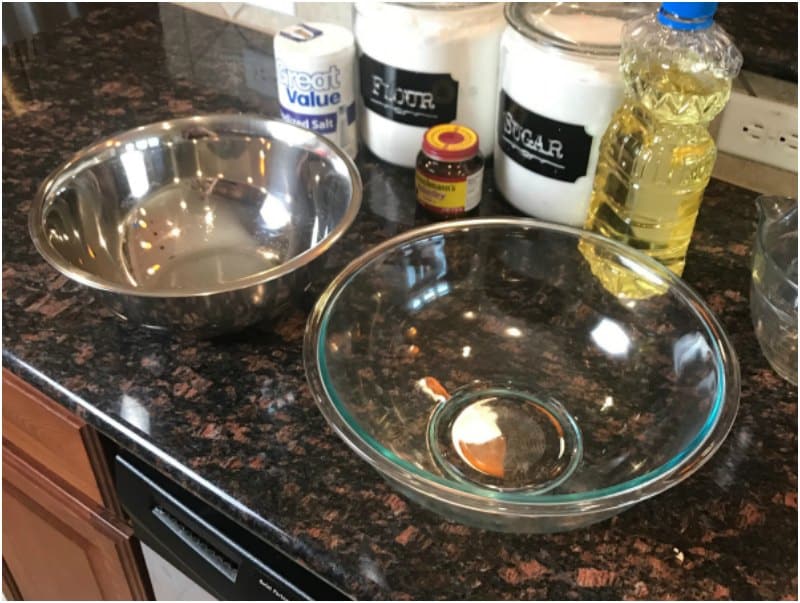
- two large bowls
- dough cutter
- 2 bread loaf pans
Note: If you find you make this recipe often, I highly suggest investing in some really good bread loaf pans such as the Cuisinart 9-Inch Chef’s Classic Nonstick Bakeware Loaf Pans. They will last you a very long time.
Homemade Amish Sweet Bread Recipe Step by Step Instructions
Heat 2 cups of water to 110℉. If you don’t have a thermometer try this tip. It works every time. Heat up 1/2 cup of water in a microwave safe bowl for one minute. This will boil the water. Then add tap water from the faucet until you reach 2 cups of water.
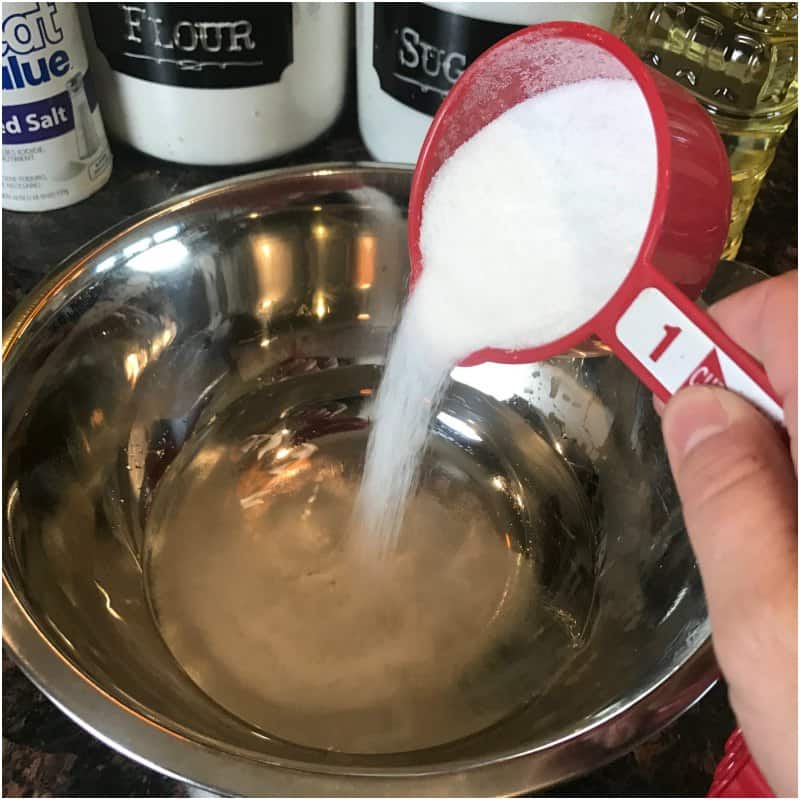
Add the sugar to the water you just heated and stir it.
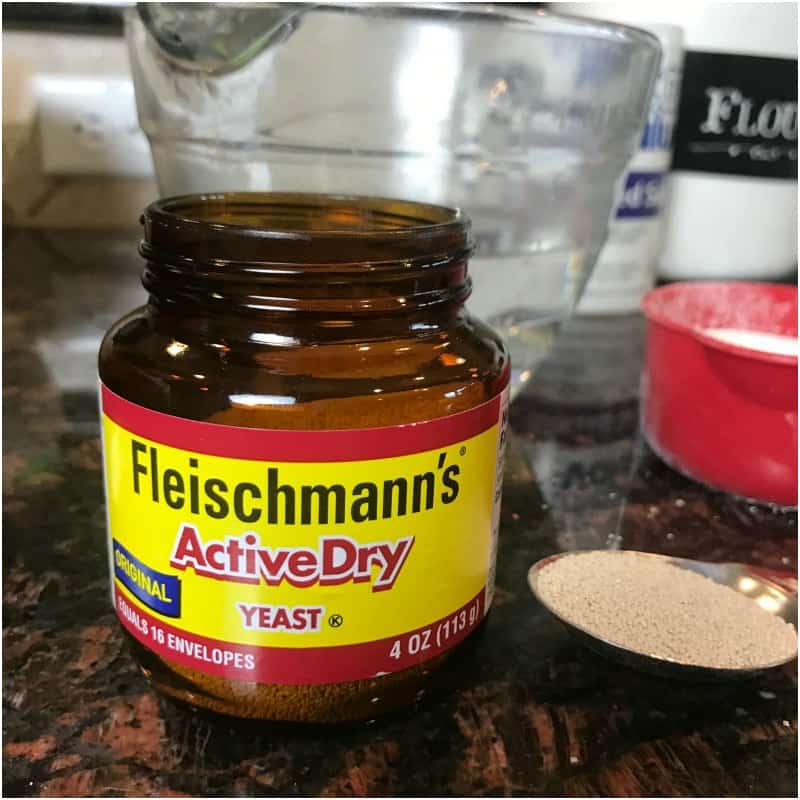
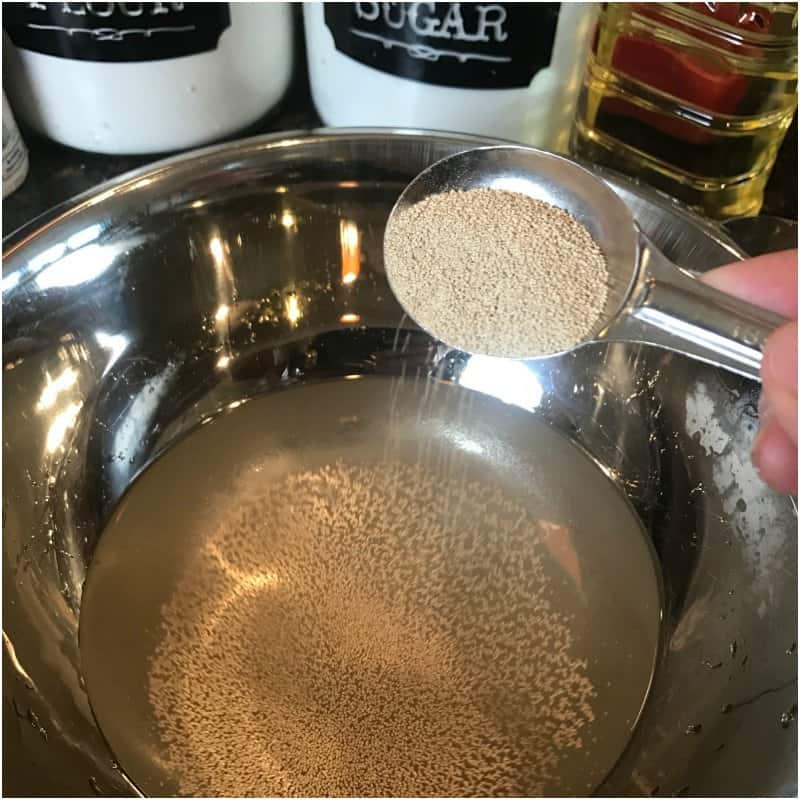
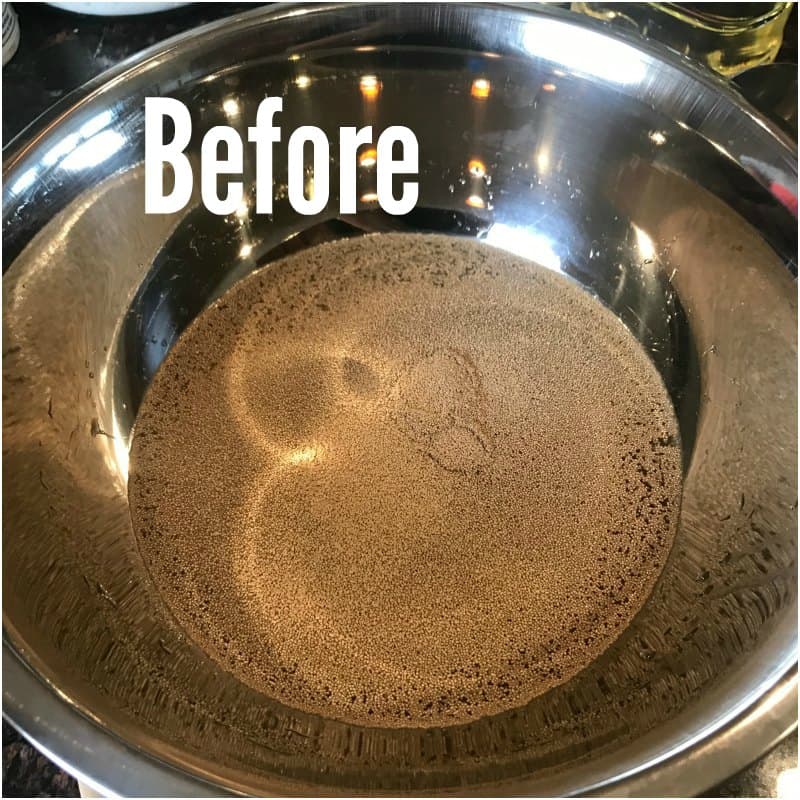
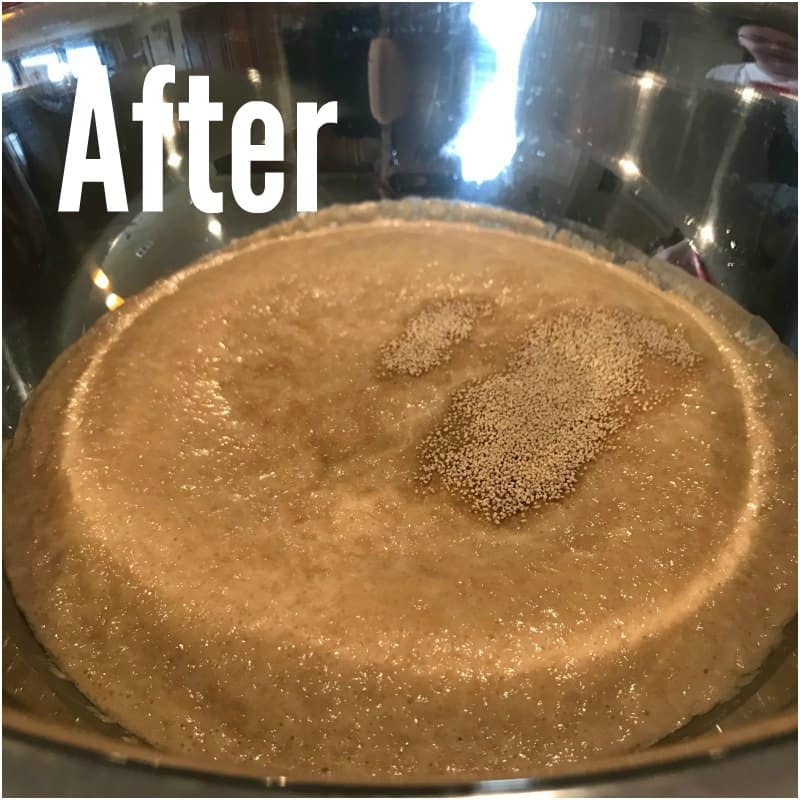
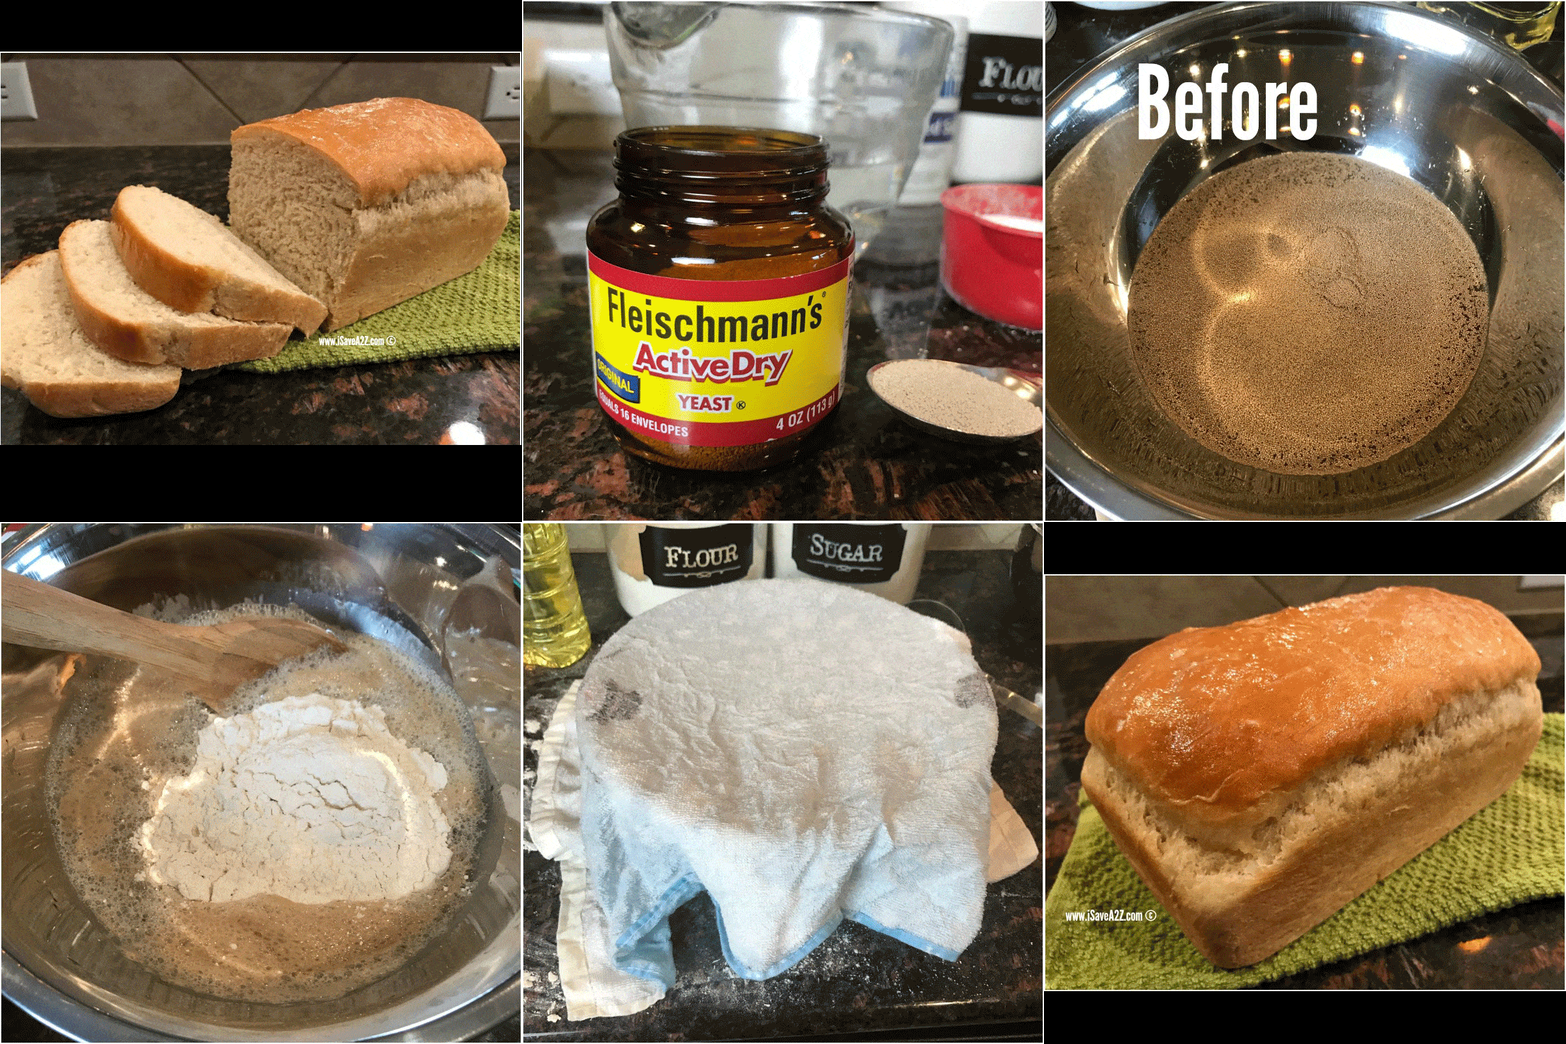
Add the active dry yeast to the sugar water and let it set for exactly 10 minutes. It will become frothy. See before and after photos below.
How long can you keep yeast in the freezer you ask?
Mix in the oil and salt into the yeast liquid.
Slowly add one cup of flour at a time to this yeast mixture. You might not use all of the flour. It depends on how wet the dough is towards the end. You want to get to a good non-sticky dough consistency and it will form a ball.
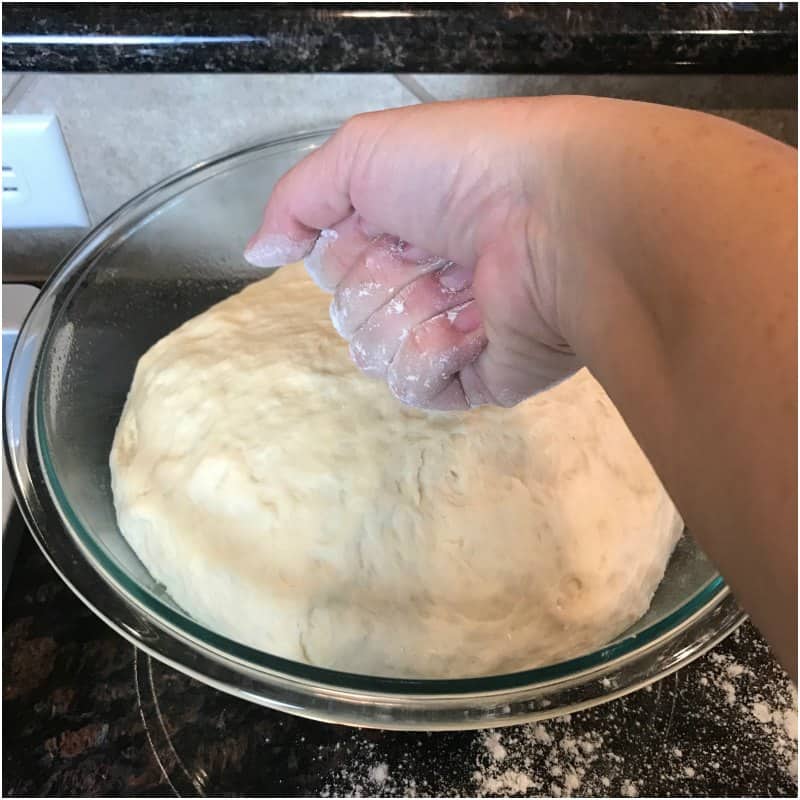
Once the dough forms a ball, you will need to knead the dough for about 5 minutes. Sprinkle the surface with flour before you begin. When you feel the dough get sticky, sprinkle more flour over the top of the dough as you are kneading it. When this process is over you should be able to lift a small piece of the dough without it tearing. (see the photo)
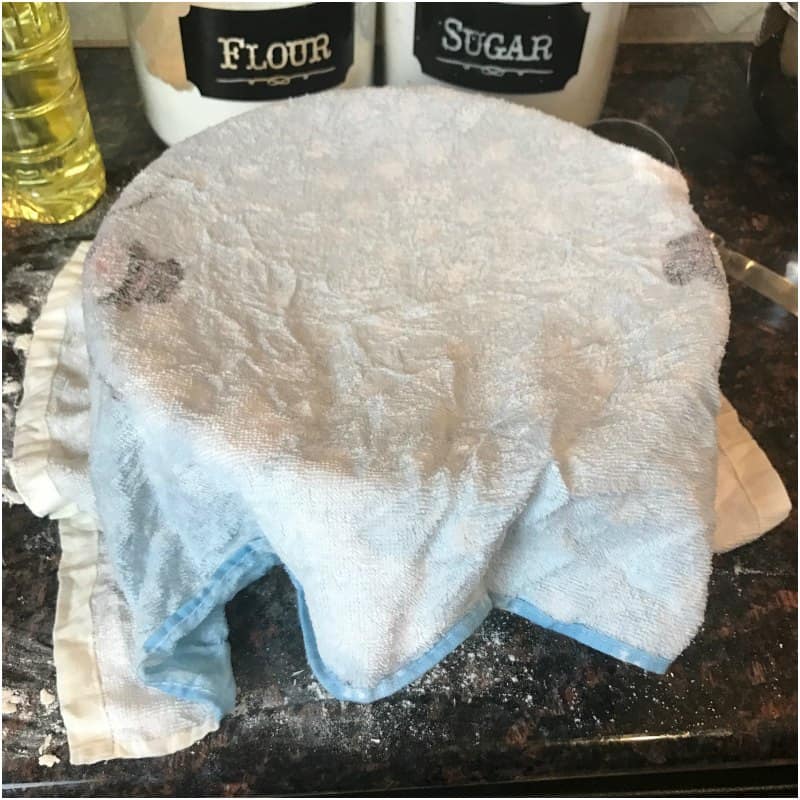
Spray a large bowl with non stick cooking oil and place the dough into the bowl. Cover this bowl with a damp towel.
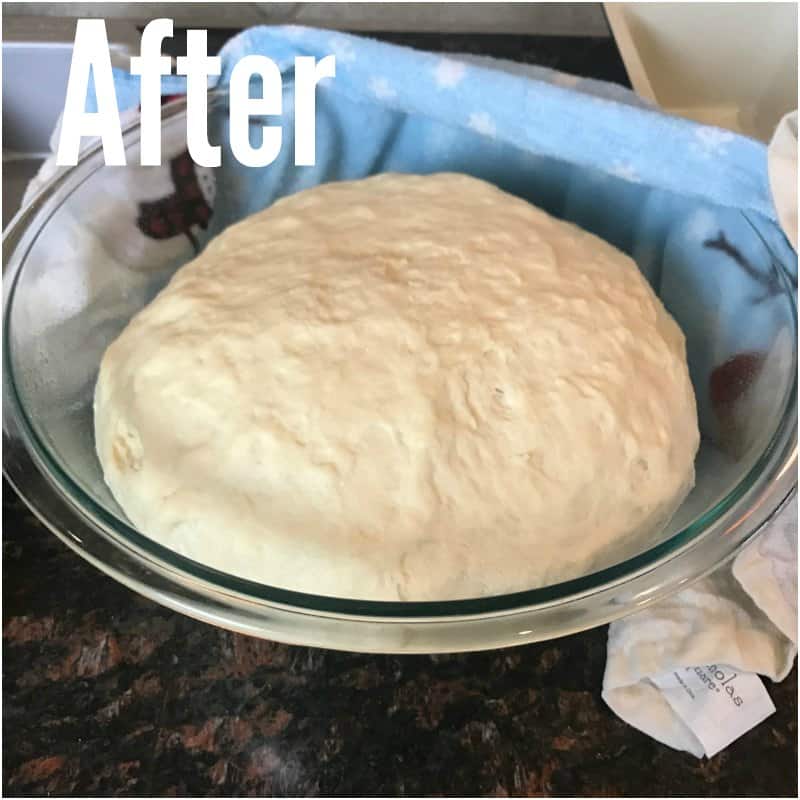
Let this dough rise for about 1 hour or until it has doubled in size.
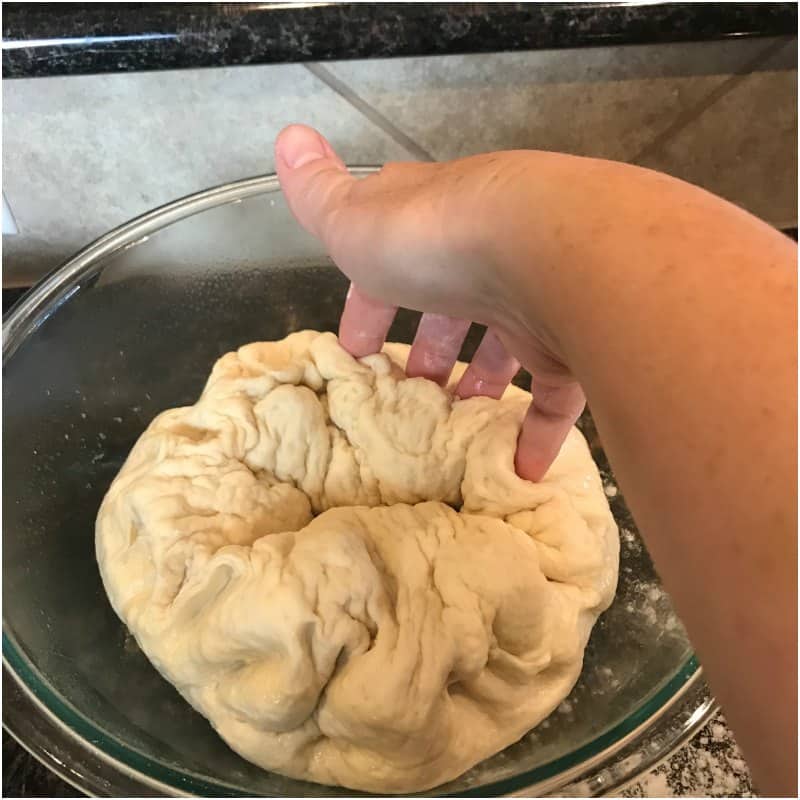
After the dough has risen, punch the middle part of the dough and pull the dough from the sides of the bowl.
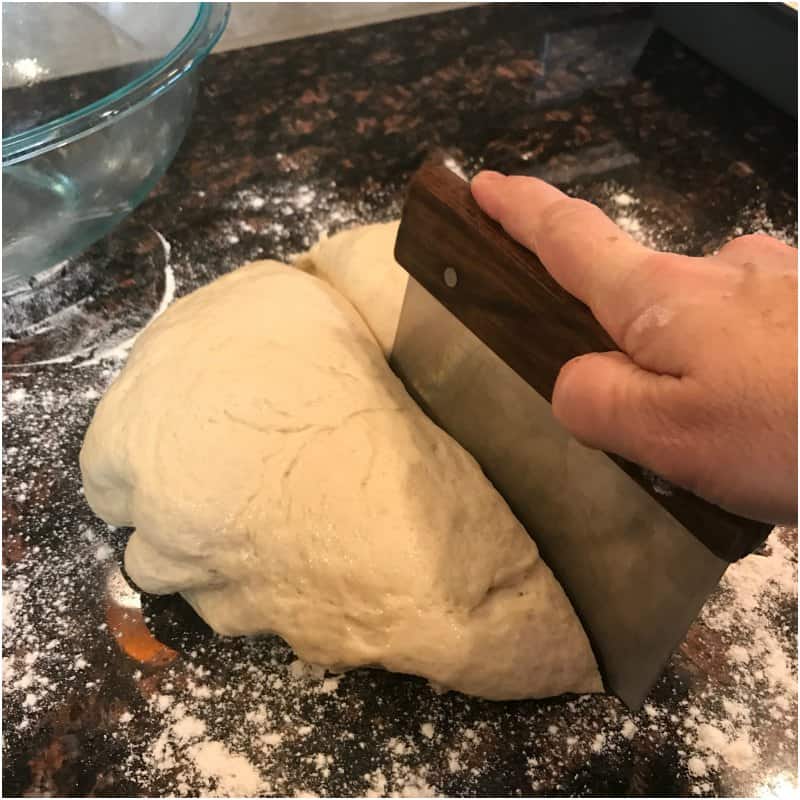
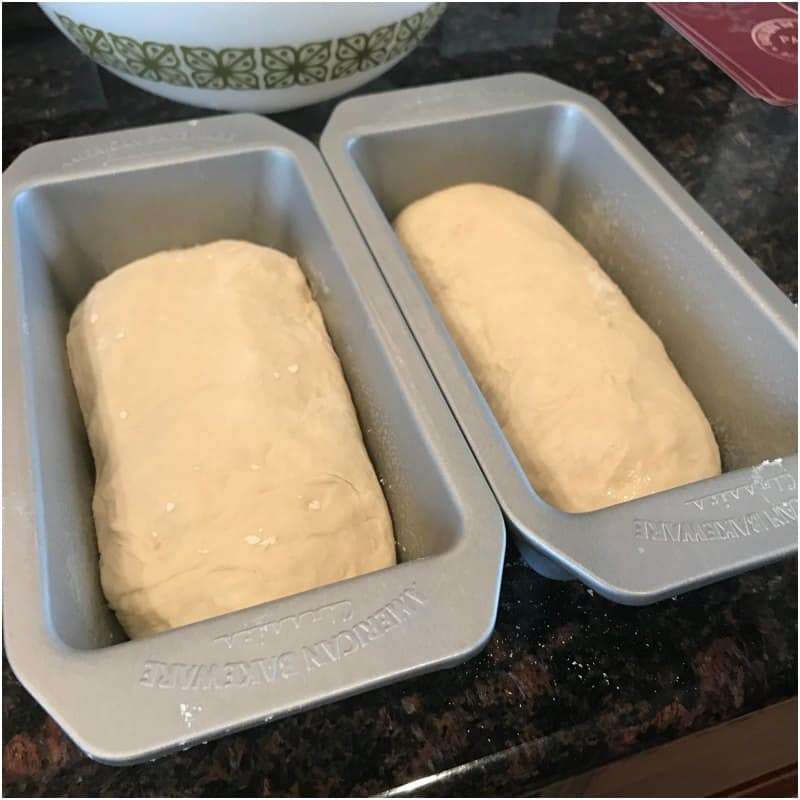
Use a dough cutter and split the dough into two equal parts and place them in a greased loaf pan. Shape them into the size of your pan.
Let these loaves sit uncovered for another 3o minutes to rise again.
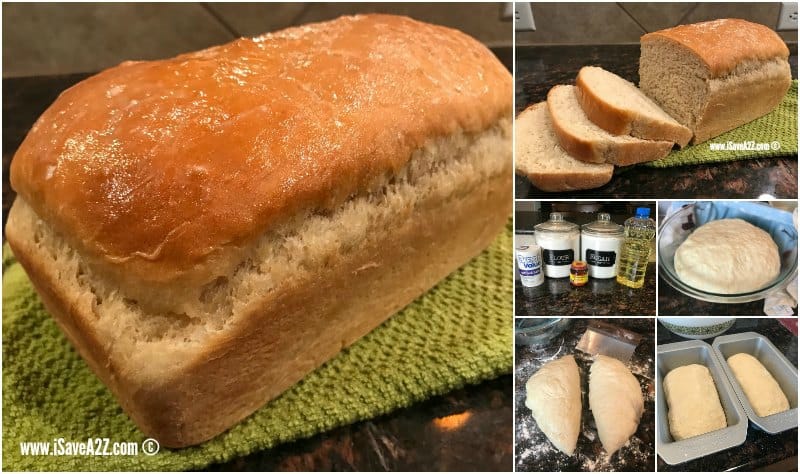
Now place them in a preheated oven at 350℉ for about 30 minutes or until they are cooked thoroughly. If you are using a cast iron bread pan you will need to bake these loaves after 5 minutes or so. The crust comes out amazing with cast iron but it does take a little longer to bake. I love cast iron because it cooks so evenly.
Feel free to Pin It on Pinterest for later. I promise, you will NEVER want to lose this recipe.
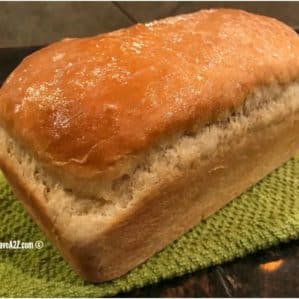
Homemade Amish Sweet Bread Recipe with Step by Step Instructions
Ingredients
- 2 cups water
- 2/3 cups sugar
- 1 1/2 tablespoons yeast
- 1 1/2 teaspoons salt
- 1/4 cup vegetable oil
- 5 1/2 to 6 cups All purpose flour
Instructions
- Heat 2 cups of water to 110℉. If you don't have a thermometer try this tip. It works every time. Heat up 1/2 cup of water in a microwave safe bowl for one minute. This will boil the water. Then add tap water from the faucet until you reach 2 cups of water.
- Add the sugar to the water you just heated and stir it.
- Add the yeast to the sugar water and let it set for exactly 10 minutes. It will become frothy. See before and after photos below.
- Mix in the oil and salt into the yeast liquid.
- Slowly add one cup of flour at a time to this yeast mixture. You might not use all of the flour. It depends on how wet the dough is towards the end. You want to get to a good non-sticky dough consistency and it will form a ball.
- Once the dough forms a ball, you will need to knead the dough for about 5 minutes. Sprinkle the surface with flour before you begin. When you feel the dough get sticky, sprinkle more flour over the top of the dough as you are kneading it. When this process is over you should be able to lift a small piece of the dough without it tearing. (see the photo)
- Spray a large bowl with non stick cooking oil and place the dough into the bowl. Cover this bowl with a damp towel.
- Let this dough rise for about 1 hour or until it has doubled in size.
- After the dough has risen, punch the middle part of the dough and pull the dough from the sides of the bowl.
- Use a dough cutter and split the dough into two equal parts and place them in a greased loaf pan
- Let these loaves sit uncovered for another 3o minutes to rise again.
- Now place them in a preheated oven at 350℉ for about 30 minutes or until they are cooked thoroughly.
Nutrition facts are provided as a courtesy.









I am new to making bread, but with the high prices of bread these days , I have decided to make my own bread now.This has become one of the favorites..I love it ❤️ I make 2 loaves of this each week and a loaf of Italian and the family is loving it
If you want to make authentic Amish bread, skip the vegetable oil and use melted butter.
This is the best and easiest bread ever to make! Reminds me of moms homemade bread! Delicious!
Absolutely love this recipe! I wonder if it would work as rolls too. Any idea?
I made rolls and a braided loaf with the recipe and they turned out wonderful. I’d just keep an extra close eye on the rolls in the oven to make sure they don’t burn!
This makes a bread like Hawaiian bread. I use this dough to make Cinnamon rolls and they are wonderful!
A great and easy recipe! The bread holds together well so it is easy to use for toast or a sandwich. My kids love it with homemade strawberry jam. I divide the dough into three parts to make smaller loaves and bake for about 30 minutes. Do not skip kneading the dough; it is an important part to ensure that the bread turns out well. I’ve made other homemade bread before but this recipe is now my favorite! I’ve made cinnamon rolls from this recipe and they were a high hit.
My family loves this recipe and it’s a staple in our house! I haven’t even tried any other bread recipes as this is so easy and tasty!
Been making this bread since the beginning of the pandemic so easy to make my husband now refuses to buy store bought bread said he would rather eat homemade bread any day. And I’m always getting requests for loaves too.
Been making this since the pandemic began husband loves it so easy to read and understand. Bread is so delicious.
Have them baking now! I added some butternut maple syrup to it, yummmm
I love this bread. Have made it several times. Also made cinnamon rolls out of out. It’s WONDERFUL! Thank you!!!
It was an easy recipe to make.. I’ve made it twice now. Everyone loved it!
Took a couple of tries for the difference in raising. Husband loves it. Easy and got the feel for the dough while kneeding. Have some in the oven now.
Your examples were so clear and easy to follow! I am a first time bread maker and was terrified I’d get it wrong! Thanks so much for putting this on the web for people like me to get a clear understanding of how to make this great bread!
This was wonderful!
This is the only sweet bread recipe I will make. It is so easy and they rise in an acceptable amount of time. My family gobbles these up every time.
Thank you for this recipe. Bread came out soft like store bought. My family of five devoured one loaf in 24 hours! Best bread recipe I’ve come across so far.