Homemade Burn Gel Recipe (includes a coaster design project idea)
We just made a homemade burn gel recipe and it works great for burning wood projects!
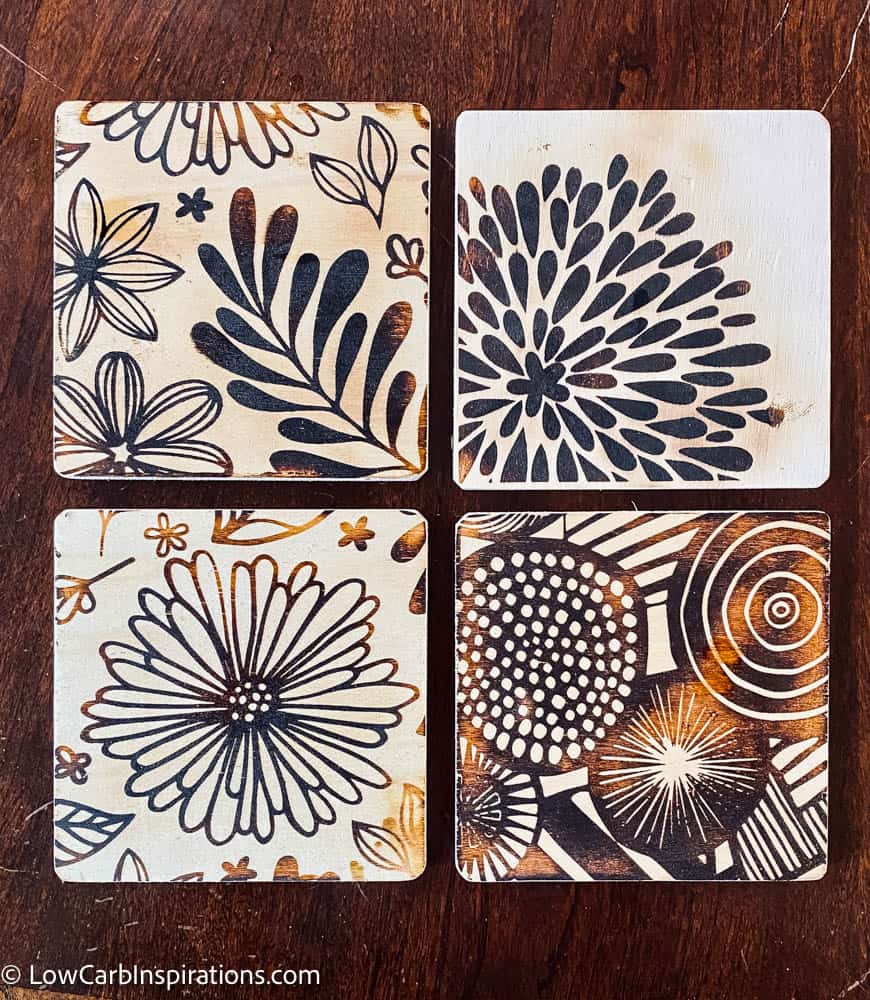
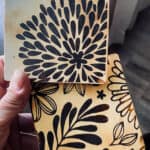
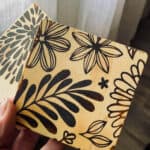
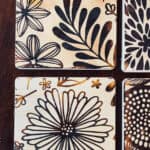
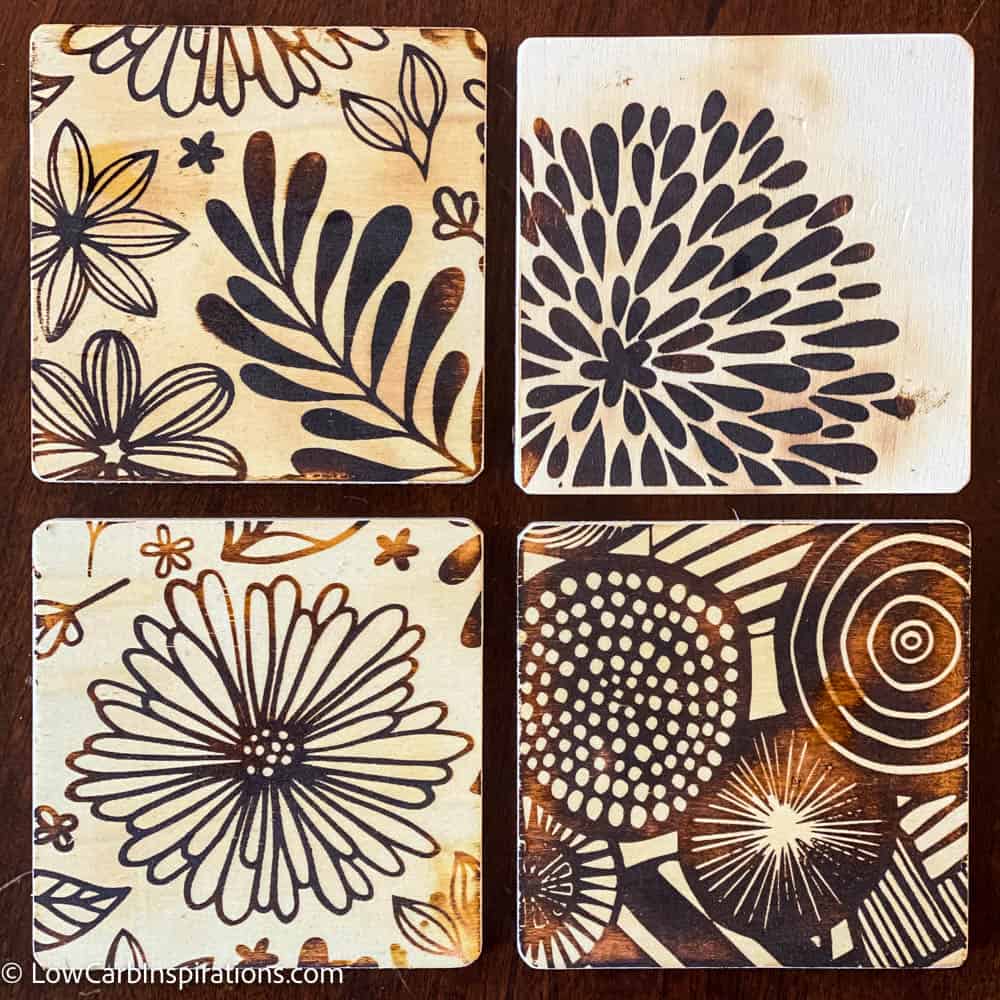
We burned a couple of designs into some unfinished wooden coasters and they turned out fantastic. I will definitely do this project again.
It only takes 3 ingredients to make the wood burn gel. A little bit goes a very long way so this recipe makes a small amount but it will last forever!
After making the homemade burn gel we applied it to a few cute wood burning projects that were super easy to make.
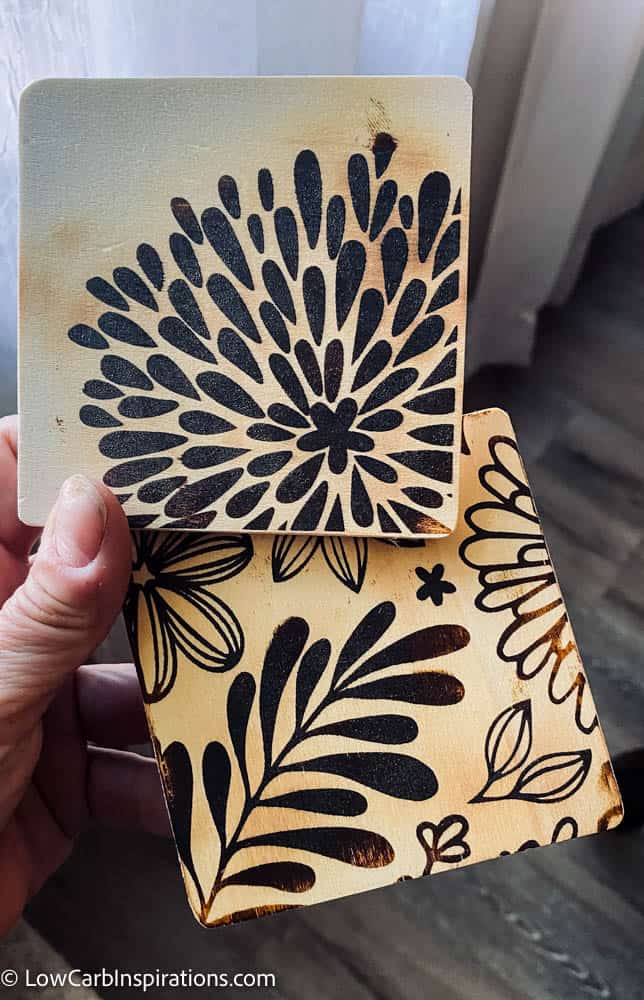
Let me show you how we did it below.
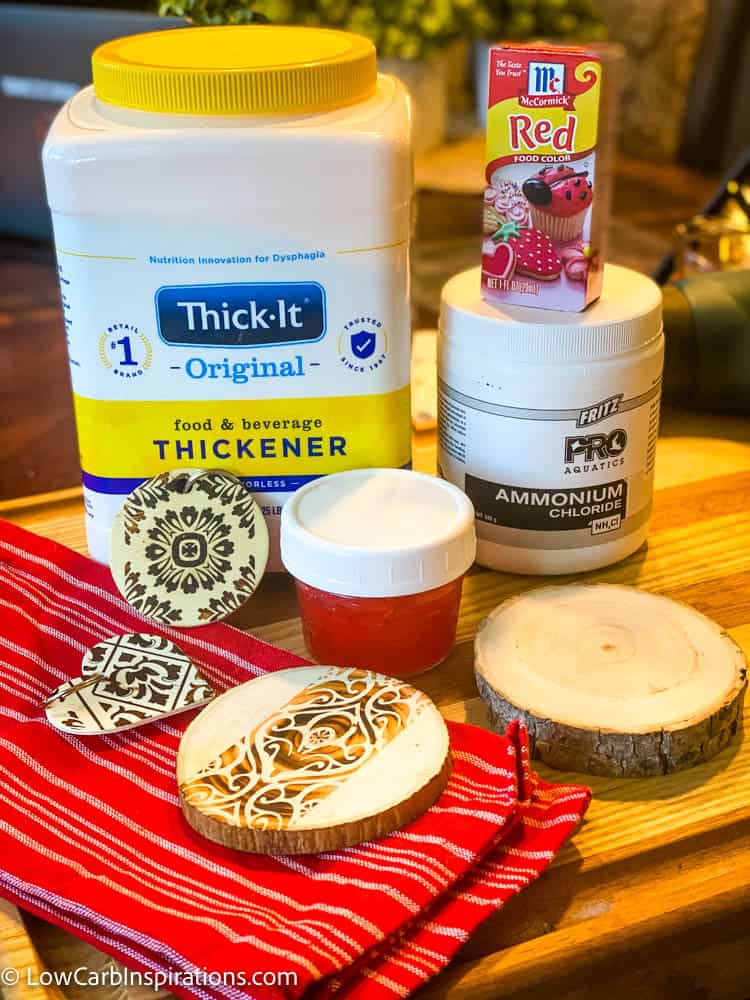
Homemade Burn Gel Recipe Ingredients
- 6 tsp Thick-It thickener
- 1.5 tsp Ammonium Chloride
- 1/4 cup water
- Optional: Food coloring (about 4 to 5 drops)
Homemade Burn Gel Recipe Instructions:
- Add all the ingredients into a small glass container with a lid. Mix until thick. This will only take a minute or so.
- Store out securely with a lid.
- I highly recommend using a food coloring. This way you can see the gel placed on your project. You won’t see the color in your finished artwork because it will burn off. But if you cannot see the color when applying it, you may not know if you full design is covered in burn gel or not. It’s really light. I used generic liquid red food coloring but you can use any color you want. I wouldn’t use yellow though because you may not be able to see it as well as green, red, or blue.
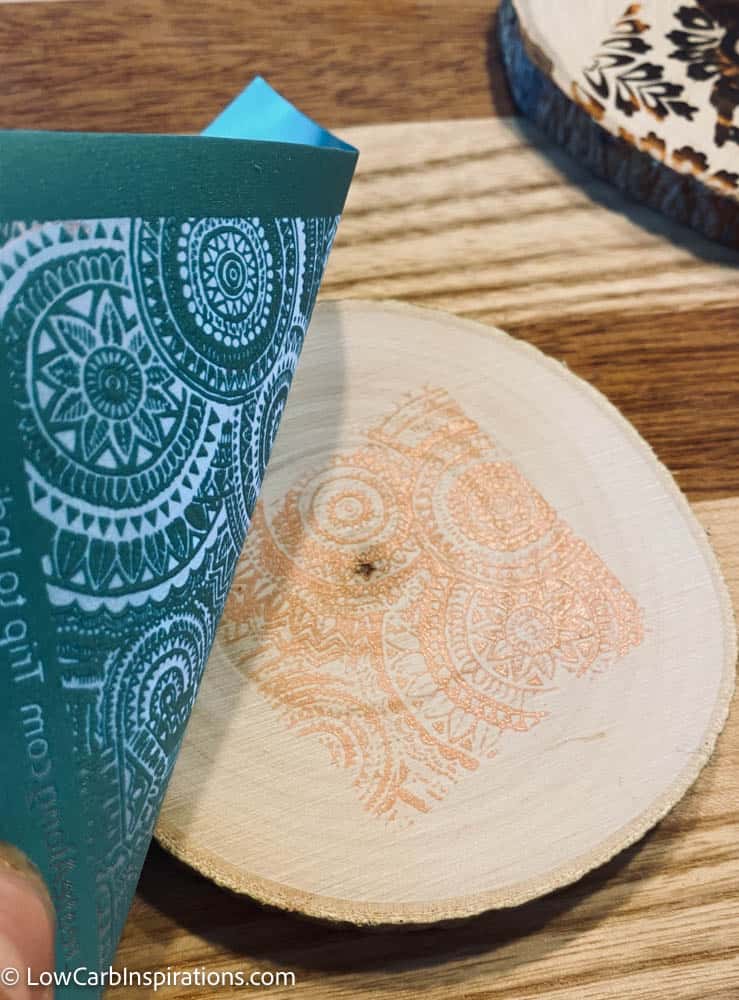
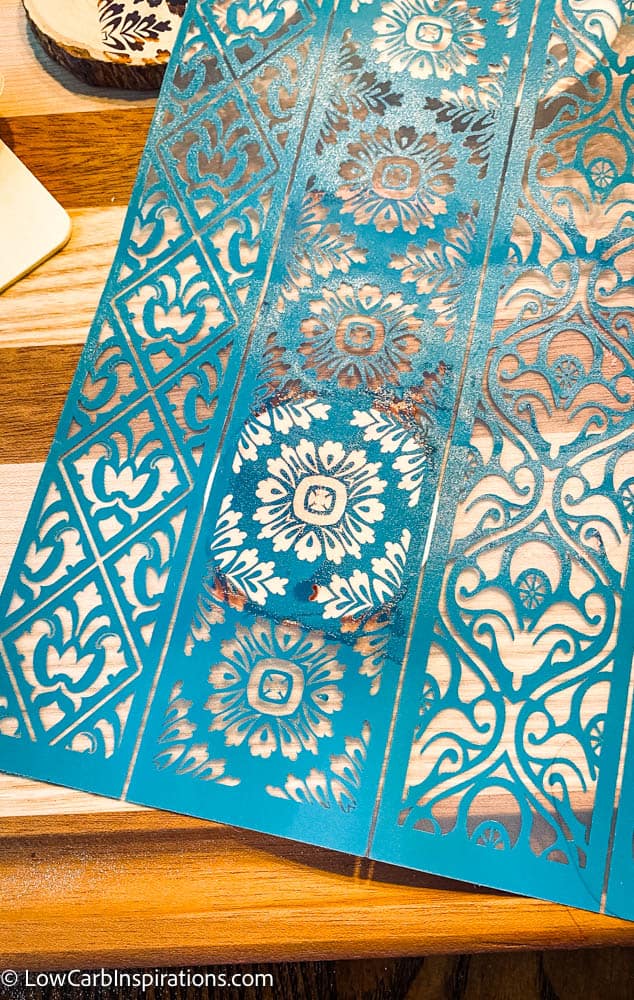
- Use a silk screen reusable transfer stencil with your favorite design on a piece of wood. (see examples below). The reason I say to use silk screen stencils is because it’s paper thin and you can whip off excess burn gel without messing up the design. I’ve tried using regular plastic stencils and the plastic is too thick. It doesn’t hold in place well and if you smear the burn gel, your design will be smeared when you burn it too.
- Press down on the transfer and make sure there are no bubbles.
- Use a scrapper and a small dab of burn gel and press it into the silk screen design making sure it covers the whole area. You will use a squeegee and spread a small amount fully covering the design.
- Use the same squeegee to whip off any extra gel before you remove the design.
- Use a heat gun that’s at least 1000w to heat the gel to burn the design into the wood.
You can find lots of silk screen reusable stencil designs on Amazon!
This burn gel recipe is thick. If you need a thinner recipe for some reason, just reduce the thinkener as needed. Start with 4 teaspoons of thickener in this recipe instead of 6. I find the recipe above works perfectly for all projects. The smaller your design, the thicker the gel that’s needed to get crisp lines in your project designs.
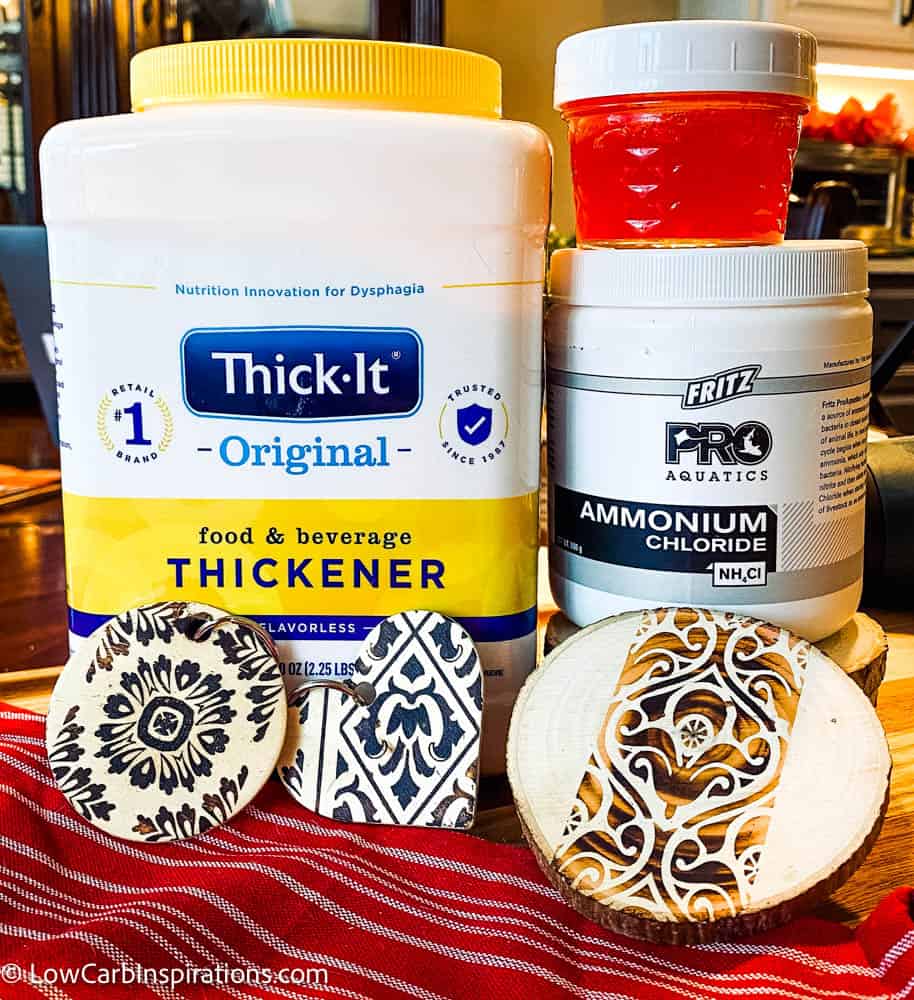
Here are the products I used to make the burn gel:
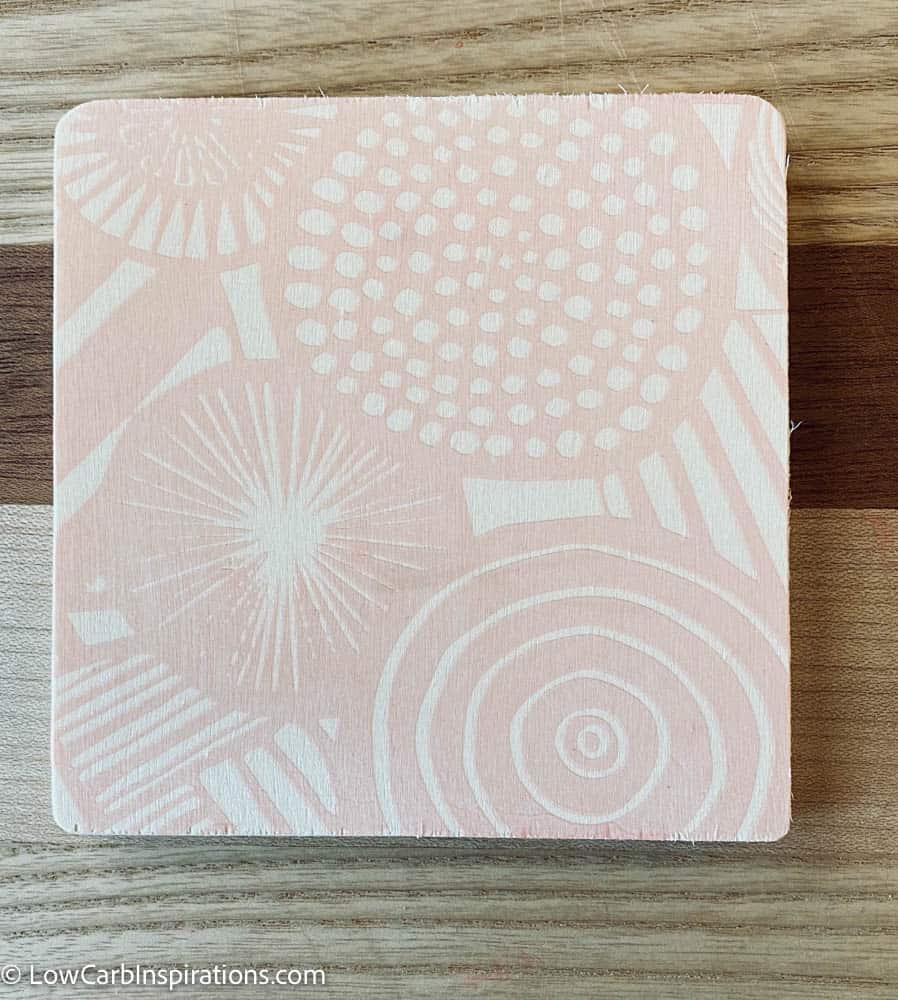
Here are a few silk screen reusable stencils I used to create the designs:
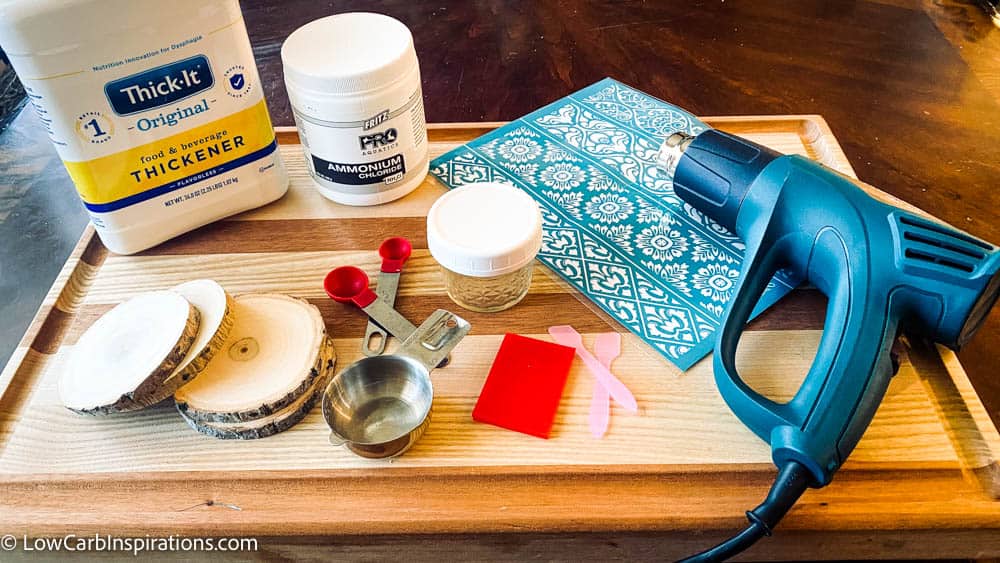
This is the start of the project with all my ingredients laid out. I am about to make the homemade burn gel.
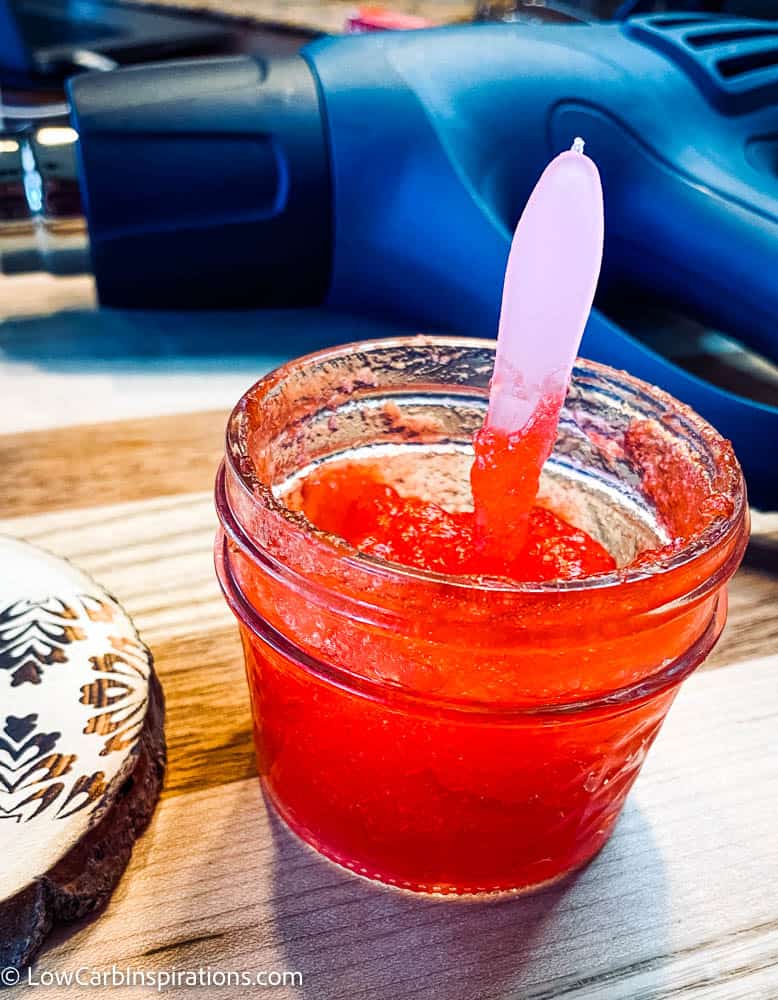
My burn get is done and super thick! It’s gets creamier as you continue to stir it.
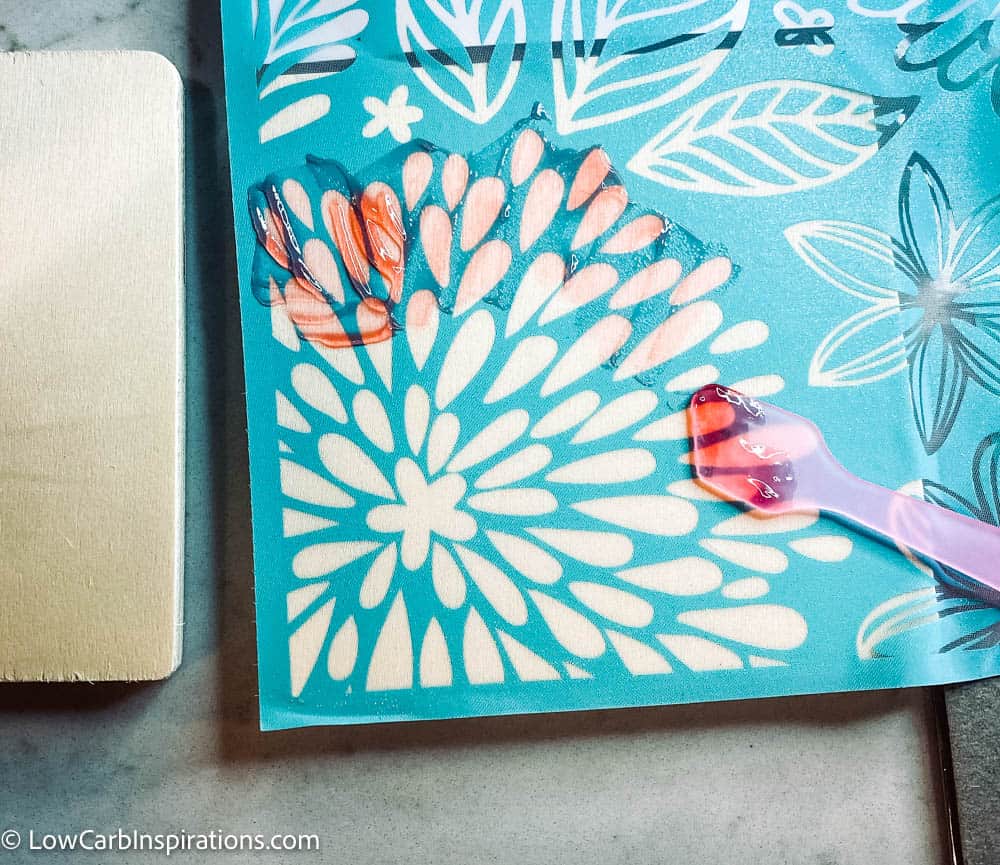
This is me spreading the burn cream over a silk screen stencil that is reusable.
This shows a wood coaster with burn gel on the left and me spreading it on another wood coaster on the right.
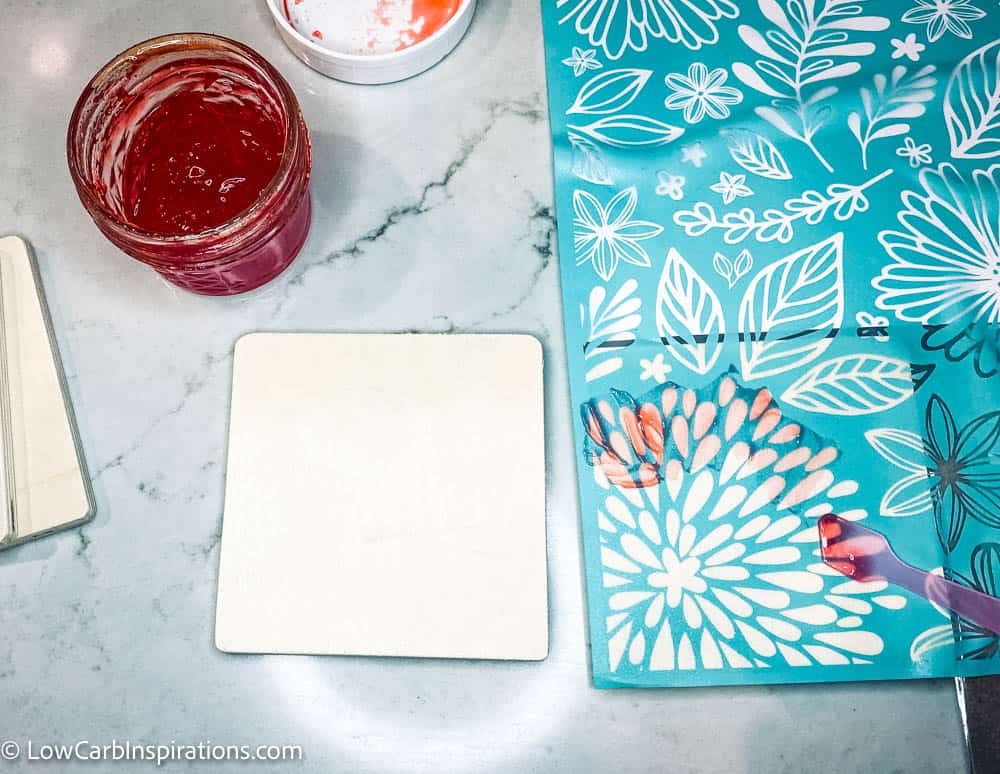
This shows what it looks like after I have spread a very thin layer of burn gel on the wood project right before I start to heat it to burn the design.
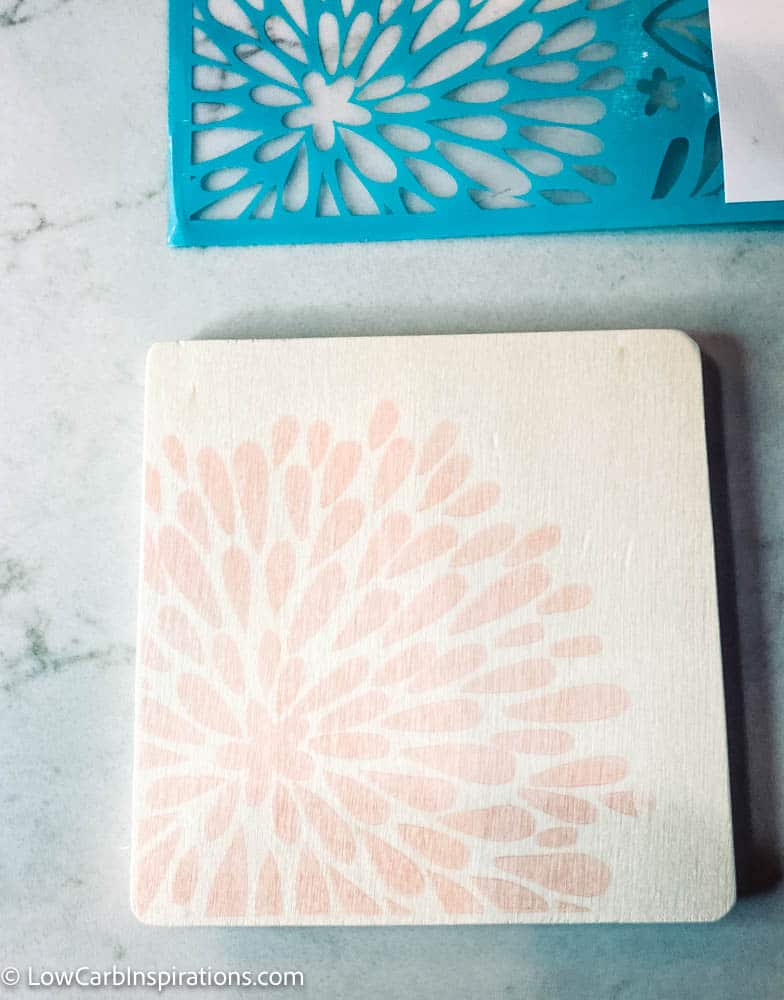
This is what it starts to look like when I heat the design with a high powered heat gun.
Here’s another the design I created. I love these template!
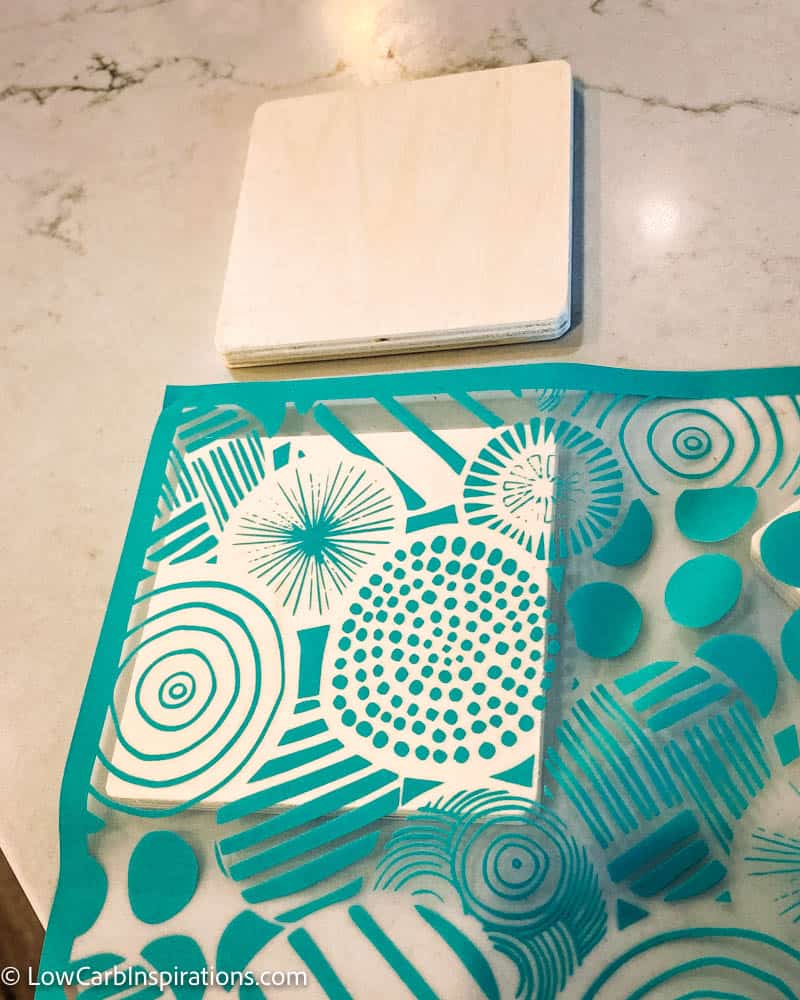
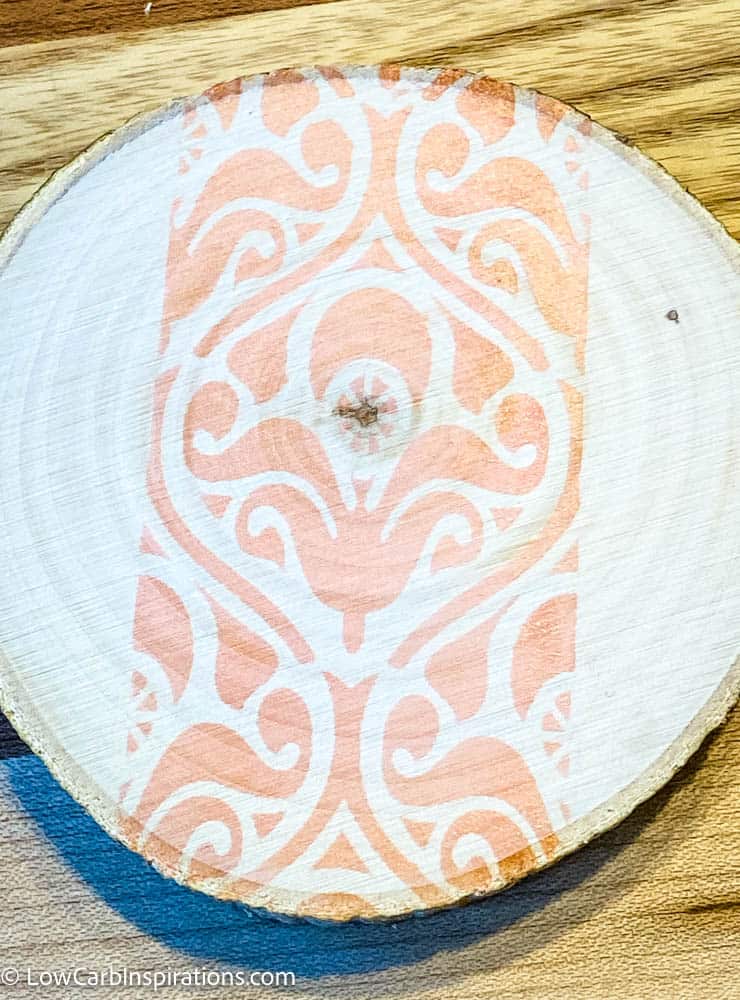
This is what it looks like after I applied the burn gel from this design.
This is a test piece that has a very small design. This was a test piece when I was testing the recipe for the burn design. The burn cream was not thick enough when I did this so I perfected the recipe above.
This was a piece with the perfected burn gel so the lines are nice and crisp!
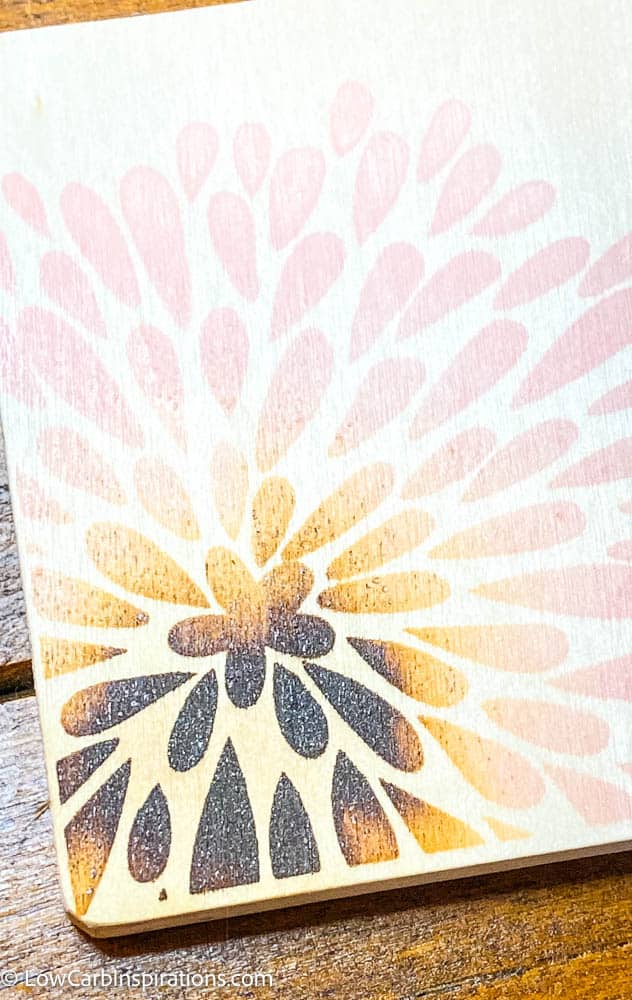
The burn on this piece was done lightly around the edges and darker in the center. You will need to heat it more to create a full dark piece with even burns.
The first piece on the left in this photo below is the first burn gel recipe before I perfected it. I wasn’t thick enough. The piece on the right is this recipe above. The other wood pieces below are just good examples of items you can use to burn designs on.
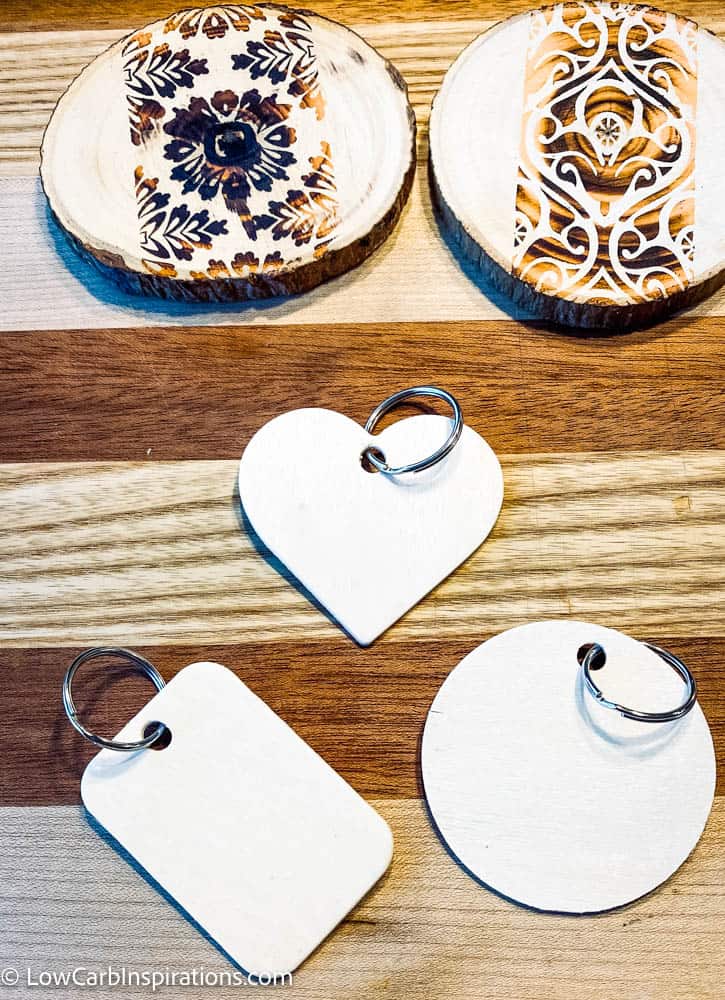
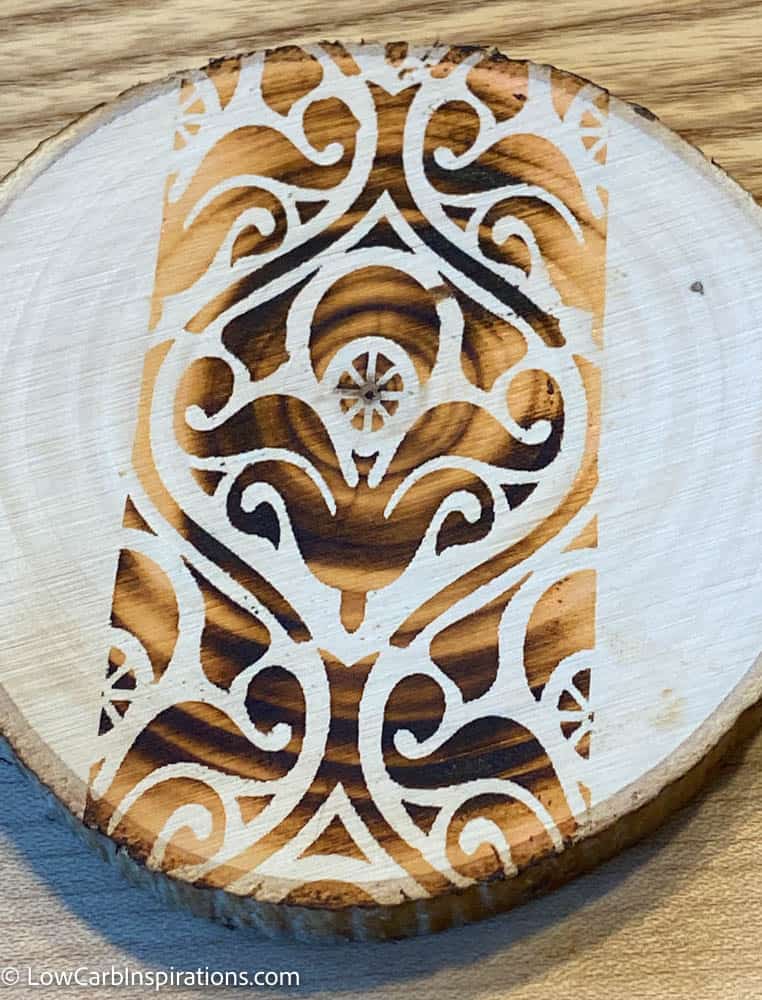
I am in love with this silk screen stencil design that I purchased on Amazon.
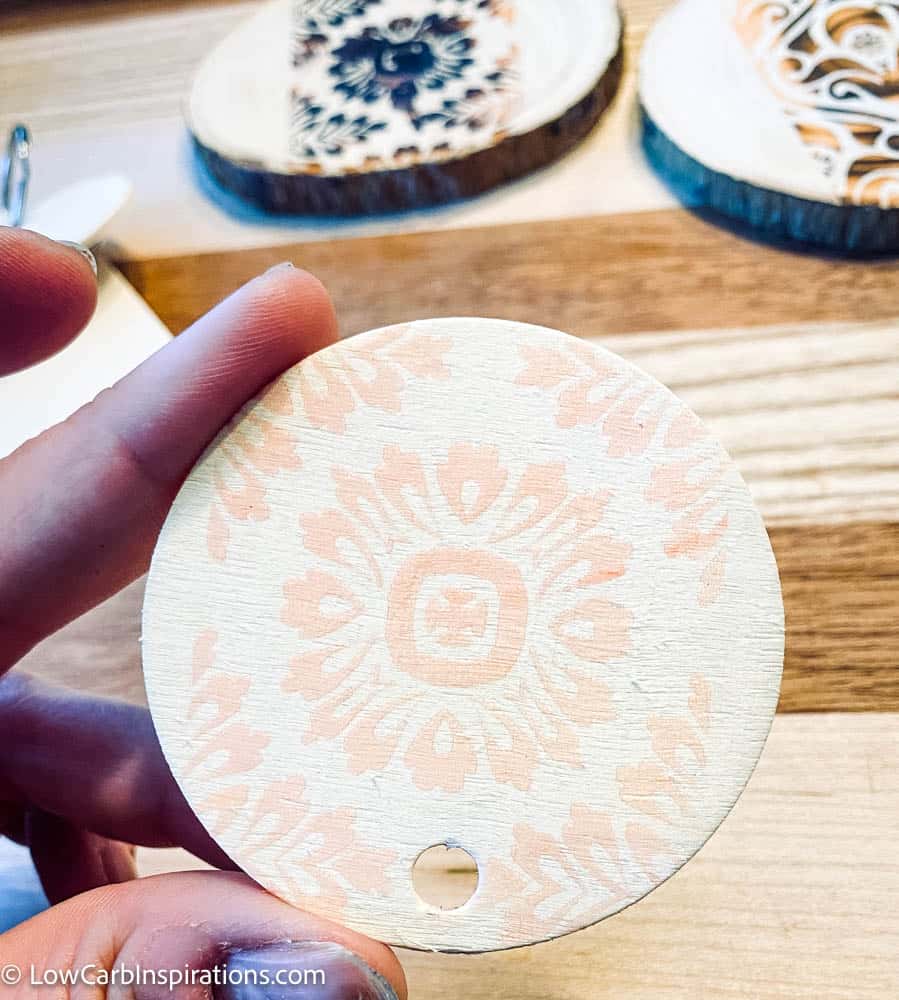
This is a design with that same stencil before I burned it.
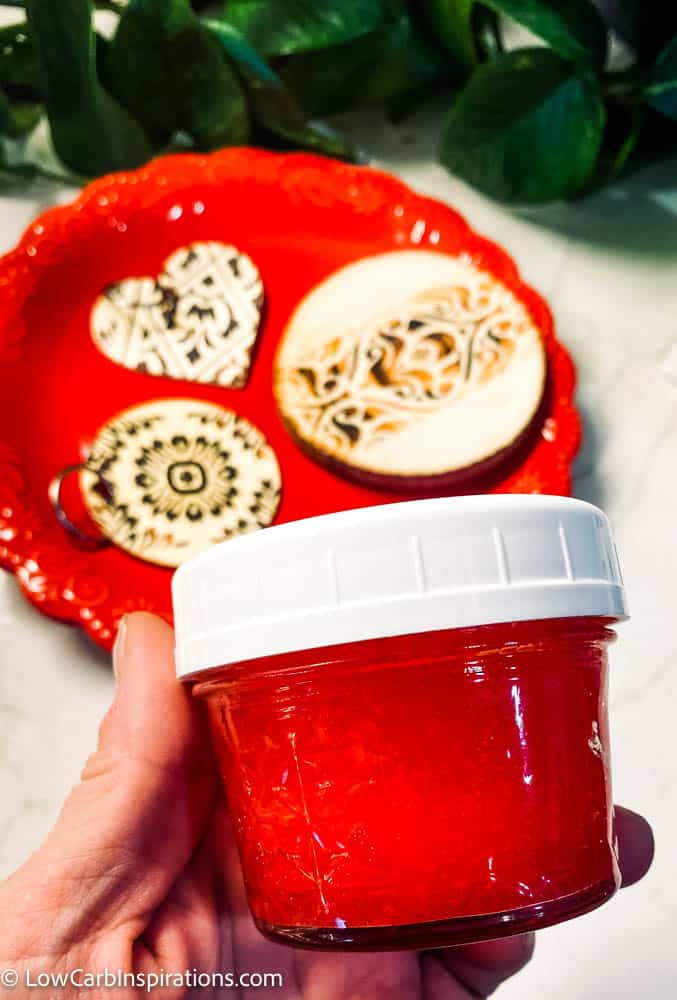
This shows a tiny mason jar that I used to store my homemade burn gel with a lid.
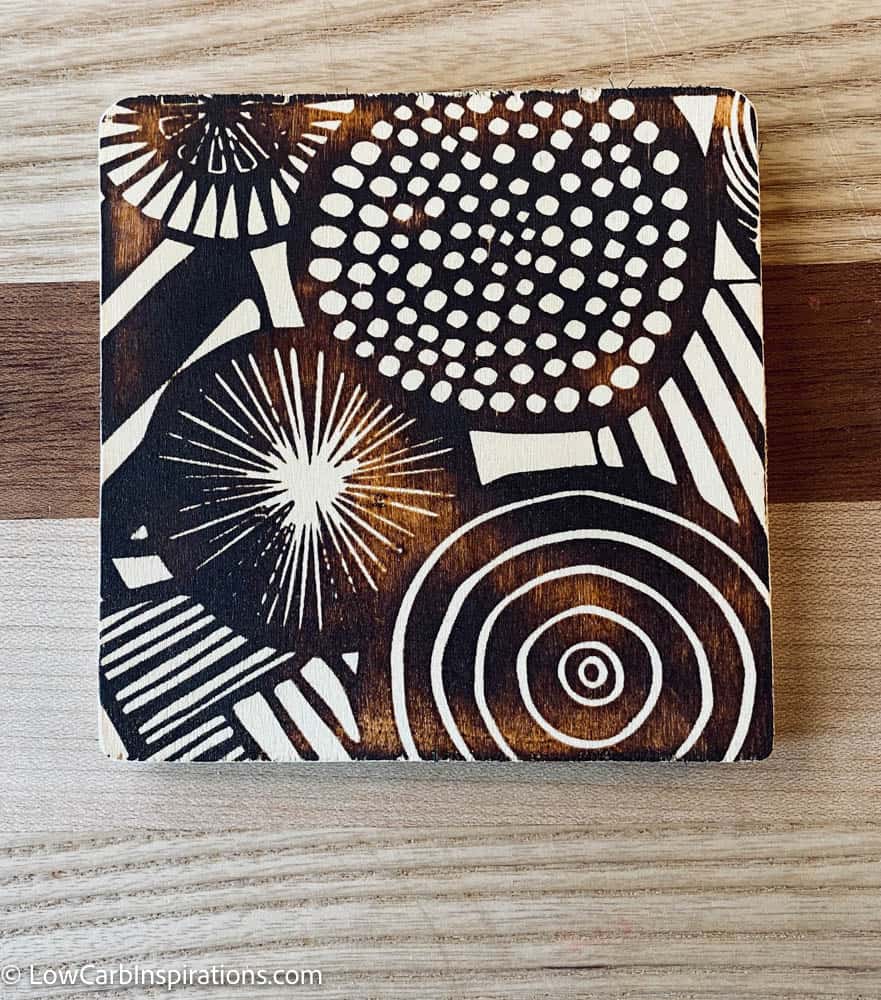
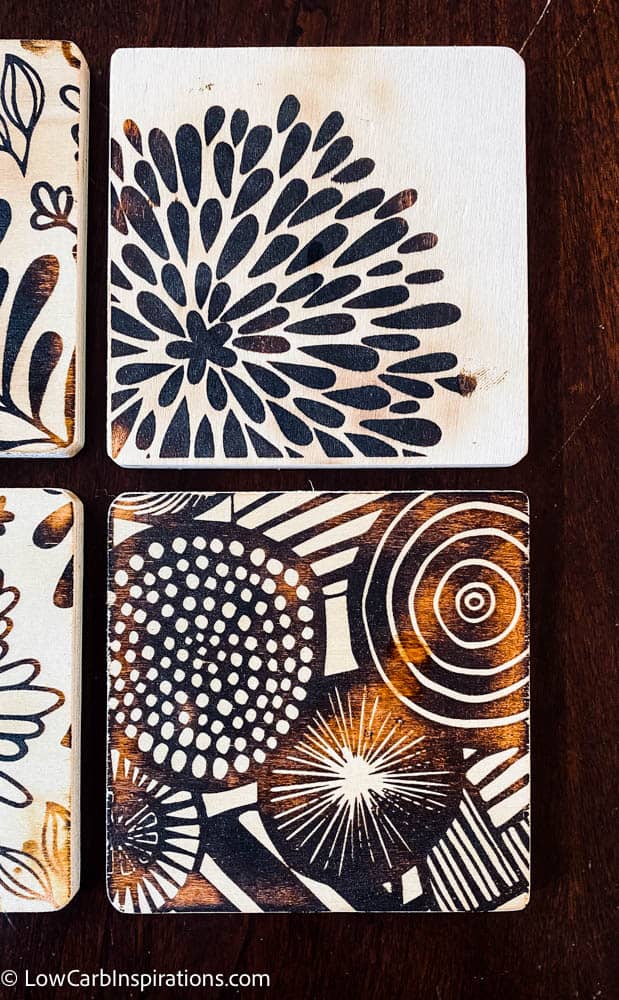
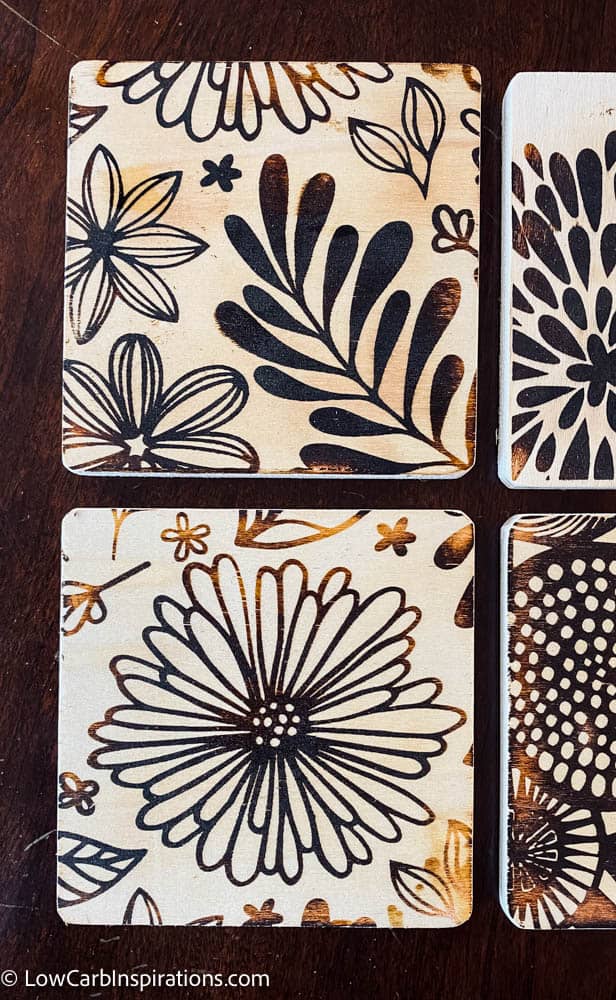
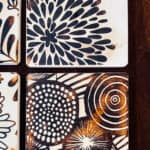
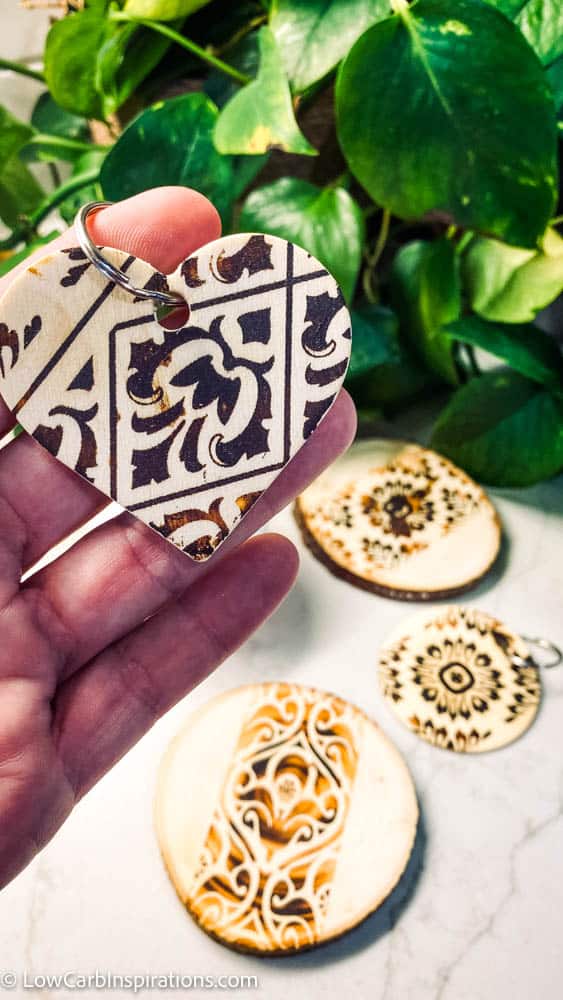
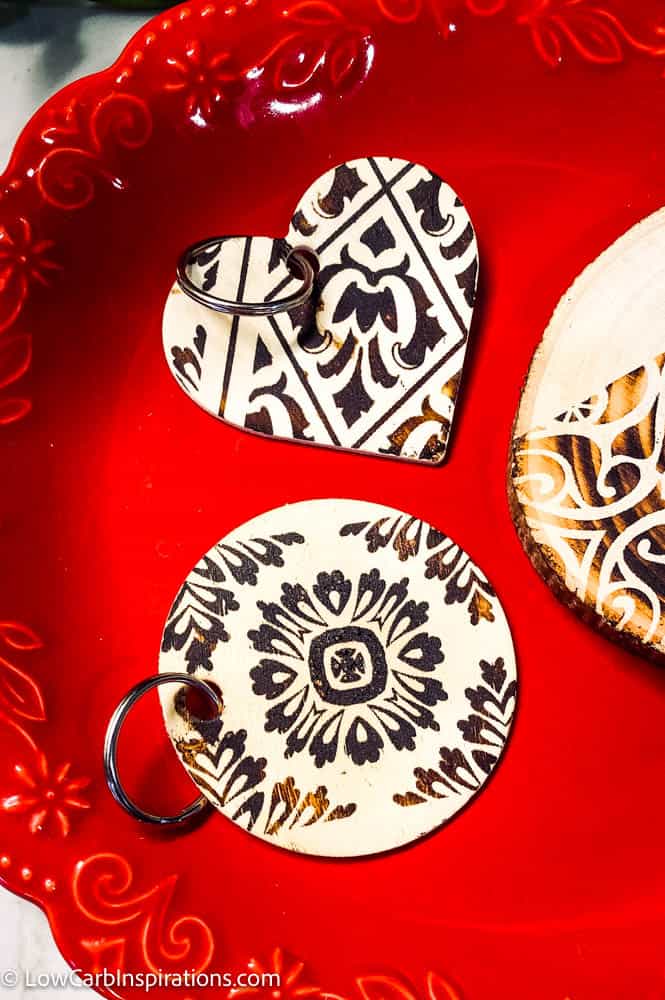
Finished projects!
Ingredients needed:
I love how these turned out!
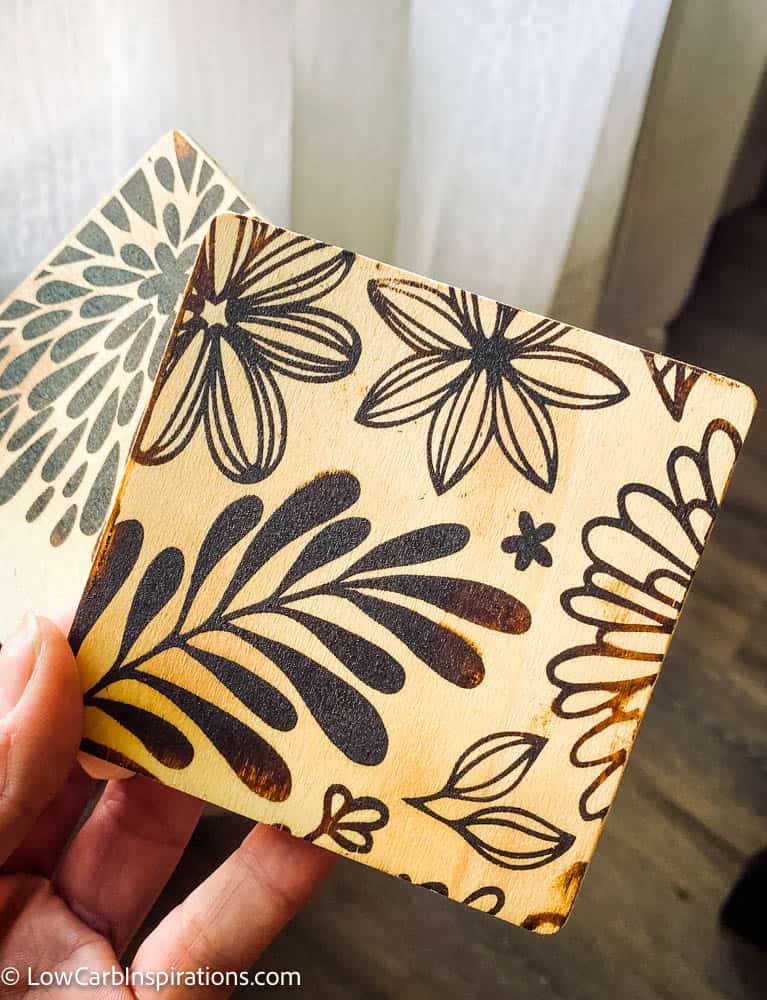

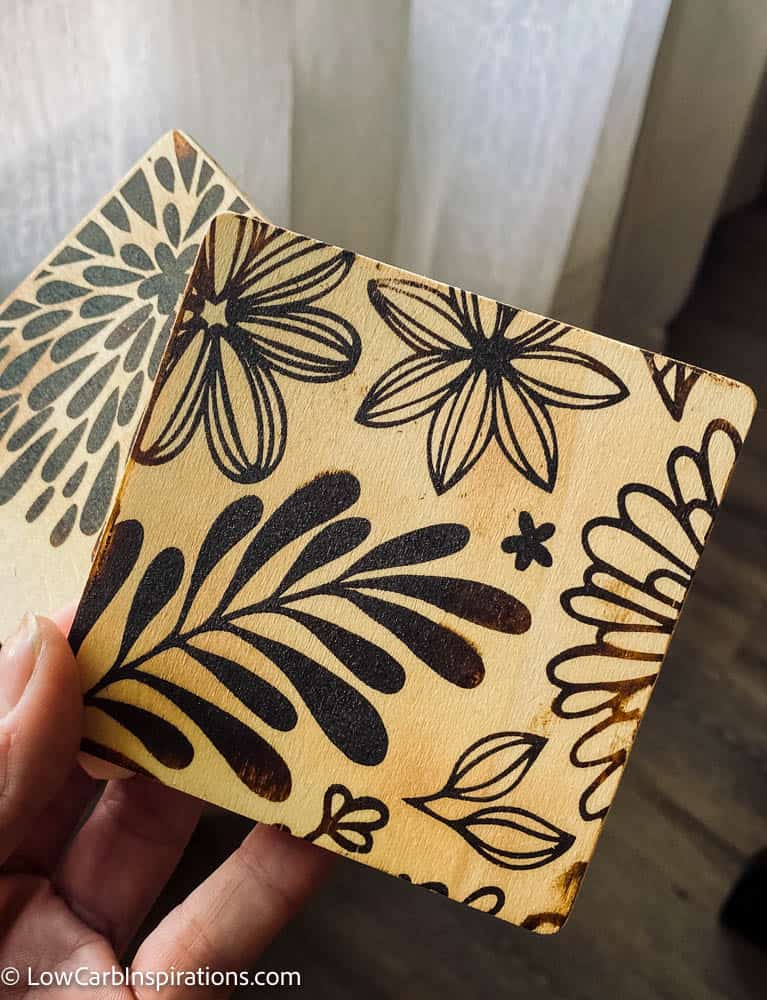
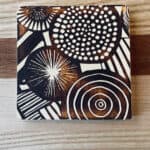
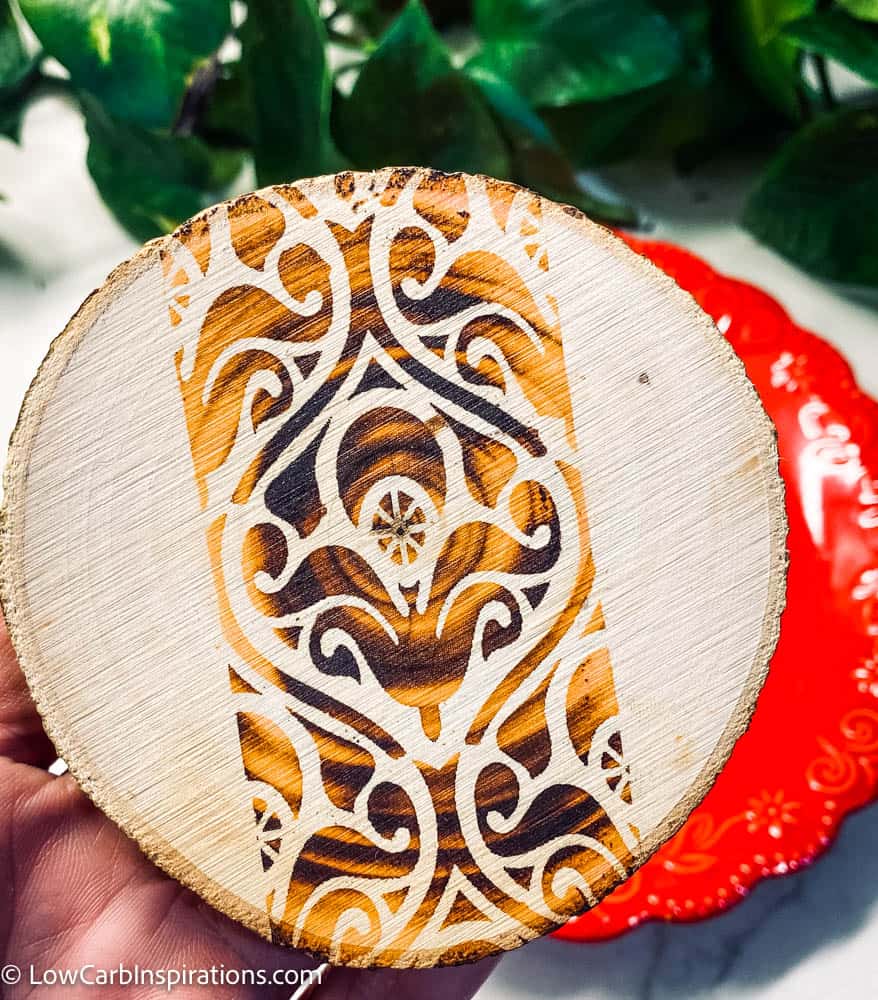
This is my favorite design! I really like how dark it is too!
