How To Create Your Own Web Font
How To Create Your Own Web Font
Over the summer my daughter complained of being bored. How dare she! As a Mom we try to create lots of activities to keep our kids happy, healthy, safe and entertained. Usually I tell her to go outside and play or invite a friend to come over. But not this time, the weather was crazy hot and no one wanted to be outside unless we were in a swimming pool. My daughter loves cats so I had the idea for her to create her own web font out of cats! First, she couldn’t believe we could do such a thing. Actually, I wasn’t either. I knew my crafty friends had done it but I never have. We both decided this was a challenge we wanted to attempt. What better way to attack boredom by learning something new.
I did a quick google search and found a free font creator! We used MyScriptFont.com to create her kitty font.
Here’s how to create your own web font:
First, head over to MyScriptFont.com and download the template and print it off. No need to create an account either. The website is super simple to use and it’s free! These instructions will be exactly how I did it on my Mac computer. If you have a PC some steps may be a bit different.
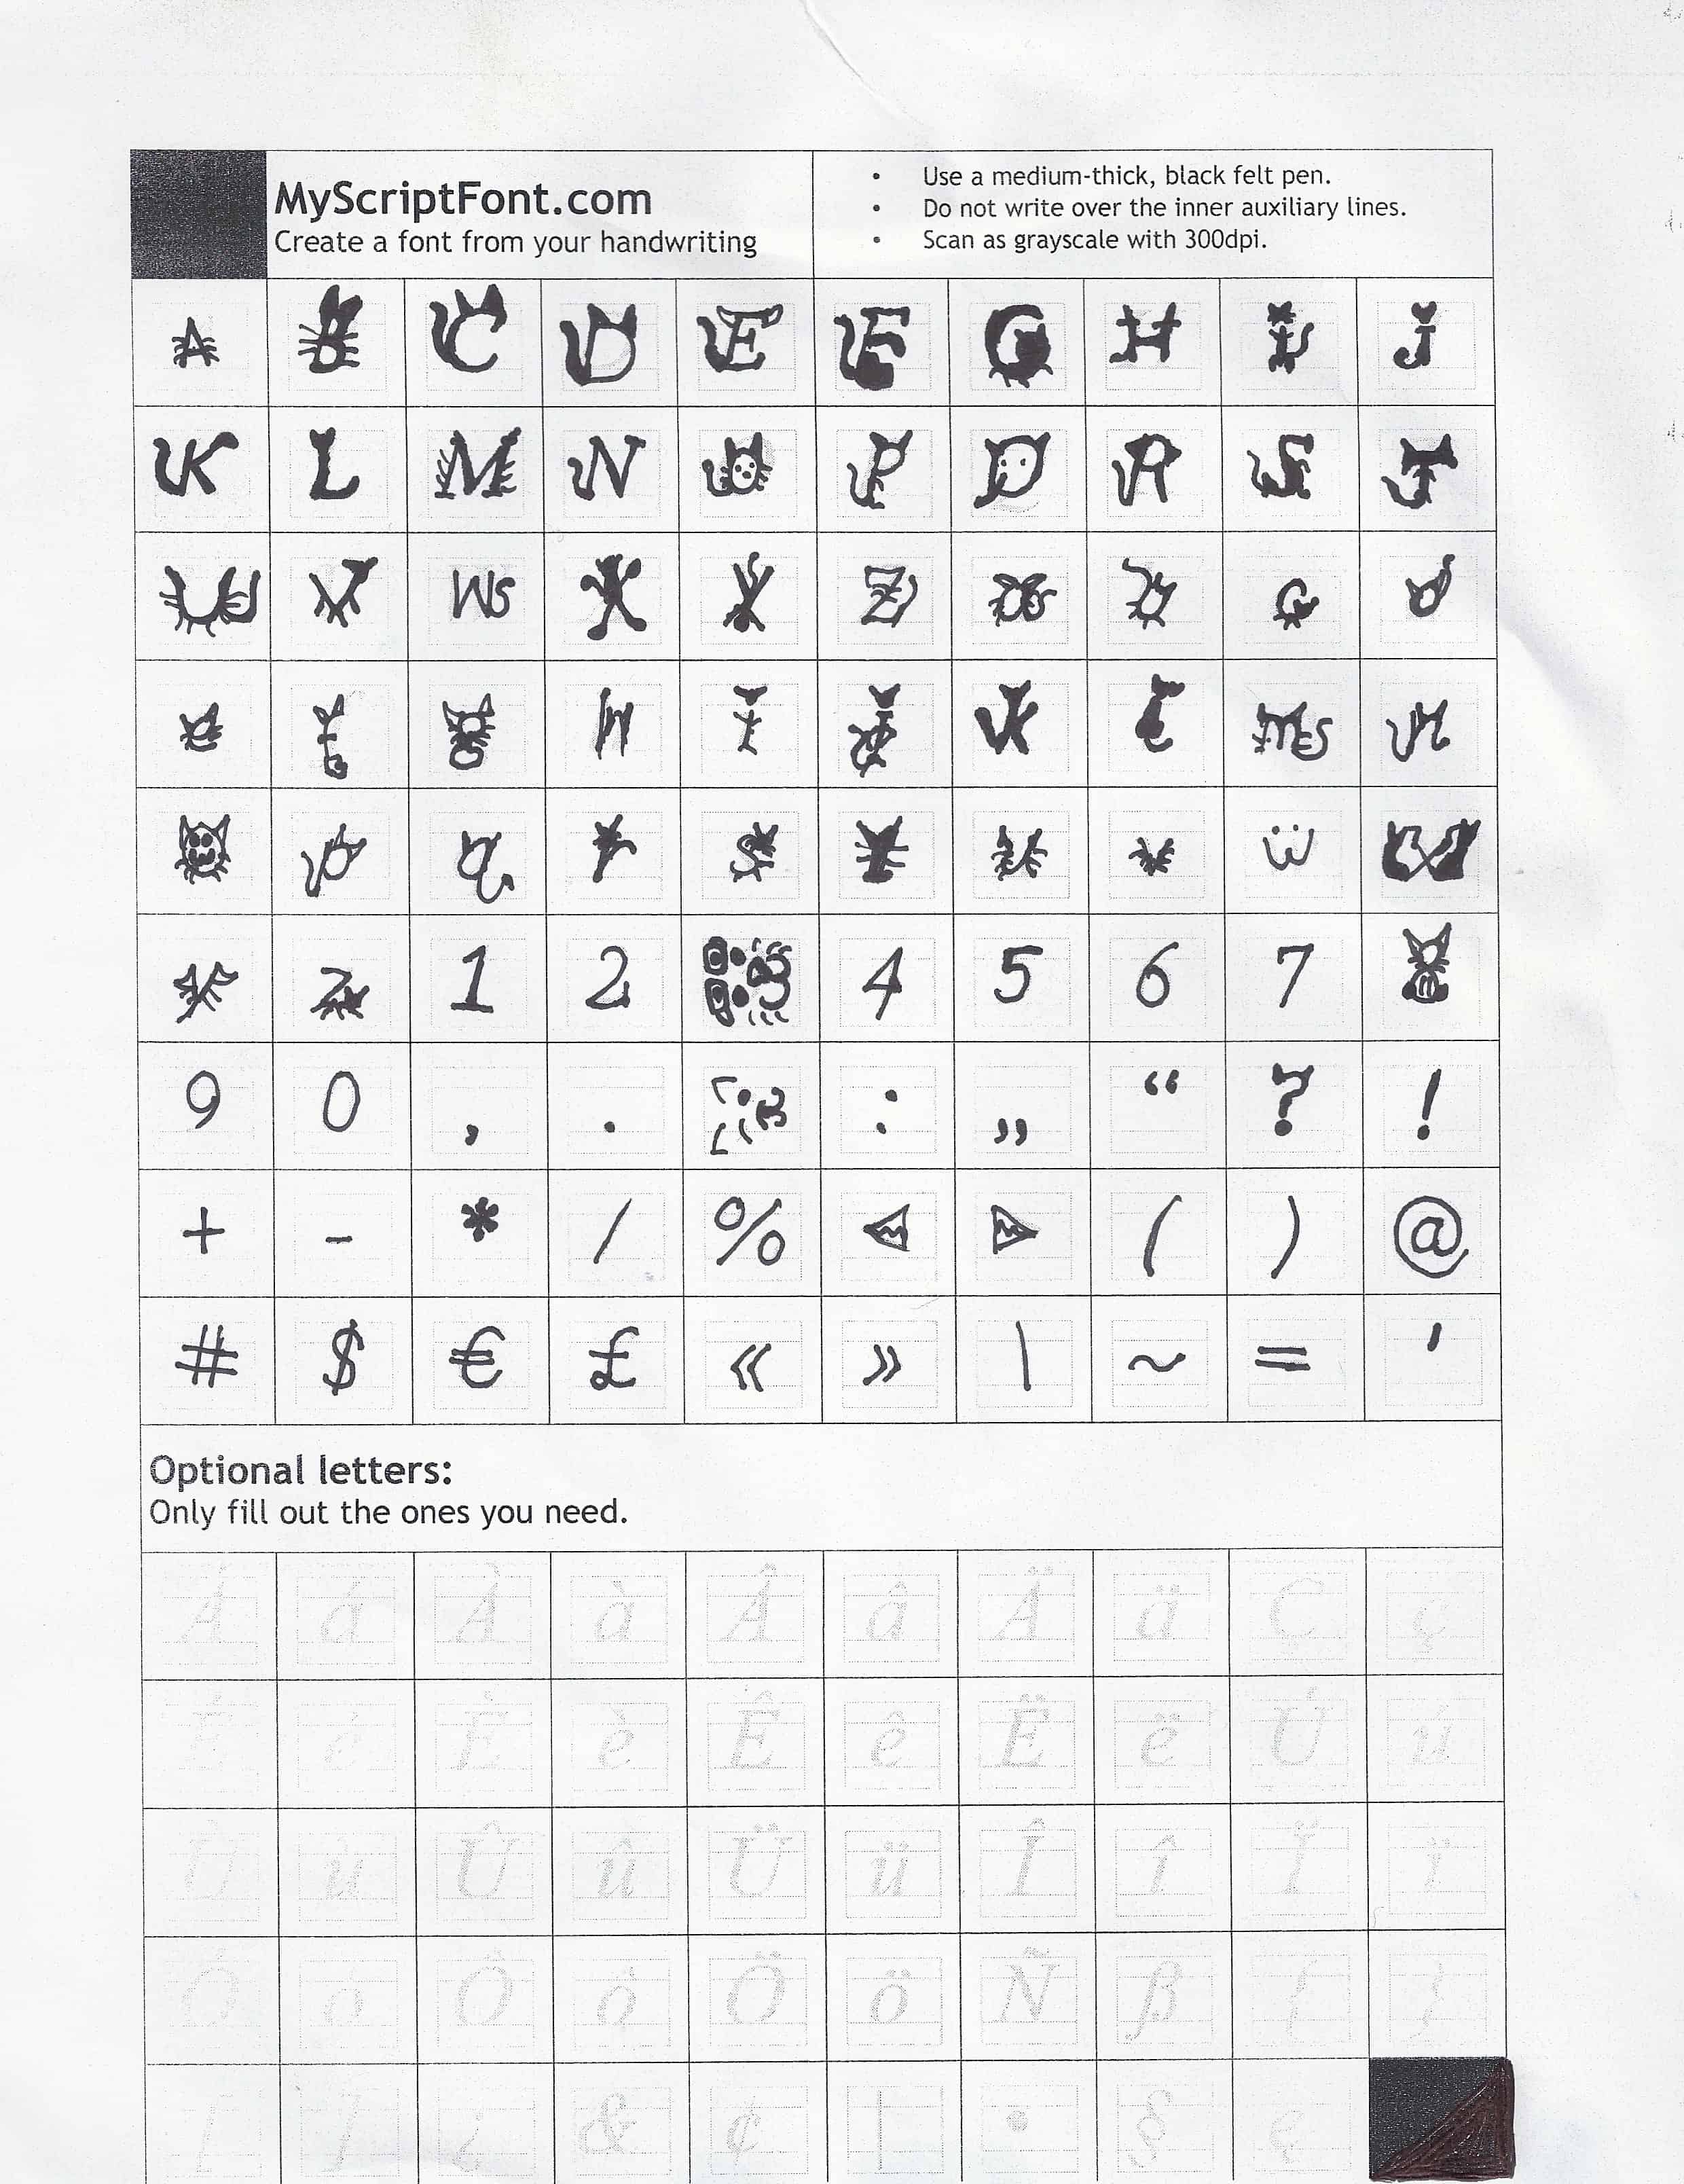
Next, I gave the template to my daughter and told her to stay within the lines of each letter. The gray squares with in the blocks for each letter are really, really small. I think if she weren’t trying to draw a cat in each letter with a tail, she wouldn’t have had such a hard time. Worst case scenario is that your letters wont scan fully and it will cut them off as it did hers in some cases. Drawing out each letter will be the most time consuming part of this project.
Tip: Be sure to use a black permanent marker with a fine tip just like these. The area you are using is really small and if you use a regular black marker it will be too bulky. You may actually do it in pencil first just in case you make mistakes.
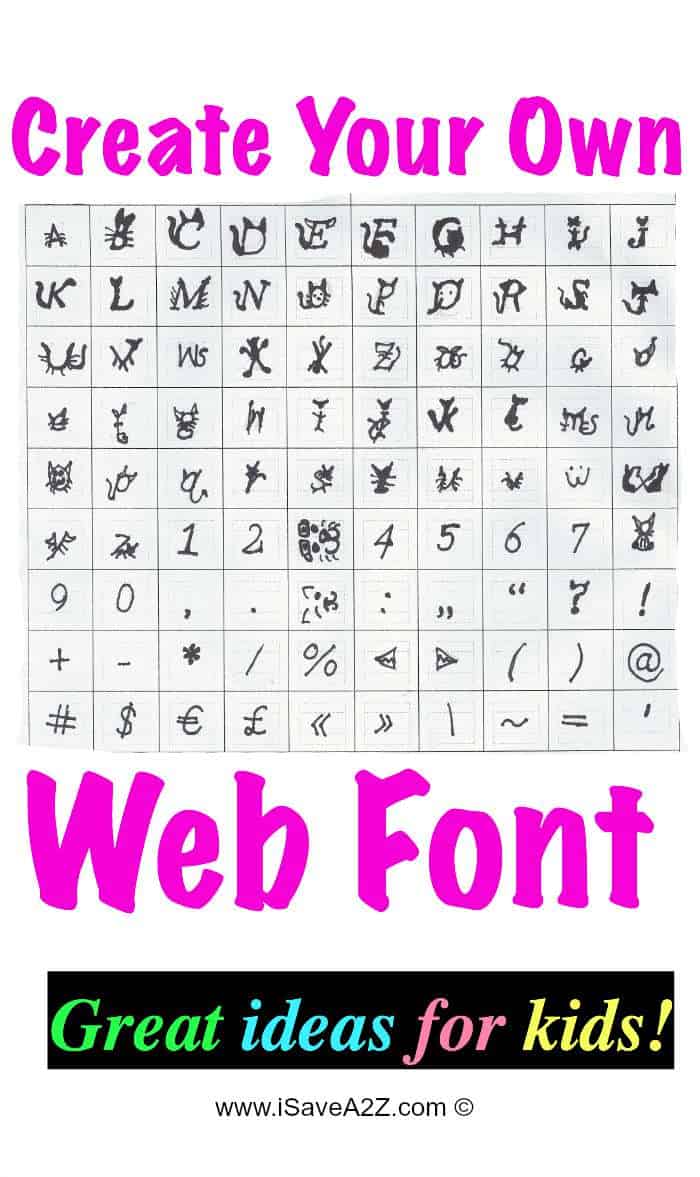
Here’s a photo of her completed template. It’s not perfect but she’s only 10 years old.
Once you are done you will need to scan the template and save it to your computer.
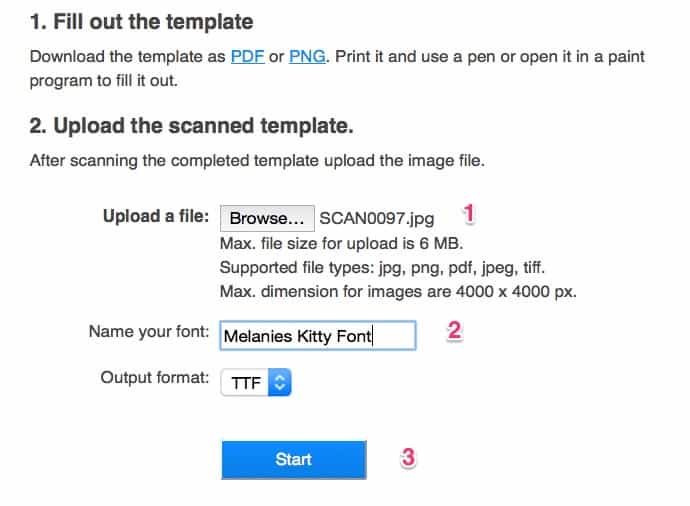
Next, log back on to MyScriptFont.com and upload your completed template.
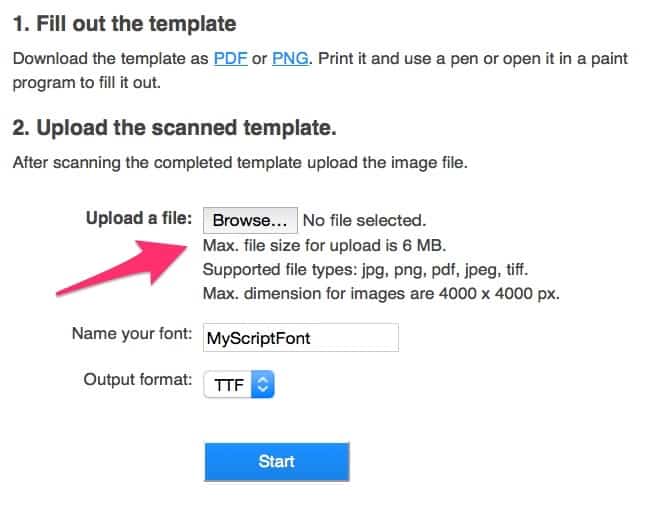
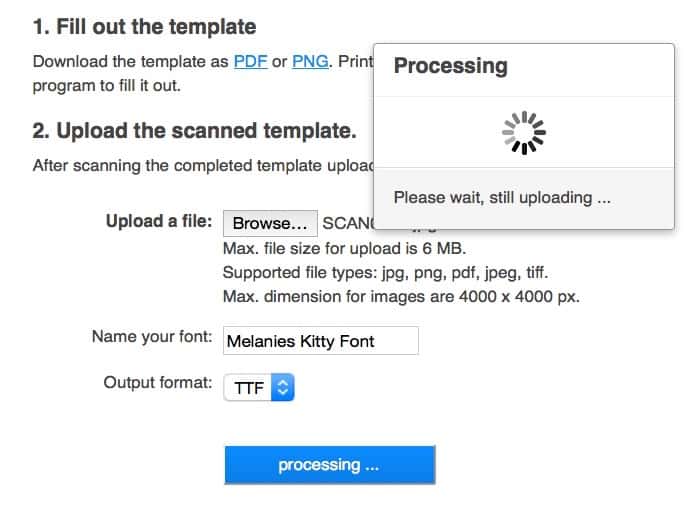
I noticed it took a few minutes for the design to upload. Be patient grasshopper.
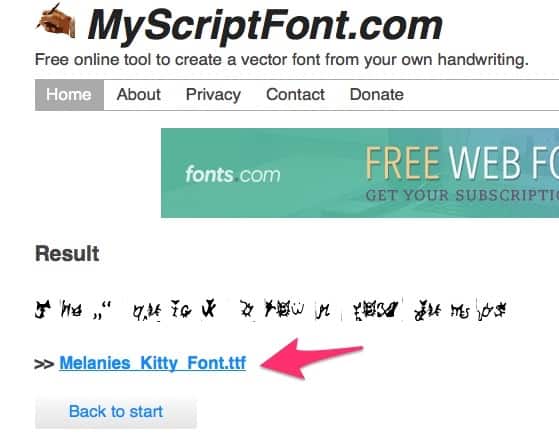
Finally, it’s done! You will see a link with the file name you just created that ends in a .tff file name. Click that link.
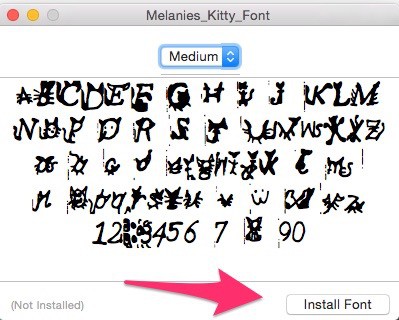
Once you click it then you will have the options to install this font.
That’s it! Now you can see this font in your directory. How cool is that?
I think this was an excellent idea for kids who are a bit bored. My daughter was impressed and quite proud of her work. I think she may work on a secret code font later for her and her best friend. Oh I think I created a monster. Fun times for sure.
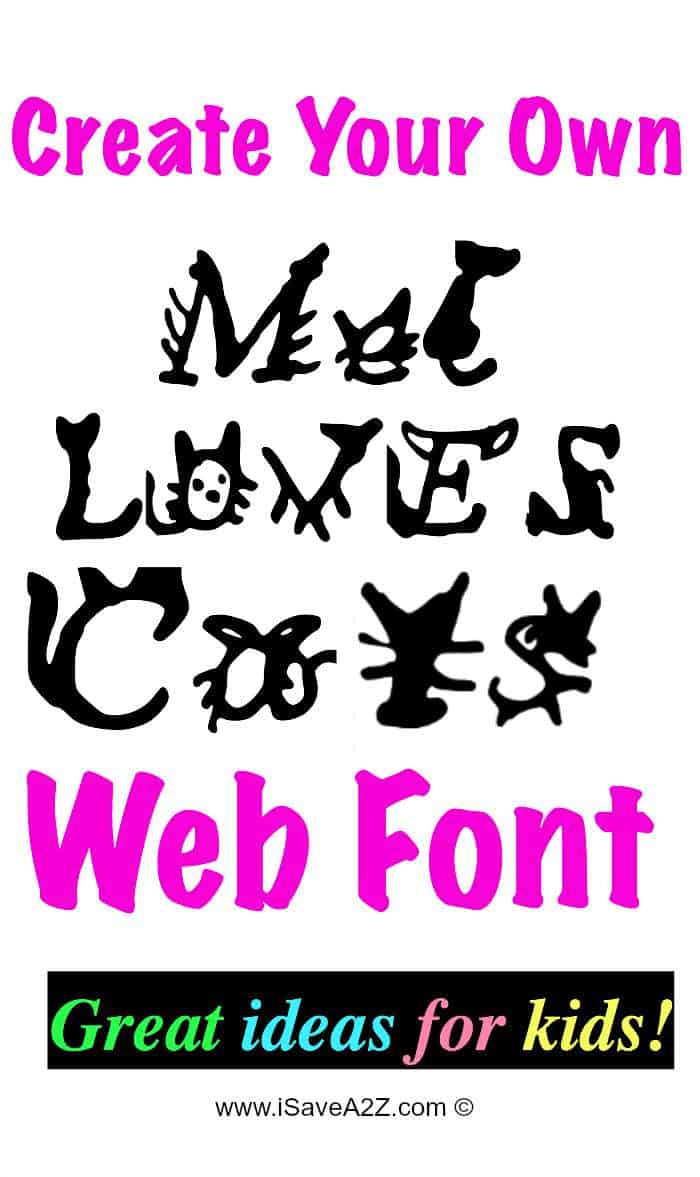
I hope you enjoyed this project idea as much as we did! Below is a photo that says “Mel Loves Cats” in her own kitty font. I think it’s cute. What do you think? Ok, ok… we are a bit nerdy. We love stuff like this.
If you liked this project, I bet you would also enjoy our Kids 3D hand art project too.
Feel free to Pin this project here for later:


