Paper Craft Idea: How to Make your stained glass window

Paper Craft Idea: How to Make your stained glass window
Today is a very rainy day and I needed a fun project to keep the kids entertained so I don’t go nuts. We love doing art projects and we have so much fun when we have an idea of what we can make. Getting some sort of inspiration tends to take the longest for us. It’s easy to bust out the art supplies but having some sort of direction makes it much better. The creativity soars when you actually give the kids some sort of task. This project takes some time to so it’s perfect for our rainy day project. If you need some more art project inspiration ideas you should check out our Batik Art Project glue technique and our 3D Hand Art Project that was made with crayons! Both are wonder kids projects.
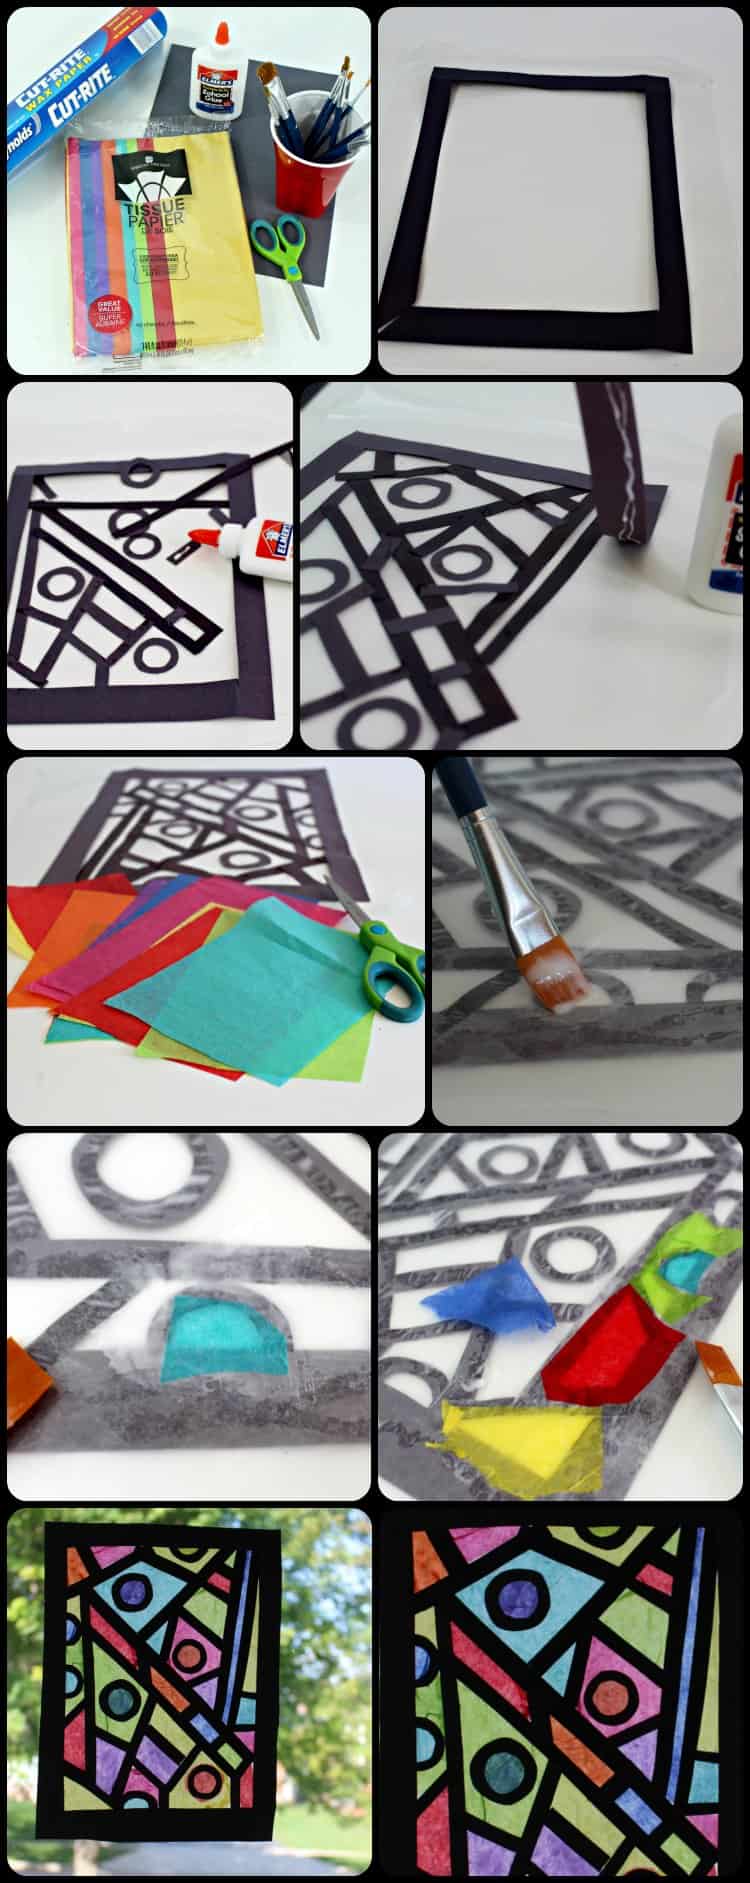
Here’s how we made this project.
Supplies Needed:
wax paper
black construction paper
assorted colors of tissue gift wrap paper
scissors
white glue
med/large sized artist paintbrush
How to Make your stained glass window:
1.) Start with a piece of black construction paper. fold each edge in about 1 1/2 inches and make a crease in the folds.
2.) Cut one of the corners diagonally and cut the inside creases to make a frame.
3.) Lay the frame on a piece of wax paper that is a little larger than the frame.
4.) Use the inside piece of the black construction paper to cut various shapes or designs for the inside of your stained glass frame.
5.) Arrange the black construction paper shapes on the wax paper using the glue to secure them as you go.
TIP: You can arrange your entire design on the wax paper before gluing to make certain you have the design that you want.
6.) Once all the inside pieces are glues down, Glue the frame piece around the edges and let dry.
7.) Trim the excess wax paper from around the frame and flip over so that the construction paper is on the bottom.
8.) Get out your colored tissue paper, scissors, glue and paintbrush.
9.) Begin trimming or tearing pieces of tissue paper to cover the blank spaces in the stained glass design. Use the paintbrush to smooth a thin layer of glue on the wax paper and then gently apply your tissue paper.
TIP: The tissue paper can wrinkle and tear easily so be gentle during this process.
10.) Continue until all the spaces are filled.
TIP: Feel free to layer colors over each other for a different effect.
11.) Let this dry completely.
Your stained glass art masterpiece is ready to hang in a window to show the light coming through.
Use double sided clear tape to adhere it to the window.
Here are a few process photos we took along the way:
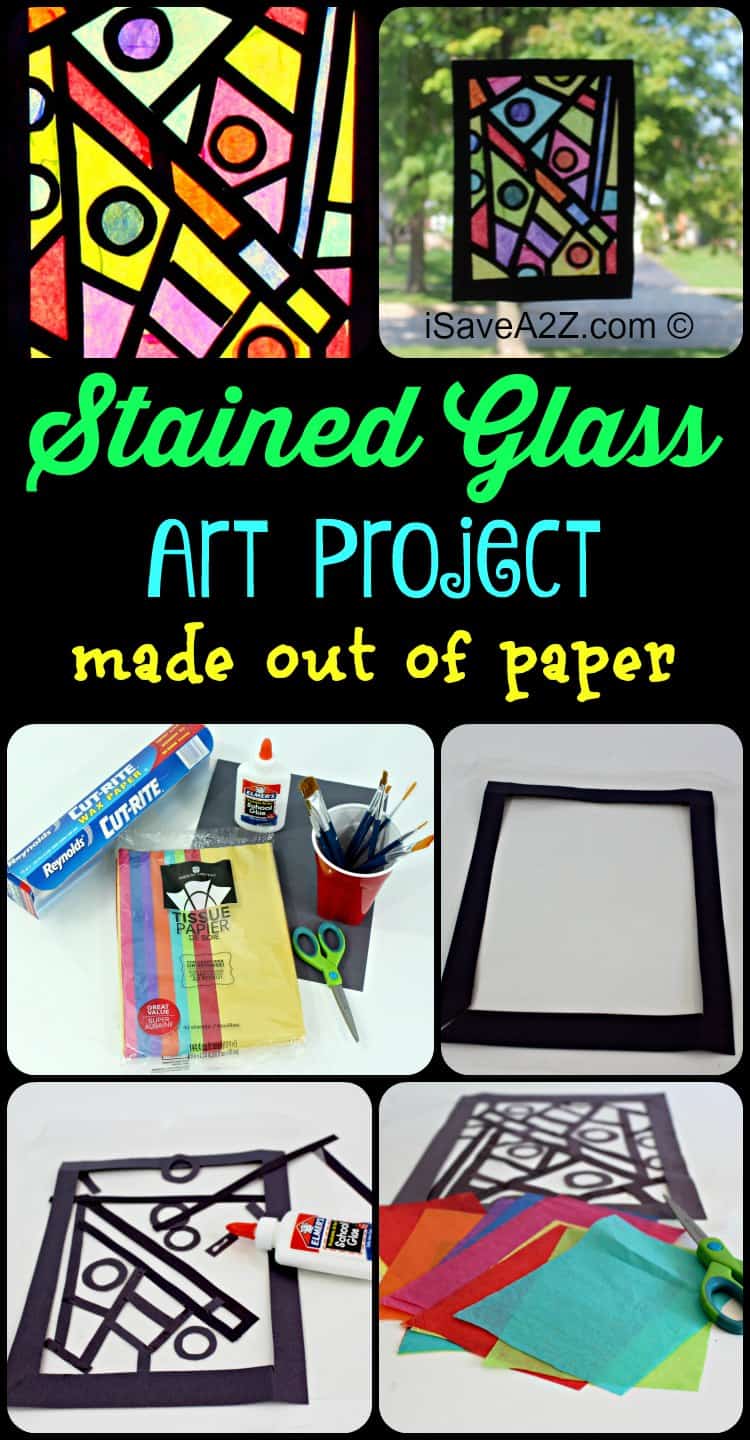
Feel free to Pin It here for later:





This is really a great idea. Looking forward to making my windows like these. They are really lovely. Thanks a lot for sharing such ideas.