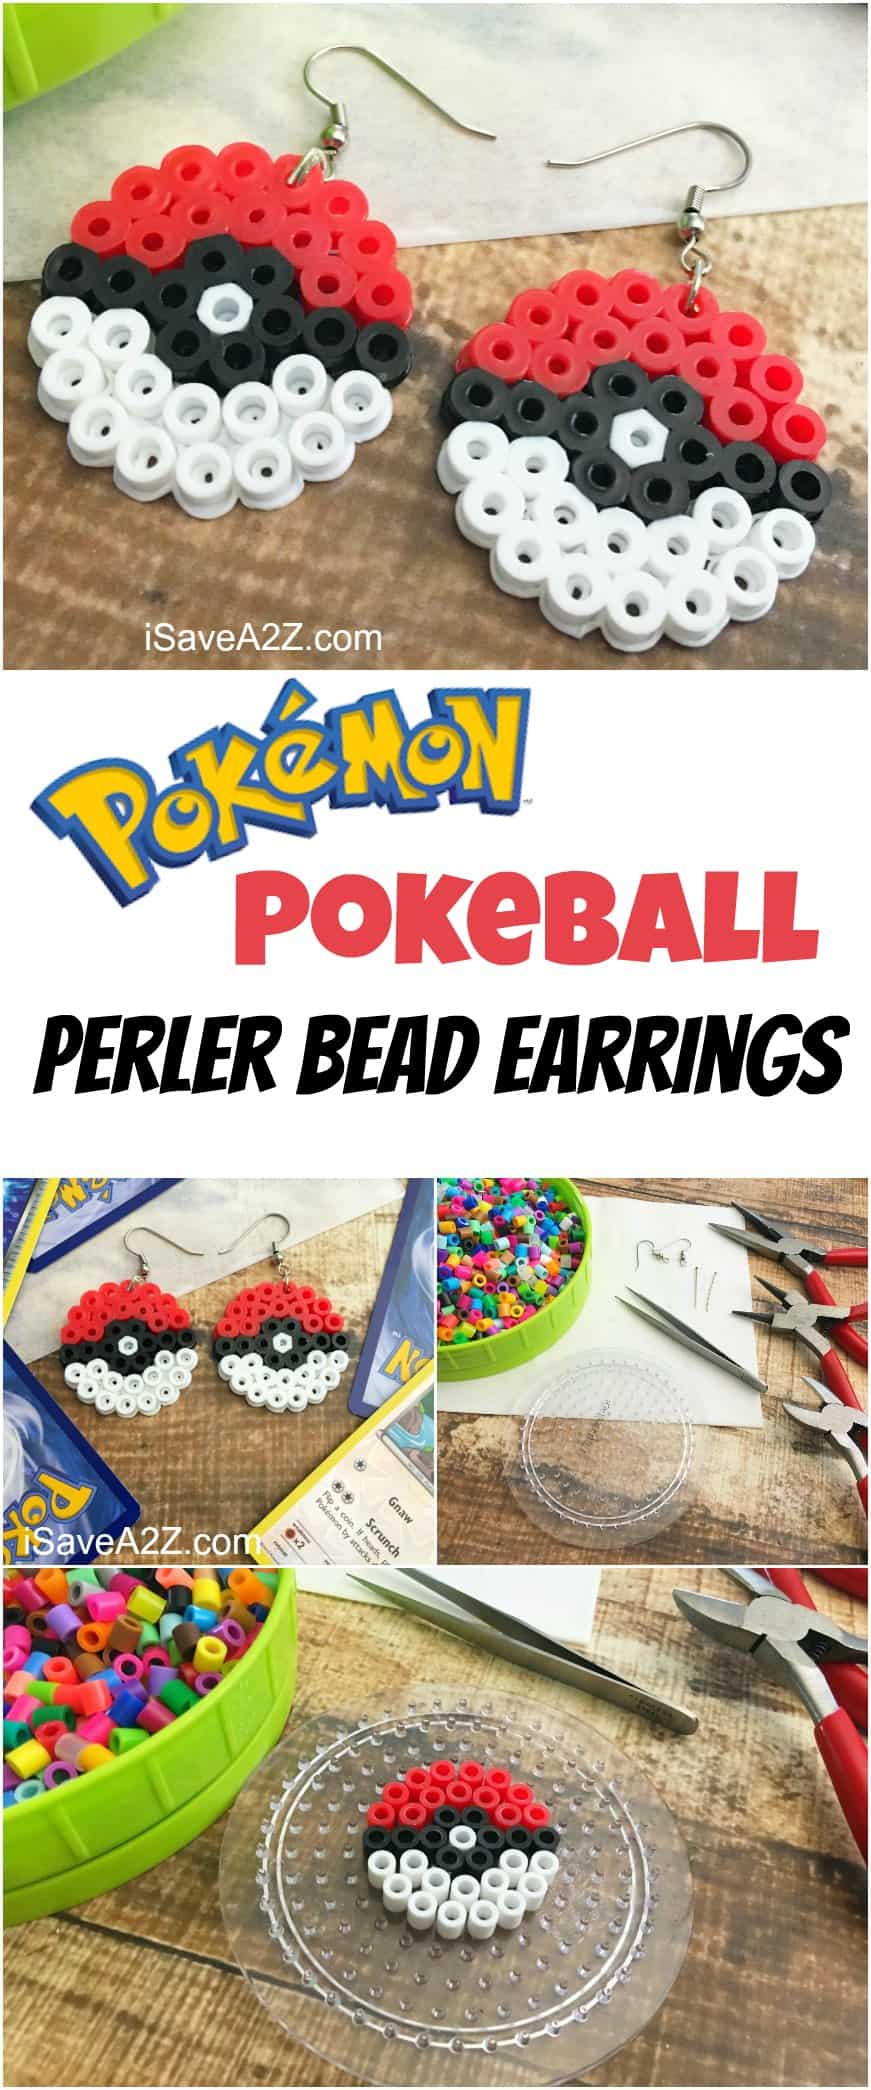
Pokemon Earrings Made Out of Perler Beads
Pokemon Earrings Made Out of Perler Beads
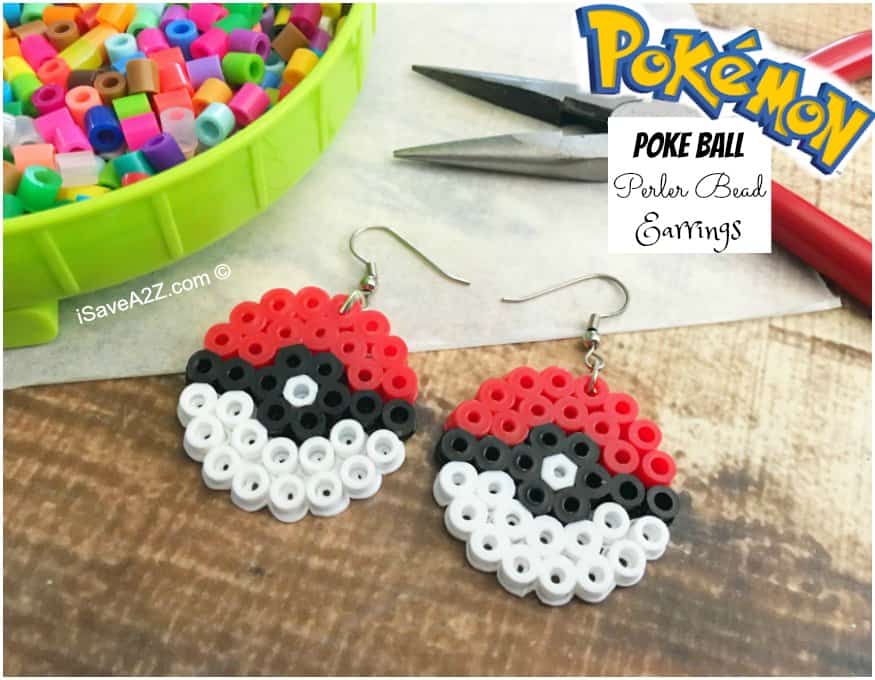
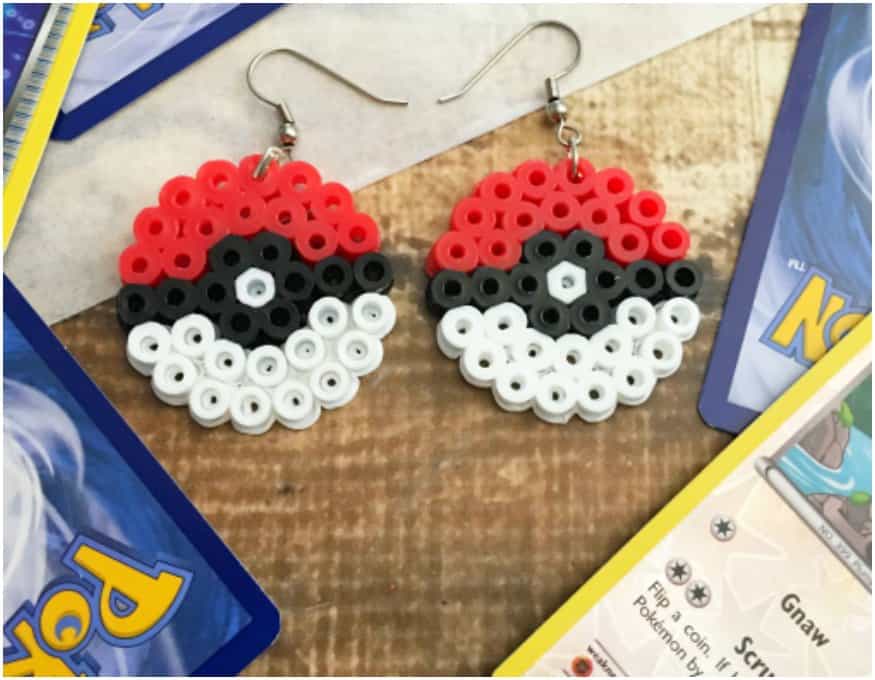
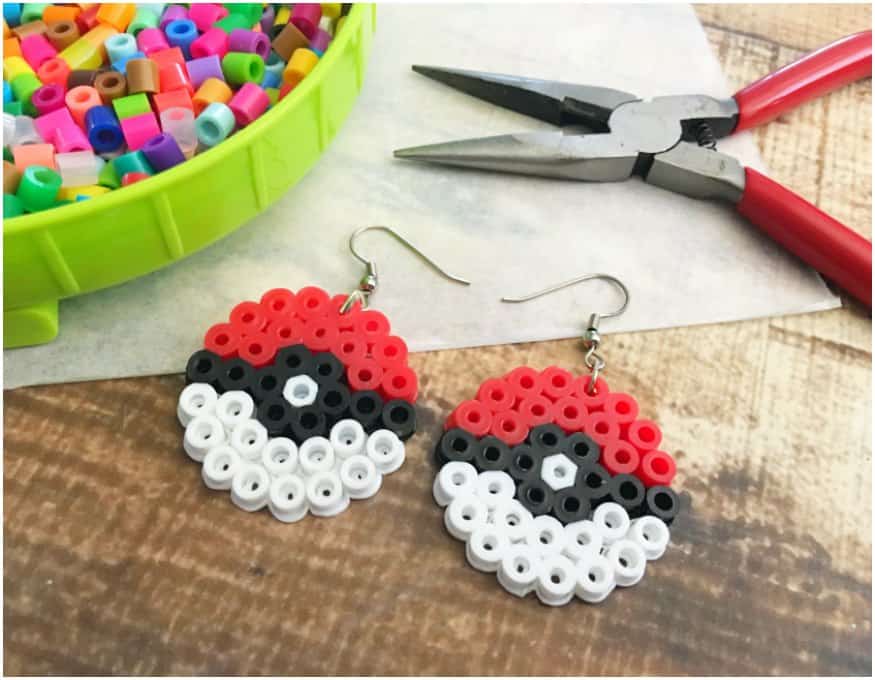
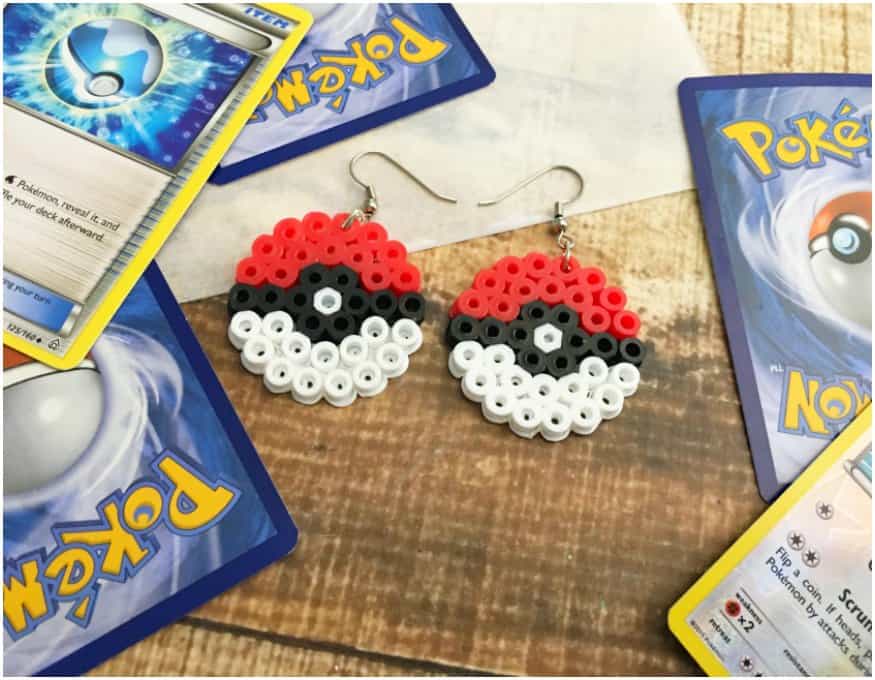
I am so excited about how our Pokemon Earrings Made Out of Perler Beads turned out! Ever since I can remember my daughter has been into Pokemon. There’s something extra special about making her a gift that is made out of her favorite characters! You cannot find this stuff in stores, so it’s definitely cherished by her. This craft project doesn’t take long to make either. It probably took more time to heat up the iron than it did to do the pattern on this poke ball. This idea would make an excellent craft idea for a girls sleep over or maybe even a Pokemon party! We’ve had a few parties as you can tell from our Pokemon Easy Pokeball Oreo Pops recipe!
I don’t know about you but we always have a good amount of stock in perler beads in the house. It helps when you can grab a good deal like this 6000 pc Perler bead bucket kit on Amazon! It has plenty of the colors we need but it also has the templates we need too! It comes in handy especially on a rainy day!
Here’s a Pokemon Pokeball Printable Template you can print out to help you with this craft.
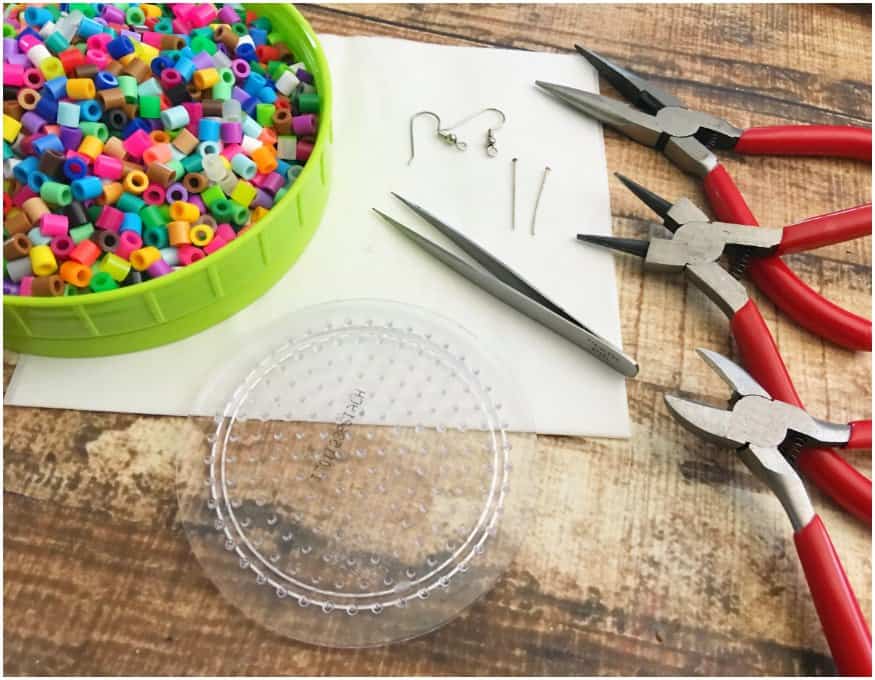
Materials List for the Pokemon Earrings Made Out of Perler Beads:
- Red, White, and Black Perler Beads (all found in this Perler bead kit)
- Perler Ironing paper (also comes in the kit)
- Small circle pegboard (also comes in the kit)
- Tweezers for picking the beads up
- 2 Earhooks with spring
- 2-1″ Headpins
- Jewelry tools:
- Wire Cutters
- Round-nose pliers
- Chain-nose pliers
Instructions for the Pokemon Earrings Made Out of Perler Beads:
1. Print out your Pokeball template to set next to you while you craft.
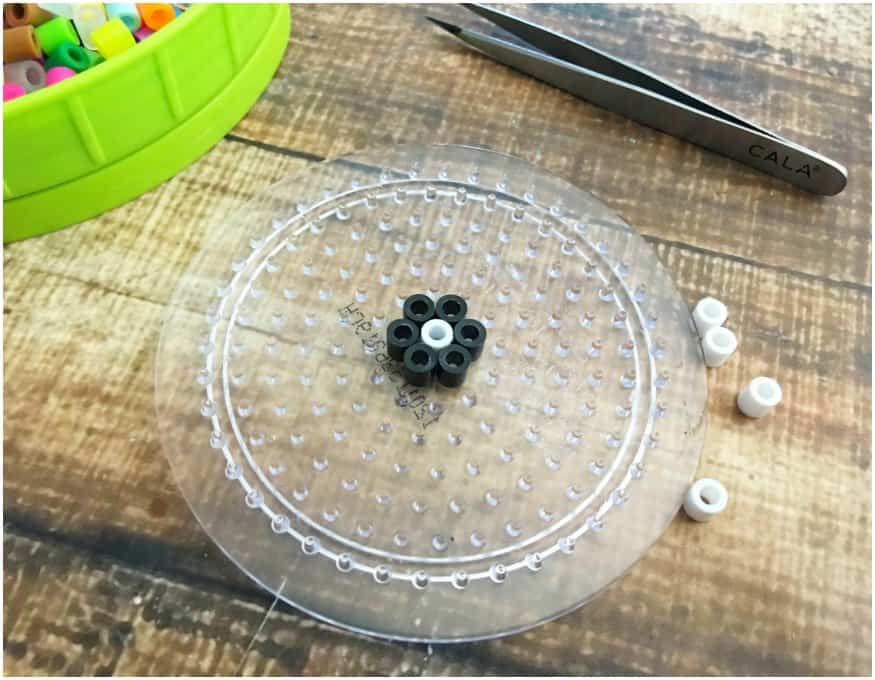
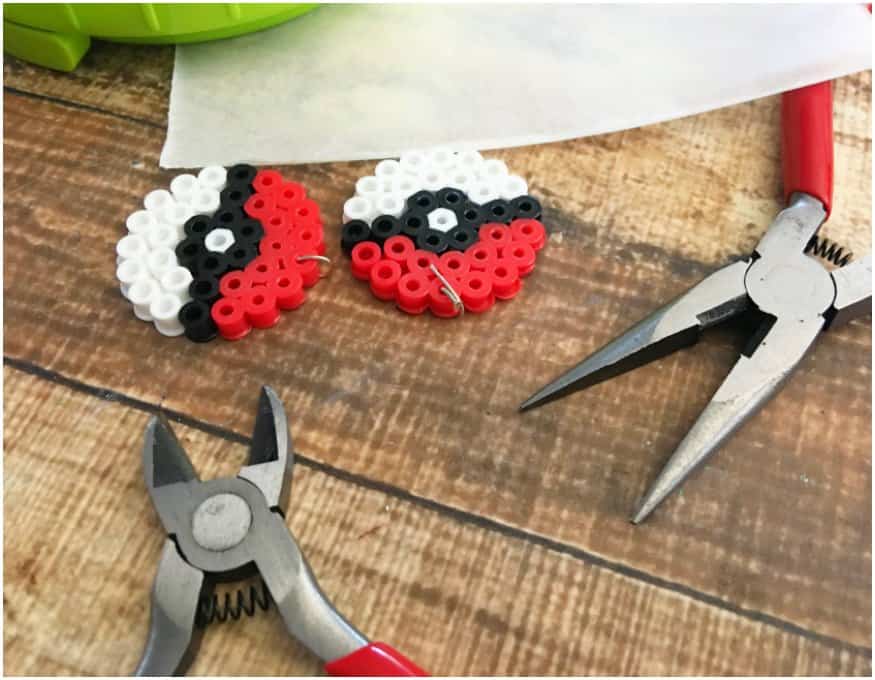
2. Place a white bead in the center of your pegboard, and black beads around the white bead to make a circle.
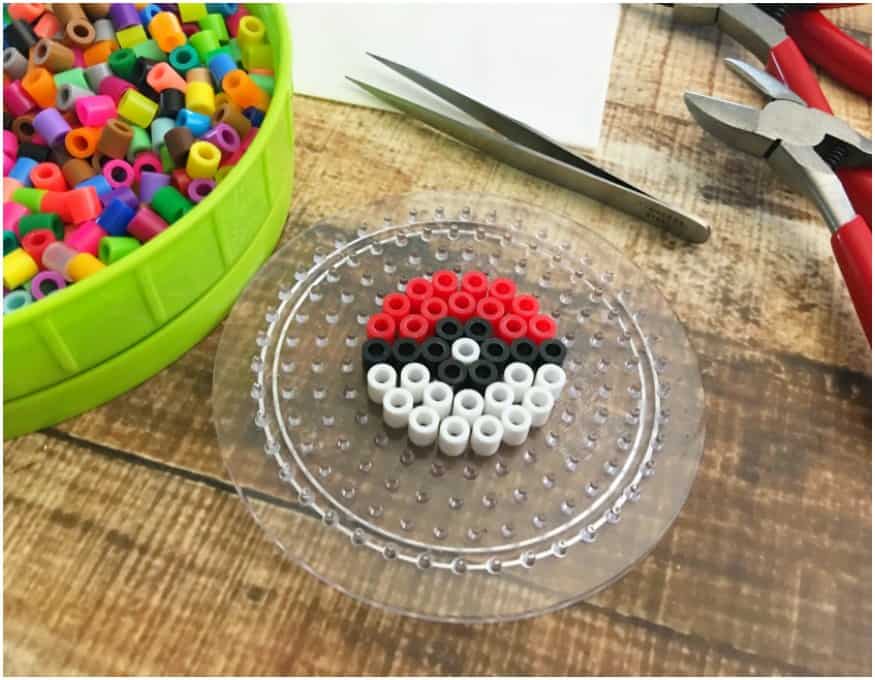
3. Turn your pegboard so that you have a horizontal line going straight across, and place 2 black beads on each side of your black circle.
4. Now add two rows of red bead to complete the top circle, and two rows of white beads on the bottom half to complete the bottom of circle.
5. Place a piece on ironing paper over the top and iron on a dry setting for 20-30 seconds. This will slightly melt the bottom part of the perler beads allowing them to stick together without glue. The longer you press it the more you will melt the whole project. Only melt the backside unless you don’t want to show the holes in between the earrings.
6. Peel your ironing paper off, your beads should be attached to the paper, place another piece of ironing paper on the back and iron for another 20 seconds, and let cool.
7. Poke your headpin through the top of your Pokeball in a bead and use your round-nose pliers to make into a loop.
8. Use your chain-nose pliers to open your earhooks and slide your loop through the loop your created.
9. Close your loop back up, clean your ear hooks with a little rubbing alcohol, and they are ready to wear!
Feel free to Pin It for later here:
I want to also mention that if you are playing the new Pokemon GO game be sure to read our Pokemon GO Safety Tips. We had a pretty scary incident happen to use and I feel the need to share what we learned about being safe while playing this super fun game!
Enjoy!

