RePurpose Old Stuffed Animals Craft Project
RePurpose Old Stuffed Animals Craft Project
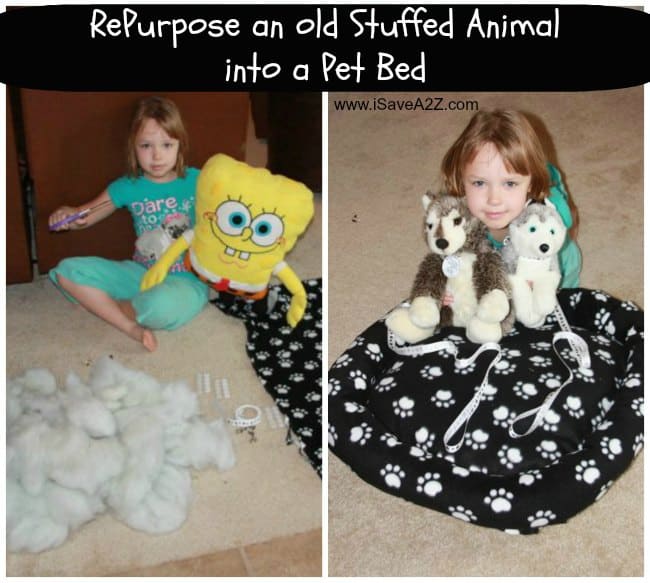
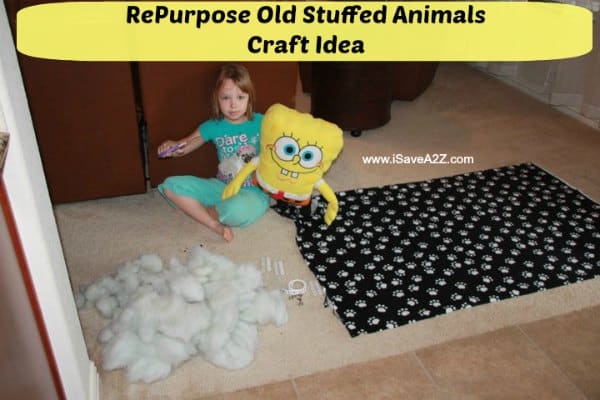
If you have children I just know you have stuffed animals. You probably have a few that you want to get rid of too. Why not try the repurpose old stuffed animals craft project idea! I’m not a big fan of stuffed animals. I’ve never been a fan actually. They collect a lot of dirt and germs so I am constantly washing them. Needless to say I was very happy when my daughter announced that she no longer is “in to” Spongebob! Buh-bye Spongebob!!!!
Normally if the toy is still good I would have donated it but Spongebob had been put threw the ringer! I doubt anyone would want that worn out stuffed animal. Instead we decided to not let all that stuffing do to waste and we created something new!
We decided to look at the remnants at the fabric store to see what we could make. We went to the fabric store thinking I would teach her how to make a pillow because that would have been a perfect beginners project for my little one but she had another idea. She is a true animal lover of all sorts. It doesn’t matter if it’s a real live animal or a stuffed animal. She treats them all with love. She decided her wolf stuffed animals needed a new comfy bed to sleep in and they also needed a leash. Man, this girl keeps me busy but I love it!
We found a cheap piece of fleece dog print remnant i the bargain bin! Yay! Perfect! We also purchased some dog print ribbon and a hook for the colors and leash. Easy project ahead!
Here’s what we needed for our project pet bed project:
- Sewing Machine (or needle and thread to hand sew it)
- Thread
- Material (about 1.5 yards)
- Stuffing (we used from old stuffed animals)
- sewing pins
For the Leash we needed:
- Dog Print Ribbon
- Hook for the leash (I used this Swivel Eye Snap Hook)
Directions for the Pet Bed Project:
First things first! We washed all the stuffed animals we planned to repurpose.
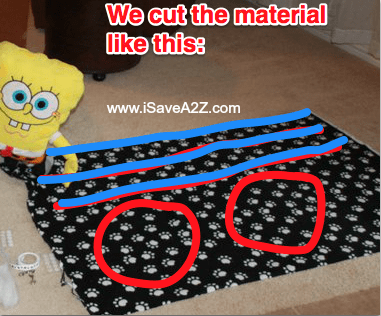
Next we cut our material. The way you cut it will depend on how much material you have to work with and how big you want your bed to be.
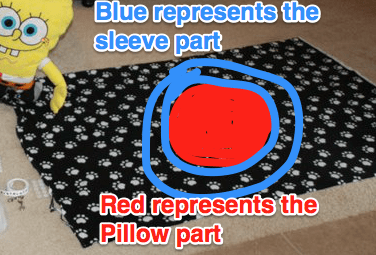
We ended up cutting two long strips equal in size to make the outer ring of the pet bed. This length determined the size of the inner bed pillow. After we cut the long strips of material (about 4 inches wide) we laid it out in a circle so we could determine the size of the circle that needed to be cut. We ended up cutting the circle about 1 inch bigger to allow for the sewing. When we cut the circle we folded the material so each circle would be exactly the same size.
Here’s a photo to give you an idea of how we cut it:
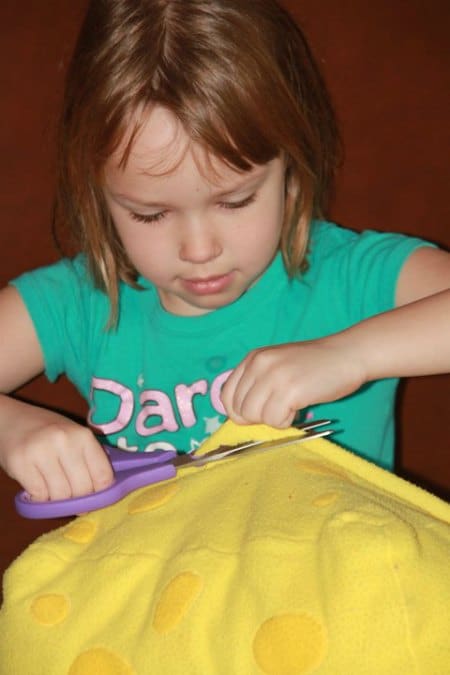
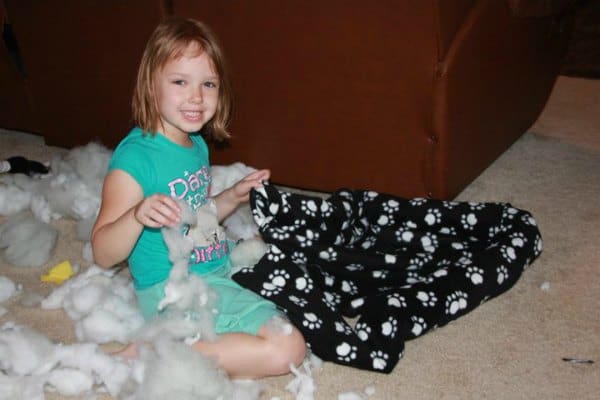
Next, she cut up Spongebob to get the stuffing out. She loved this part!
Next I started sewing. I took the two long strips of material and began to sew a straight line. The fleece material I used didn’t have a right or wrong side. Both sides were the same color. When I was done it looked like a really long sleeve to a shirt with both sides left open. Finally I had her stuff it. (Poor thing was sick home sick with strep throat during this photo. She insisted on doing a craft)
Next I stitched the pillow part. I placed both circles together and began sewing it but leaving about 4 inches open. Just enough for her to stuff the pillow. After she stuffed it I continued to sew it all the way closed. (Don’t worry about turning the material inside out to hide the stitched hem. You need this hem out.
Next I used the sewing pins and pinned together the outer hem line from the sleeve and the outer hem line from the pillow all the way around. When I got to the opening of the sleeves I put one inside the other and pinned those together too. We ended up hand sewing those two hems together all the way around the bottom of the pet bed. Once we got the the end of it we did a simple hand sewn stitch on the sleeve to tie it all together.
Lastly we made the leashes out of that super cute Dog Print Ribbon! Boy those were super easy too! We measured out how long we want the leash to be allowing for extra for the handle. We folded over just the right amount for the handle and did one simple stitch. Then we took the laced the swivel snap hook and did another stitch there too.
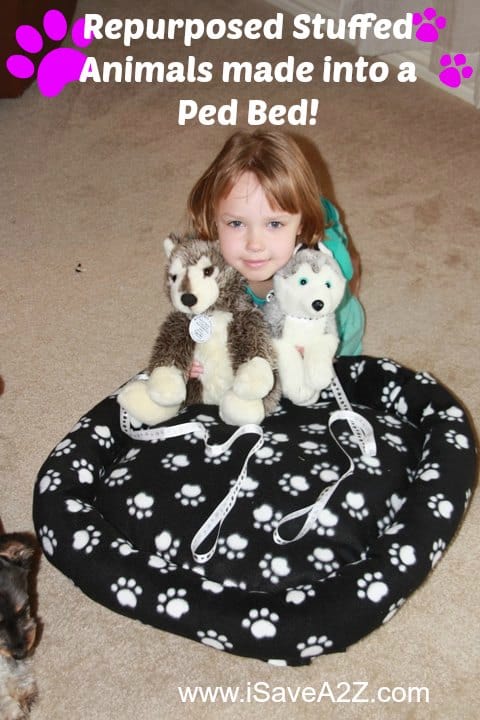
Voila! Project complete with one happy (but sick) child!
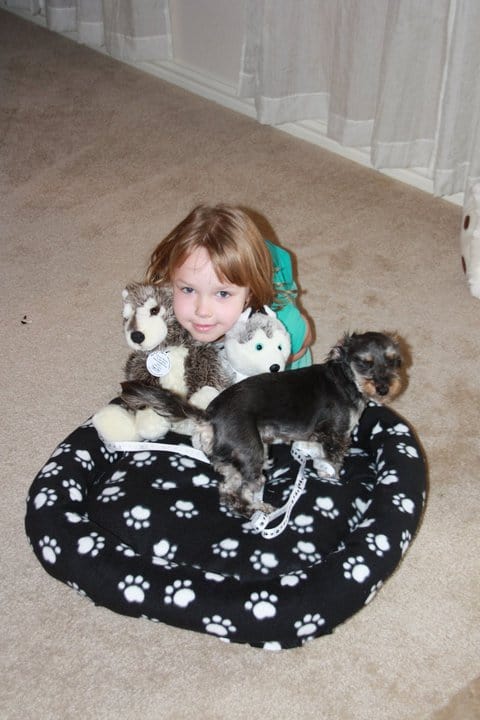
And LOOK who got a bit jealous (even though he has his own doggie bed!) So we are off to the store to buy more material so he can have a new one too…. Oh geez…
Enjoy!

